


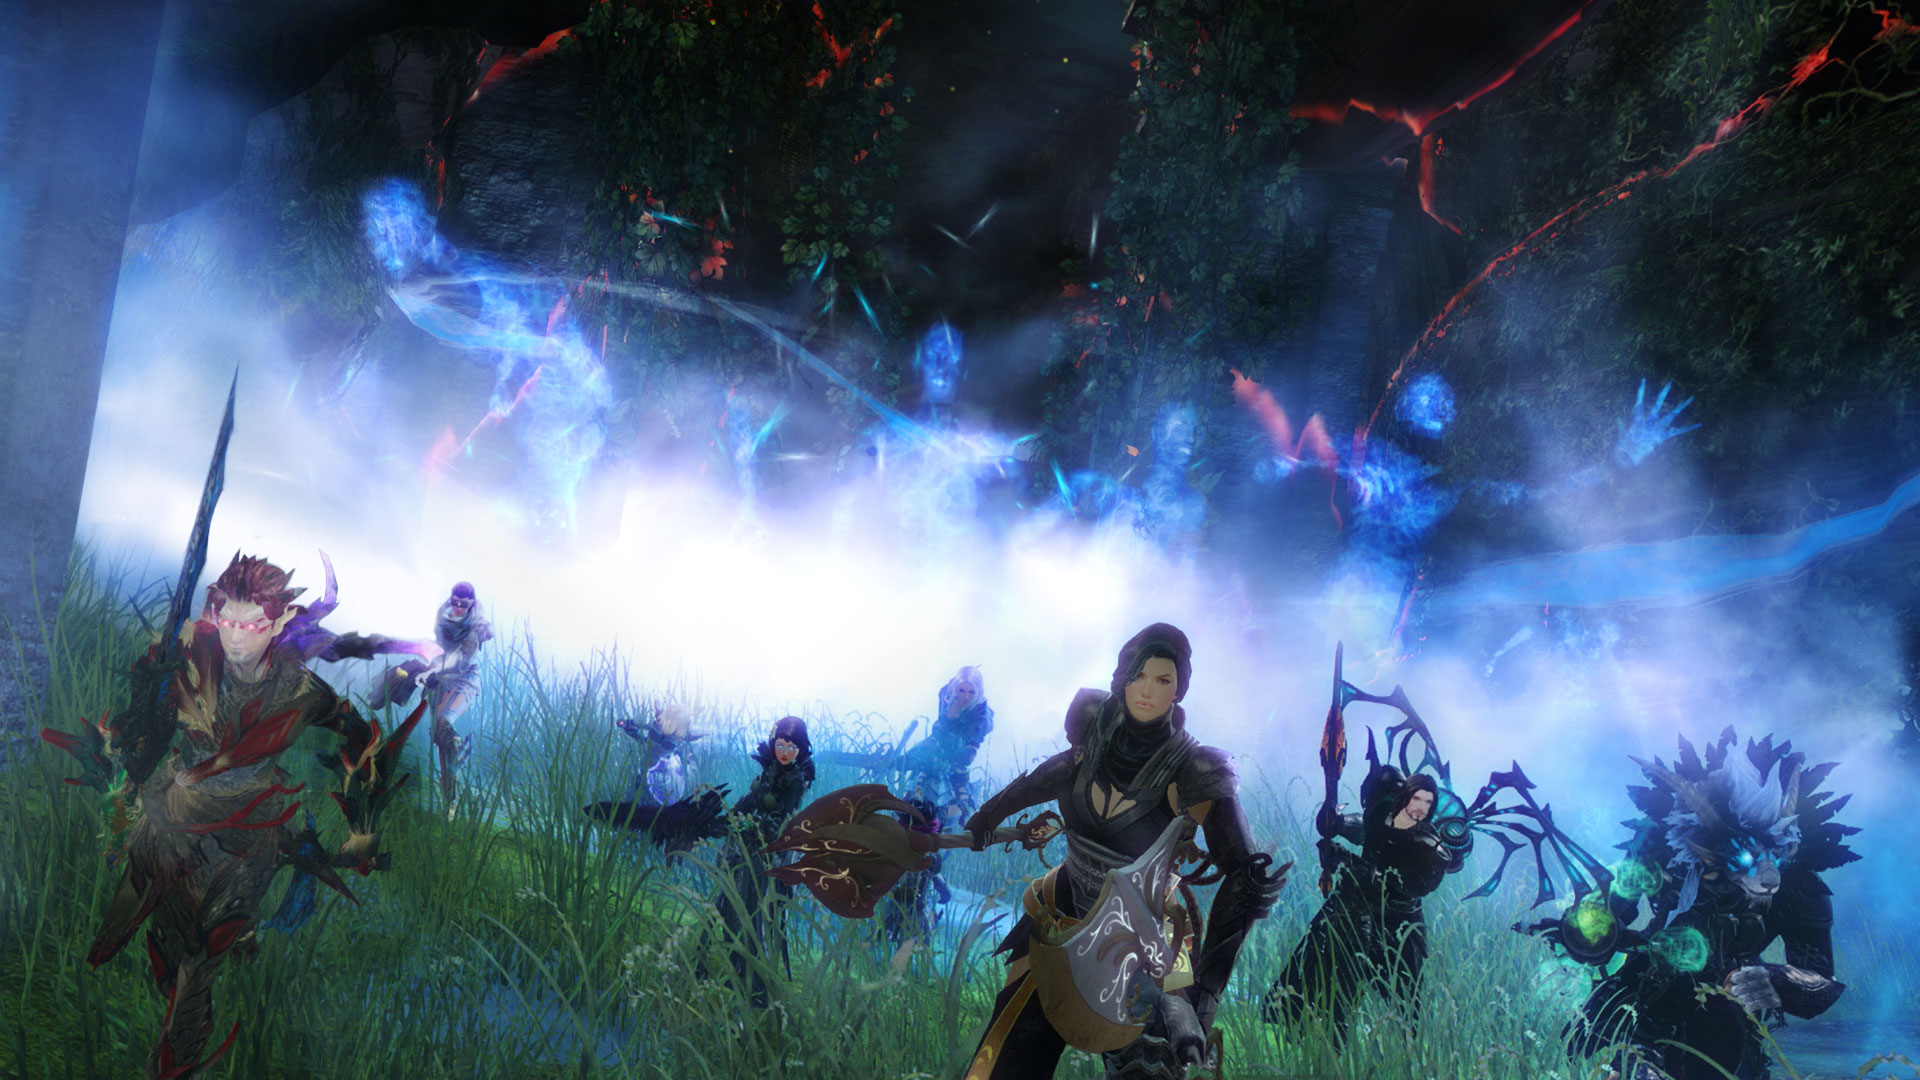
Welcome to my guide for the Guild Wars 2 raid event, Spirit Woods, the second encounter in Spirit Vale (Wing 1). This is a detailed guide on the mechanics of the event including various strategies that cater to everyone from beginners to experienced raiders. If you’re brand new to raiding, I recommend reading my Path to Endgame guides first.
Spirit Woods is the first non-boss raid encounter that was ever released. Defeating a boss is not the goal, but rather making it through an area by completing four different mini-events. You can generally use whichever profession you played to fight Vale Guardian or switch to what you plan to play for the second boss, Gorseval.
 Glider Basics mastery. Every player needs this to progress during the third part of this encounter, the Spirit Run.
 Blazing Speed Mushrooms &
 Adrenal Mushrooms masteries. These are not required for the encounter, but there are several mushrooms in various sections of the Spirit Woods.
 Swiftness; signets that increase movement speed; and teleports, shadowsteps, and leaps is helpful.
 Mesmer's ,
 Scourge's , and/or
 Thief's can help your squad get around quicker.
 Pulls: You’ll want to group up ghosts and cleave them down during the first two parts of the encounter so they don’t overwhelm you.
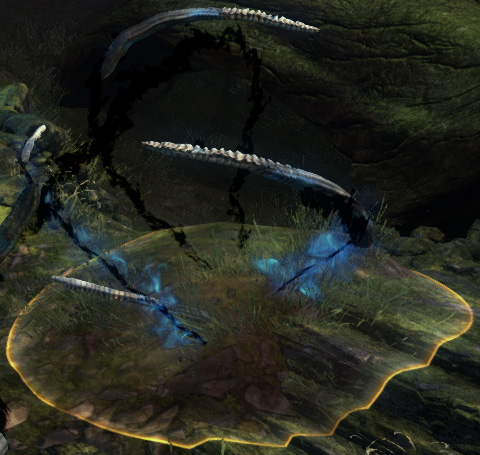
 Spirit Fury is an environmental attack that occurs regularly during the entire encounter. It’s marked by a yellow AoE on the ground that activates shortly after it appears. Tendrils of black and blue smoke will erupt from it that damage and Knockback anyone standing in it. These can knock you out of spectral rifts.
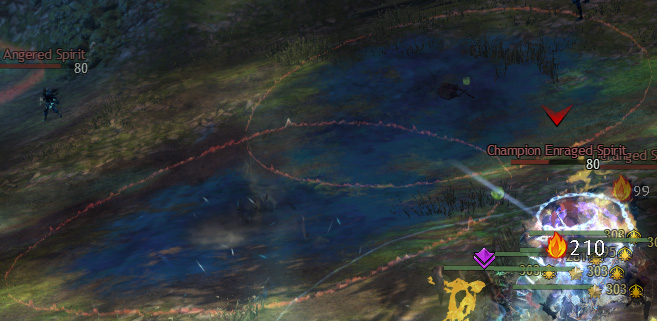
 Ectoplasm is only cast by the scepter-wielding Angered Spirits. They create a large blue AoE that
 Cripples anyone in it. It’s not as frequent as Spirit Fury, but since this encounter relies on moving from one location to another quickly, it can hinder your progress or cause you to get separated from the group.
The first part of the encounter takes place in an open field which initially has a small group of spirits roaming around. When you dispatch the spirits, a champion spirit will spawn and the event will begin.
Periodically, spectral rifts will spawn. They are indicated by a large floating ball of blue energy slowly descending in an AoE circle on the ground. If no players are standing in them, the AoE circle surrounding them will be red, but if players are, it will be blue. The goal is to capture the circle and close each rift within the allotted time. The capture bar in the upper right-hand corner of the screen fills up faster for each player standing in a rift. You need to capture 20 rifts total to progress.
As the ball sinks, it will turn bright red, indicating you are running out of time. If you don’t close a rift in 20 seconds, it will erupt and everyone in the squad will go  Down, no matter if they were standing in the rift or not. Since it will be almost impossible to recover from this and another eruption would
 Defeat everyone anyway, it’s best to wipe and restart the encounter.
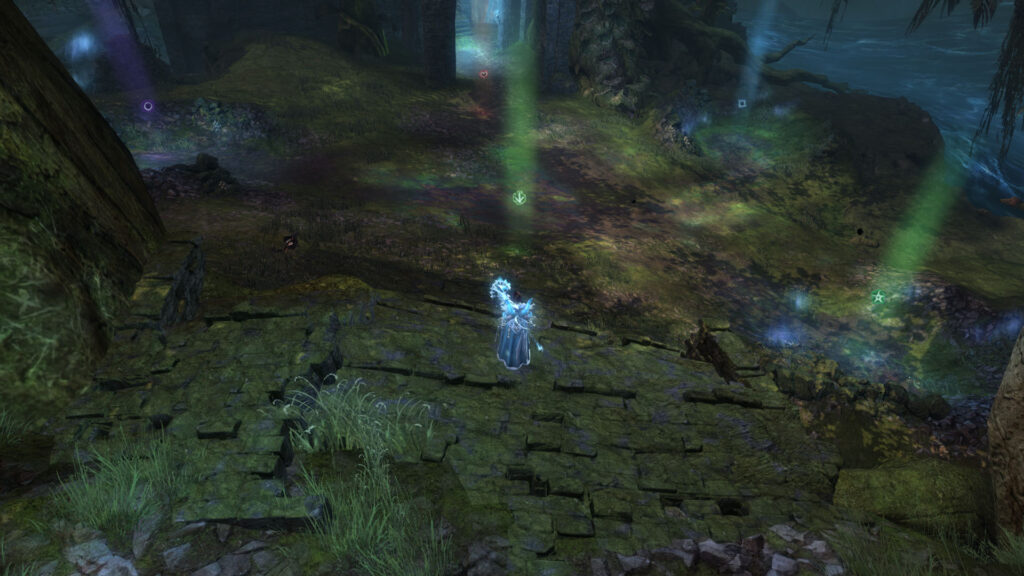
Spectral rifts spawn randomly in five fixed locations. They can spawn in the same spot multiple times in a row, so don’t necessarily move after capturing a rift unless you see another in a different spot. The locations are:
The image below shows each of the locations indicated by squad markers.
As you perform the event, spirits continuously spawn. These spirits can gain the  Ethereal effect, negating all direct damage, but conditions will continue to tick. You can also use
 Boon Strip or corruption to remove this effect, similar to the Blue Guardian’s
 Blue Pylon Power. A few champions might be up at any given time. Make sure you’re killing the spirits if possible since they can overwhelm your squad.
You can either zerg this event and have everyone stay together or split your squad into two groups, one taking each side of the field. Mesmers and Thieves can also preemptively put down portal entrances at one of the far rift locations just in case the next one spawns on the opposite side of the field. There is no guarantee they will spawn there though, so if your portal is about to run out, try to put it down for convenience. Be sure to specify whether people should take the portal; you don’t want half your squad ending up in the wrong spot.
After you close all the rifts, the gate to the next area will open.
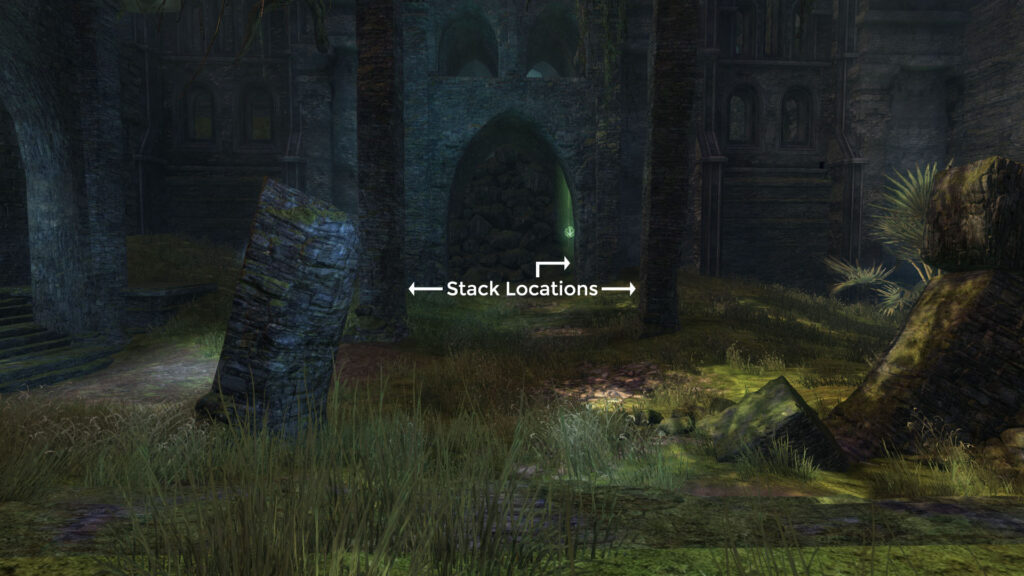
For this event, you simply need to kill enough ghosts to open the next gate. The best way to do this is to run straight through the courtyard and hide behind a pillar or the small piece of wall jutting out to line of sight (LoS) them. They will all come running toward your stacking location if people are properly hidden. When the first group is dead, run out and kill a few more spirits to finish the event.
This event begins as soon as someone jumps off the balcony past the gate. A hoard of spirits will spawn behind you and you need to outrun them down a winding path. Along the way, you have to close more spectral rifts the same way you did in Part 1, with one added obstacle: ethereal barriers are placed along the way, blocking your progress. You need to destroy these as quickly as possible to move forward.
To start, glide off the balcony and between the arches. When your squad reaches the first arch, they can use  Stealth Gliding to prevent the initial group of spirits from aggroing.
The Spirit Run is divided into four sections. The first two both have one spectral rift followed by one ethereal barrier. The third has two rifts and one barrier. Immediately after this third barrier is a drop — you must jump and glide to reach the next path.
The last section has three rifts. For this part, you can split and have your melee or DPS players skip the first, capture the second, and then run to the barrier to get a head start. Your ranged or support players will capture the first and third, and then meet the others at the last barrier. Alternatively, you can have a Mesmer run ahead and portal players to any of the locations.
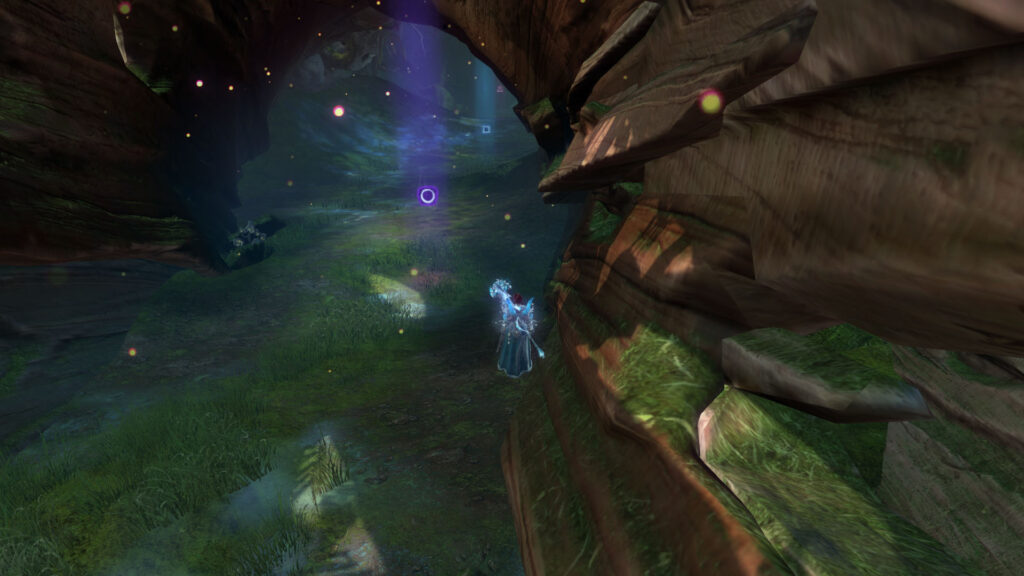
If you don’t move after destroying the last barrier, everyone will exit combat, giving any Defeated players a chance to revive. There are two Adrenal Mushrooms along the path to the graveyard. As you near the graveyard, a group of non-hostile spirits will merge into a hostile champion spirit. Additionally, more spirits await you in the graveyard. Ignore them and keep moving forward with your group.
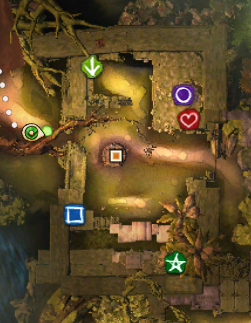
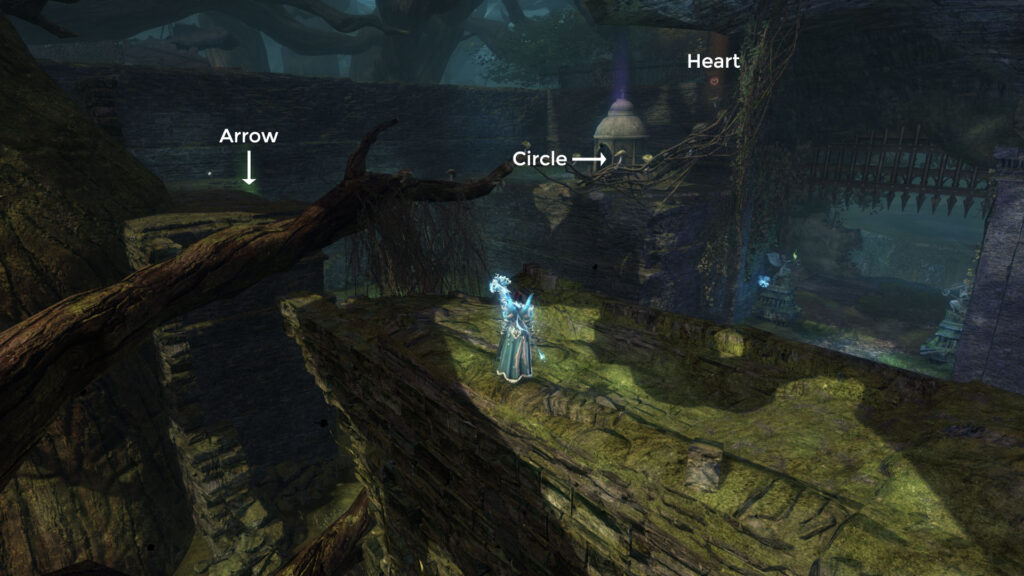
To open the last gate and finish the encounter, you need to have players standing on five different pressure plates in the graveyard simultaneously. The images of the five locations with markers at each will help, but I’ll describe how to get to each too:
 Arrow: Turn left as you enter the graveyard and turn around. The plate is in an alcove under the stairs. The person standing here might take a lot of pressure from mobs, so make sure it’s a healer or someone with good mobility and CC.
 Circle: Turn left as you enter the graveyard, turn around, and go up the stairs. When you get to the top, start across the tree branch and take the left path. The plate is in a small building.
 Heart: As with Circle, turn left as you enter the graveyard, turn around, and go up the stairs. When you get to the top, start across the tree branch. Take the right path, carefully hopping across the mushrooms. The plate is on the platform at the end.
 Square: As with Circle and Heart, turn left as you enter the graveyard, turn around, and go up the stairs. When you get to the top, hop across to the ruined bridge jutting out, or glide over from the tree branch. Follow it toward the winged statue and drop down onto the plate.
 Star: Turn right as you enter the graveyard and head up the stairs. Go east toward the closed gate. On your right, you’ll notice a small opening covered by vines. Go through it, turn left, and you’ll see the pressure plate in an alcove.
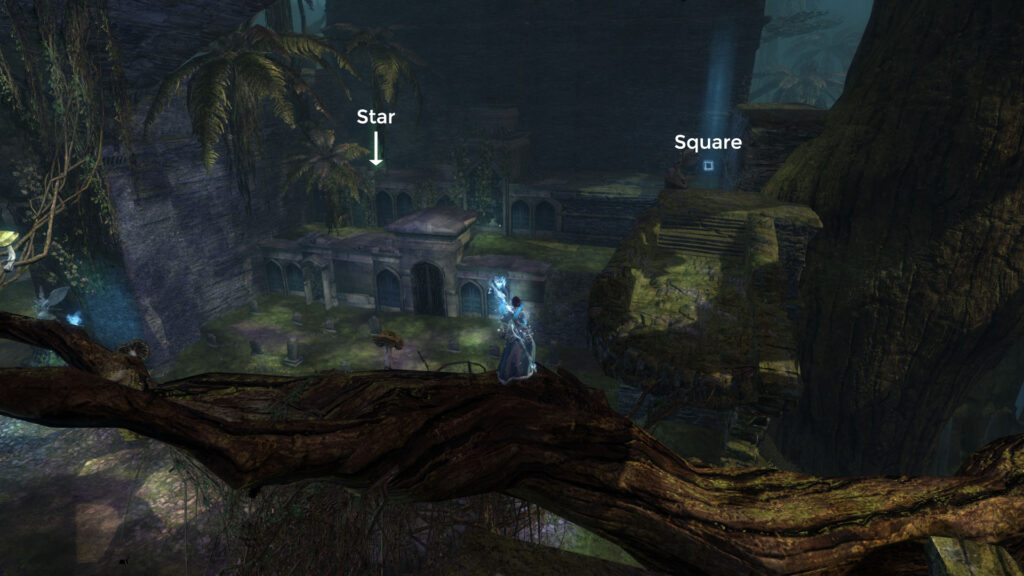
It’s best to wait until everyone is at a button to stand on them since standing on them causes another spirit to spawn, which can kick you off the buttons.
About Phoenix Uprising • Recurring Series • Support the Site • Contact • Editorial Guidelines • Privacy Policy
© 2022 Phoenix Uprising. All rights reserved.
About Phoenix Uprising • Recurring Series • Support the Site
Contact • Editorial Guidelines • Privacy Policy
© 2023 Phoenix Uprising.
All rights reserved.