


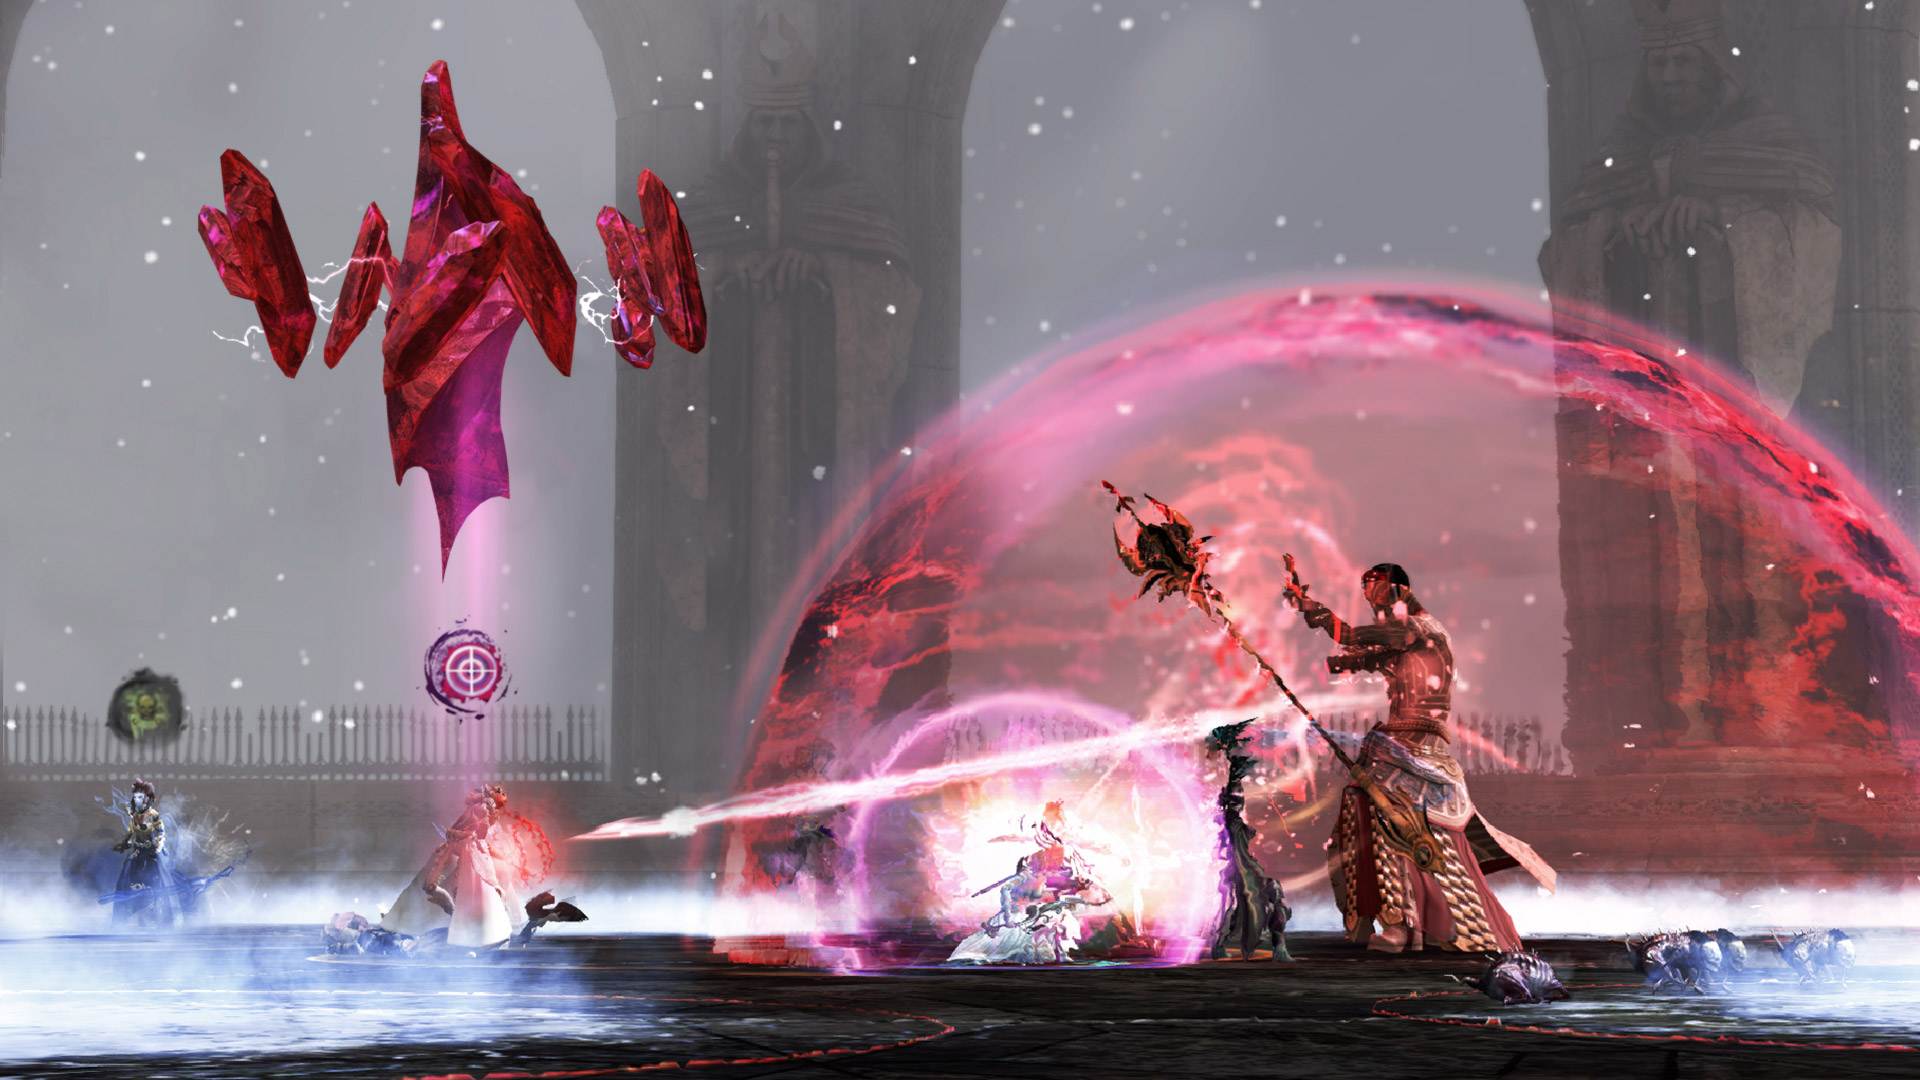
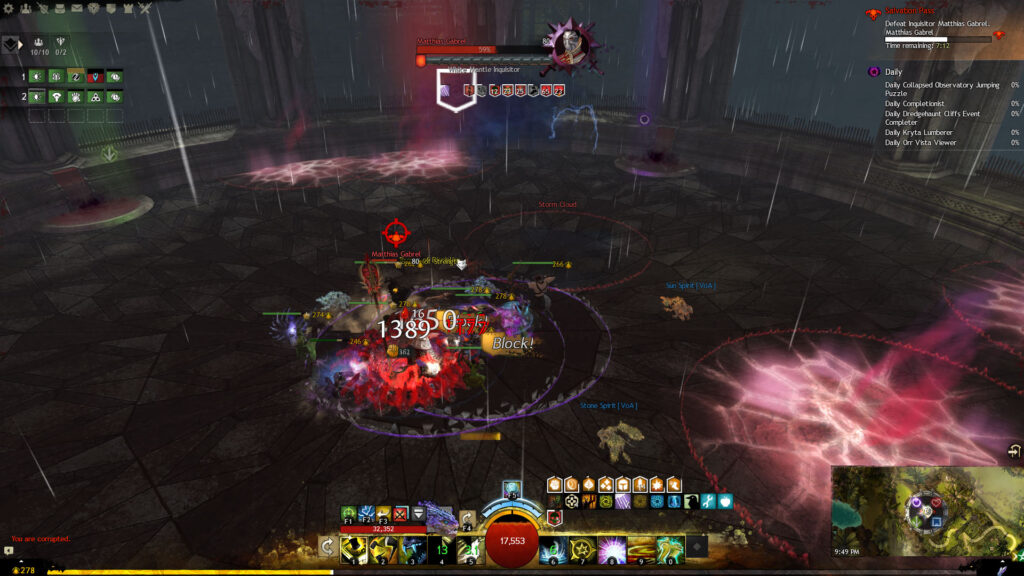
Welcome to my guide for the Guild Wars 2 raid boss,  Matthias Gabrel (often shortened to Matt), the third and final encounter in Salvation Pass (Wing 2). This is a detailed guide on the mechanics of the fight including various strategies that cater to everyone from beginners to experienced raiders. If you’re brand new to raiding, I recommend reading my Path to Endgame guides first.


Matthias is a difficult boss with many passive and random sources of incoming damage.  Condition Damage is generally better because players must run away for mechanics spontaneously and ticking conditions mean they will maintain DPS while performing them. He also moves frequently, meaning builds that require a boss stand in their AoEs aren’t the best either. Builds with frequent applications of
 Torment and
 Confusion will shine.
You can use two  Boon Thieves because Matthias' stolen skill is
 Detonate Plasma, which provides five players with every boon except for
 Alacrity.
 Forsaken Thicket Waters mastery. Everyone should have this to be able to safely cleanse themselves of
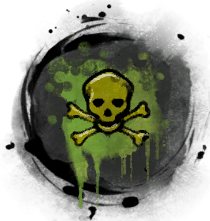 Corruption. If they do not, cleansing themselves will deal heavy damage and
 Stun them for three seconds.
 Projectile Reflect: You need reflects to end Matthias'
 Blood Shield mechanic. Matthias.
 Condition Cleanse and/or
 Resolution: There are a few conditions that are consistently and unavoidably applied by the weather mechanics during each phase.
 Revival: Since most mechanics target random players and Matthias is fairly mobile, it’s likely players will go
 Down occasionally and in inconvenient locations.
Matthias is located in a temple; players can enter the double doors without aggroing him as long as they don’t get too close. When you engage him, he will choose a  Target and put a red crosshairs icon over their head. This is the first person who enters the temple, so you can have one person attempt to bait it if you wish.
During the fight, he will always perform certain mechanics directed at the Target. This is also the only time the icon will be visible. The Target will remain the same unless they die, in which case he will choose a new one. Otherwise, he has no standard aggro mechanic and tends to chase the player who is farthest away from him.
Shortly after you engage Matthias, he will create a transparent red bubble around himself and gain 18 stacks of Blood Shield, becoming  Invulnerable to damage. He will also rapidly fire bloodstone shards at his chosen Target. These projectiles do heavy damage and must be Reflected back at him to destroy the shield (one projectile removes one stack of Blood Shield).
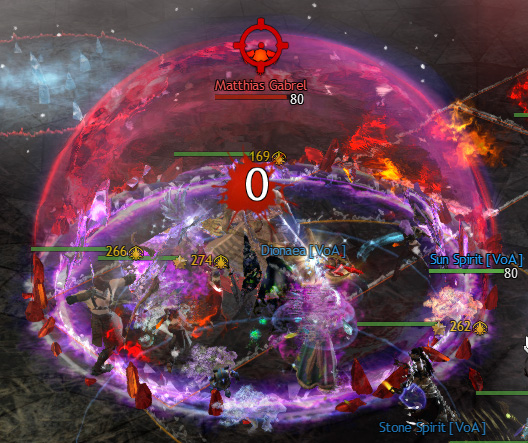
He fires more than enough shards to remove all 18 stacks, but if you’re slow to react or misplace the Reflect, you may miss some stacks. Players standing between Matthias and the Reflection source can also absorb shards, meaning they won’t be Reflected. If you don’t remove all the stacks, Matthias will continue running around with the shield, impervious to damage. Every once in a while, he will start firing shards at the Target again — this is your opportunity to remove the remaining stacks. He will conjure another Blood Shield every 30 seconds after the last stack was removed.
Two good options for this are to have a  Mesmer place a bubble around him or a
 Guardian put down a inside his hitbox. Note that Matthias can turn while using this attack, so it’s recommended the Targeted player stand still to avoid changing the direction the projectiles are firing in.
Players should not use projectile destruction and conversion while Matthias' Blood Shield is active, as it might overwrite Reflection and draw out the fight.

At 9:45 and every 45 seconds thereafter, Matthias will choose a random player to sacrifice. Everyone will see an on-screen message: “[Player name] is about to be sacrificed.” That player will get a red arrow over their head and be teleported to the center of the room four seconds later. At this point, they will lose the ability to move and use skills and become hostile to their squadmates. If they were the Target, Matthias will choose a new player for any targeted attacks he uses during the sacrifice. If they are a  Ranger, their pet will be stowed temporarily while Mesmer illusions,
 Necromancer minions, and Ranger spirits will become hostile to the squad. These are usually killed fairly quickly by AoEs.
The player will also have a break bar under their health bar. Everyone else needs to use CC to break it, or else the player will be sacrificed 10 seconds later and  Defeated.
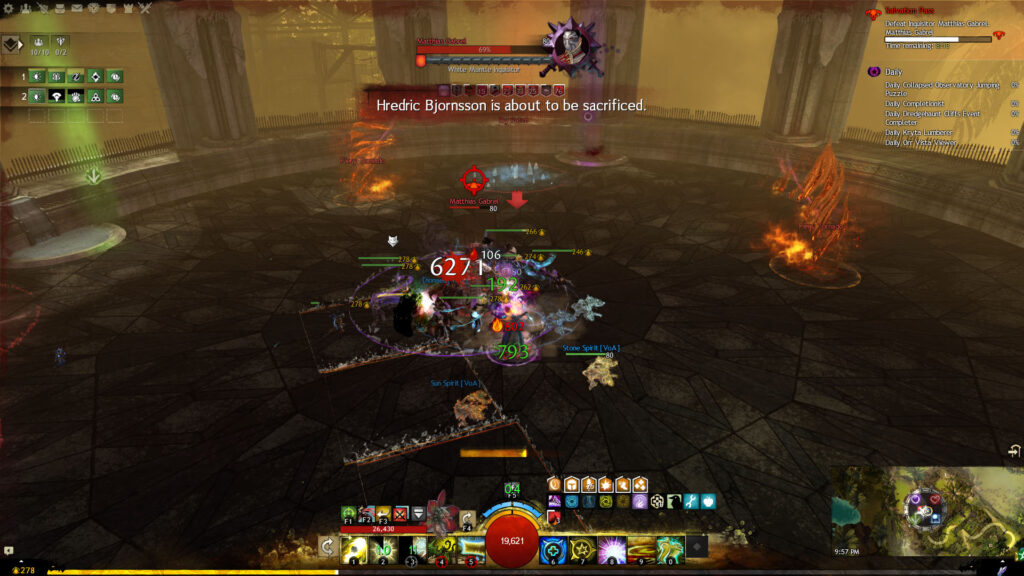
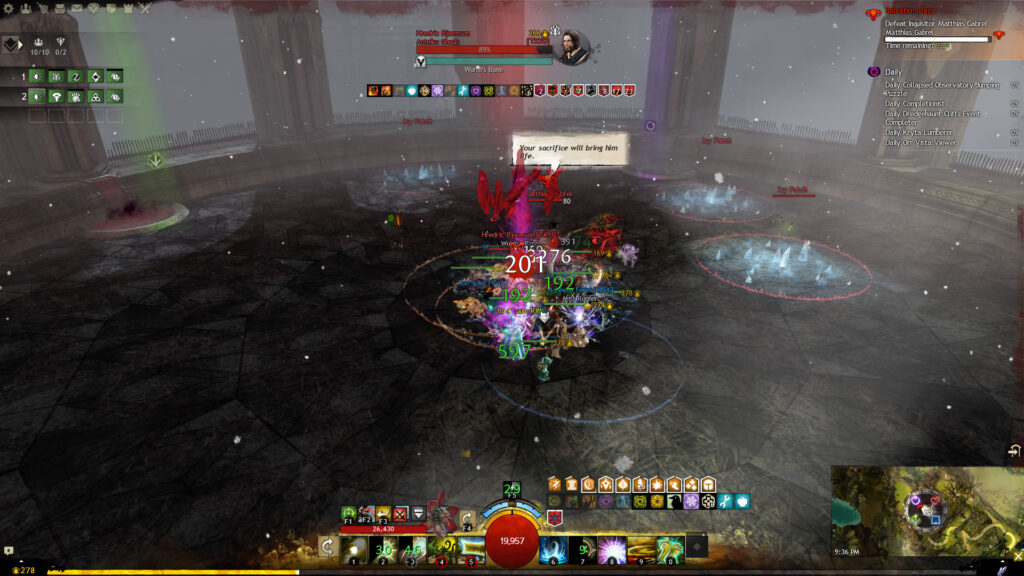
Since you can damage the sacrifice, you should focus on using hard CC that doesn’t do much damage or inflict  Vulnerability or damaging conditions. The sacrifice’s maximum health pool is increased to 100k, but they will retain their health percentage from the moment prior to being sacrificed (e.g. if they had 40% of their health remaining, they will have 40k HP). If they were healthy beforehand, they can take a bit of a beating, but it is still possible for nine players to burn through 100k HP if they’re not paying attention. If the sacrifice runs out of health before the 10 seconds are up, they will also die.
Matthias utters different voice lines depending on the outcome, so you know what happened:
If you had active Necromancer minions prior to being sacrificed and they were destroyed, the skills will go on cooldown and you’ll need to resummon them when you can. If you were the Target, you will still be the Target after you are saved.
Also called: Poison
Tells: Sound effect while corrupted akin to eerie spa music, green poison icon overhead (), golden aura around your screen, wavy purple diamond icon on effects bar ( ), on-screen message: “You are corrupted.”
At 9:55 and every 30 seconds thereafter, Matthias will Corrupt one random player, giving them a yellow AoE at their feet which deals constant damage to the player and anyone standing in the AoE.
To remove Corruption, the player should immediately leave the group and enter one of the four fountains around the room. This pollutes the water, which turns a hazy maroon and cannot be used to cleanse Corruption for the next 90 seconds. Therefore players must utilize all four fountains in the room.
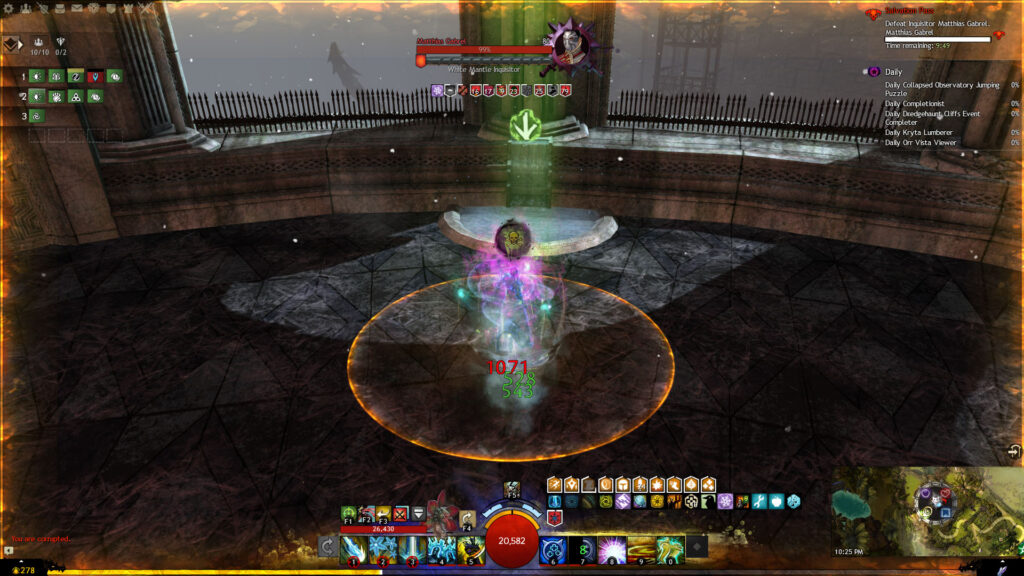
It doesn’t matter which fountain the first player uses, but squads usually like to use them in a clockwise or counterclockwise order so the next Corrupted person knows which one is available. Commanders will often put squad markers in front of each fountain so players can call out which one they used or which one to go to next.
Players already low on health or those who are Corrupted for a while because they have to run around other mechanics or players to drop it off may be in danger of going Down when running to a fountain. Healers should try to watch them and spot heal if necessary, while Corrupted players should call out if they’re low.

Occasionally Matthias will spin in the air and slam his staff on the ground, sending out a circle of ~20 bloodstone shards that can be  Dodged or
 Blocked. These projectiles do moderate damage and apply
 Blood Fueled, which increases a player’s outgoing damage by 10% per stack. Players with skills that prevent or invert damage but do not apply Invulnerability (e.g. or ) can use them and eat projectiles to gain stacks without taking damage. Otherwise, be very careful about if and when you choose to get hit by them.
These projectiles can be Reflected back to Matthias, giving him the effect instead. This is why you must have controlled Reflects in this fight, since increasing Matthias' outgoing damage too much will pose a huge threat to players.  Heal Tempests, in particular, have the potential to apply
 Magnetic Aura often with the skill of the same name, (Staff 3) and others such as and (Warhorn 4), so they should be careful with their rotation. A
 Druid can, however, safely place (Staff 5) inside his hitbox to convert all the shards to healing bolts before they reach players.
Approach Matthias when you’re ready to begin and be prepared to deal with the initial Blood Shield. Matthias cycles through the elements during the fight and each time he switches, there is a different passive weather effect, elemental mechanic, and attack in place.
The first phase is  Ice, lasting from 100% to 80%. It snows and becomes foggy, ice crystal patterns sometimes appear on the floor, and the windows turn white. There is also a snowflake icon on everyone’s buff bar.
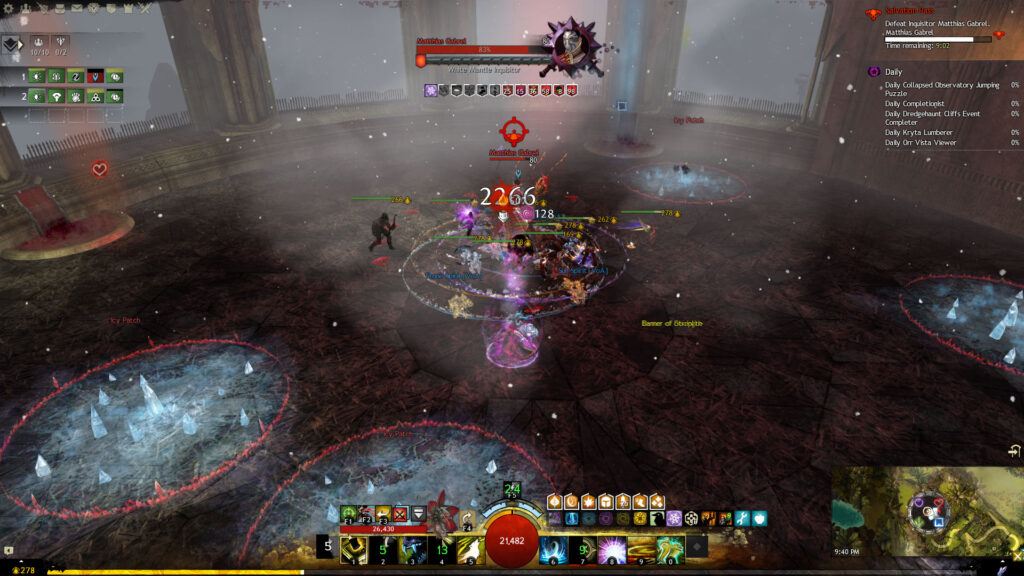
 Snowstorm. It applies
 Chill every 10 seconds, periodically damages all players, and reduces movement speed. Chill and
 Knockdown to any player who walks over them. They are targetable and can be melted (destroyed) with any attack that inflicts
 Burning. These icy patches persist throughout the entire fight if not destroyed, but you don’t need to get rid of them all.
Also called: Hadouken
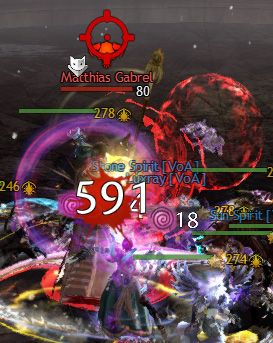
Matthias spins his staff briefly (using the same animation as a  Revenant's (Staff 3)) and then fires an orb of energy in a straight line that does massive damage to anyone it hits.
He will always perform this attack facing the Targeted player and he tends to use it after Shards of Rage and after his shield is broken. The attack can be avoided by Dodging or standing behind him, but since the tell is short, make sure you’re always aware of your positioning.
The second phase is  Fire, lasting from 80% to 60%. The windows turn yellow-orange and there is a flame icon on everyone’s buff bar. Matthias doesn’t use
 Oppressive Gaze in this phase.
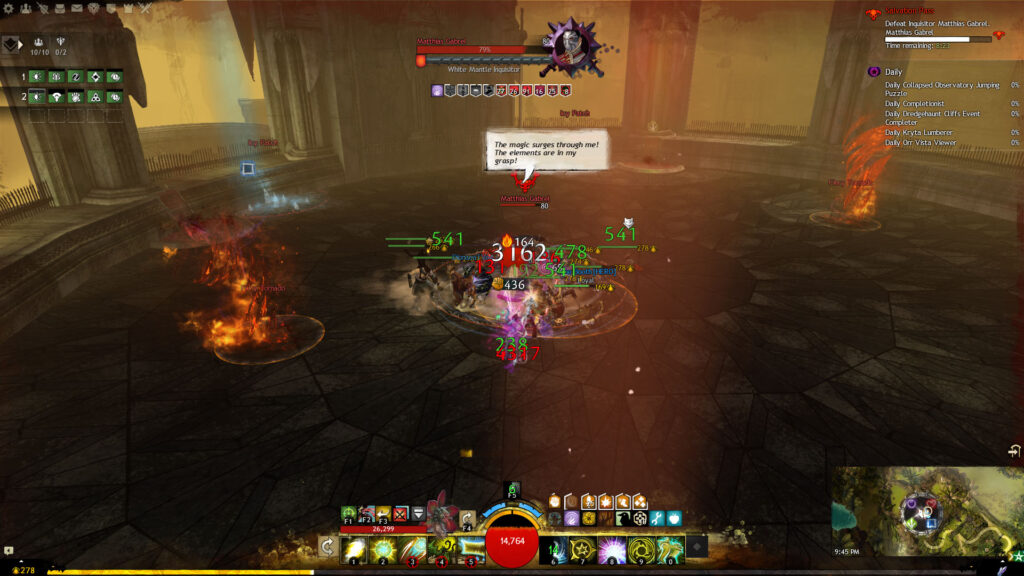
 Heat Wave. It applies three stacks of Burning every 10 seconds and does minor damage to players who stand still for too long. Dodge through them, use a
 Stun Break, or wait for them to release you in a few seconds.
Tells: Beep audio cue on acquisition, green skull icon overhead ( , the same as Volatile Poison at Slothasor), purple blood drop icon on effects bar (
 )
Every 10 seconds, a random player will gain a special action skill,  Purge, and start taking pulsing damage. Using the SAK creates a well of the profane at the player’s feet, a large red AoE that damages anyone standing in it.
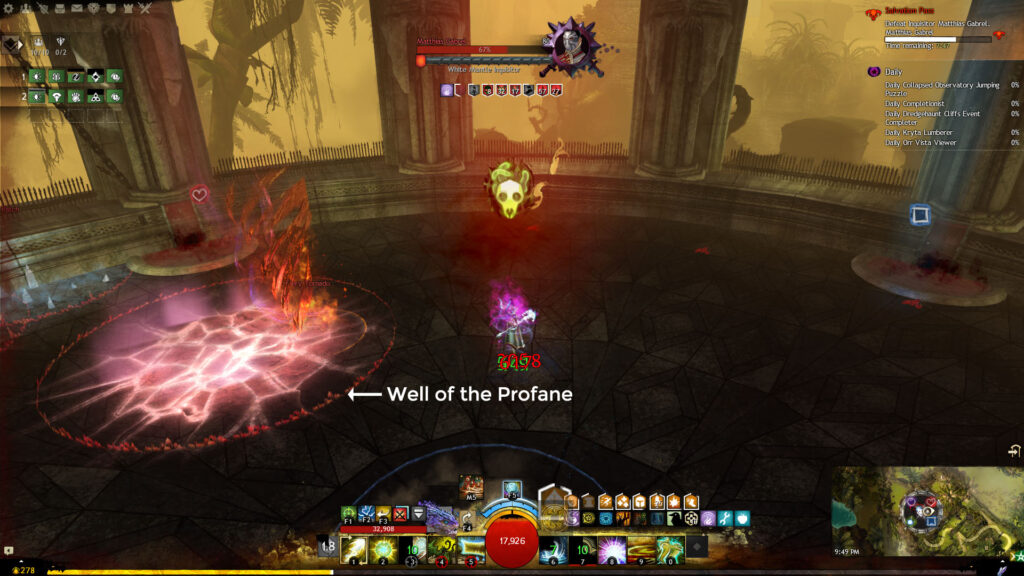
The afflicted player should immediately run to a wall between fountains or to the doors and use their SAK to drop it off. If the effect isn’t purged manually, the AoE will still drop in eight seconds. If the player goes Down, it will drop prematurely.
Avoid confusing this with Corruption. You will only have a special action skill with Unstable Blood Magic, and you will not have a golden aura around your screen or a continuous sound effect. The icons are also different, with Corruption being a darker green skull and crossbones with poison dripping in the background, and Unstable Blood Magic a brighter lime green skull.
The third phase is  Storm, lasting from 60% to 40%. It rains, the windows turn gray, and there is a rain cloud icon on everyone’s buff bar. Matthias doesn’t use Oppressive Gaze or Unstable Blood Magic in this phase.
 Downpour. It applies five stacks of
 Poison every five seconds and players routinely gain stacks of Downpour while moving, indicated by the number on their rain cloud icon. At 10 stacks of Downpour, players will become
 Unbalanced and have a purple tripping stick figure icon over their head and on their buff bar. If an Unbalanced player continues moving, they will be Knocked Down, but if they stop moving, they will lose the debuff and their stacks of Downpour will be reset. It’s recommended that players either not move at all, or move until they hit 10 stacks and then stop moving to negate the mechanic. Downpour stacks, regardless of movement.
Matthias will give five random players expanding AoEs under their feet. Five seconds later, the AoEs will explode, doing light damage to the person with the AoE, but massive damage to anyone else standing in it. Anyone standing in someone else’s AoE will most likely go Down.
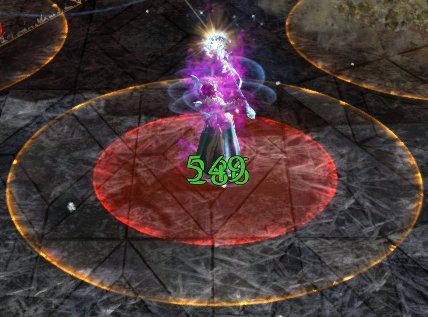
The affected players should immediately move away from the squad and spread out. The AoEs can overlap as long as no player is standing in one. Try to spread just enough to keep everyone safe, since your movement should be limited in this phase and Matthias likes to follow the farthest player. If you become Unbalanced and/or get Knocked Down with the AoE, try to call out so everyone else knows they must run from you instead.
At 40% health, Matthias' magic becomes unstable: he will be temporarily Invulnerable and transform into a hulking bloodstone abomination. Immediately after transforming, he will stomp down, giving all 10 players the Zealous Benediction AoE, and then  Fear them a moment later. The Fear can be avoided with
 Stability or by Dodging or Blocking after the stomp. If you don’t avoid the Fear, you may be caught on a collision course with another player’s AoE. Everyone should be prepared to resurrect others and recover if necessary.
Matthias will cycle through the previous three elements every 30 seconds in the abomination phase, starting with Ice and going in order. Each cycle will have the appropriate tells, weather effects, and elemental mechanics as in the main phases. The attacks change slightly:
Oppressive Gaze ( Ice) during all element cycles. Unstable Blood Magic ( Fire) during the Fire cycle. Storm) during all element cycles, but now always inflict 10 targets with it instead of five.Some of his general mechanics are also altered:
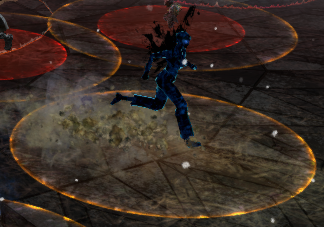
Blood Shield, but while firing shards at the Targeted player, he will hover over the ground, pull one arm back, and stick the other arm straight out. Corruption mechanic remains the same. Shards of Rage, but instead of jumping up and slamming his staff down, he will jump up and rain down shards, as indicated by AoE circles. It’s arguably easier to Reflect these arcing projectiles than the straight-line projectiles previously used, so take care with Reflects.The new addition in this phase is blue ghosts that spawn at the wall and jog across the room in a straight line. Standing in the yellow AoE at their feet does high pulsing damage. The damage cannot be Dodged or  Evaded but can be Blocked. At 20%, two ghosts will be active at one time. Everyone should be aware of the ghosts’ location, especially when going to cleanse Corruption and spreading out for Zealous Benediction.
If you don’t kill Matthias within 10 minutes, he becomes  Enraged and does 200% more damage. If for some reason you haven’t made it to the abomination phase already, he will no longer sacrifice players while Enraged.
About Phoenix Uprising • Recurring Series • Support the Site • Contact • Editorial Guidelines • Privacy Policy
© 2022 Phoenix Uprising. All rights reserved.
About Phoenix Uprising • Recurring Series • Support the Site
Contact • Editorial Guidelines • Privacy Policy
© 2023 Phoenix Uprising.
All rights reserved.