


Welcome to my guide explaining the achievements in Spirit Vale (Wing 1) and suggesting strategies to accomplish them.
This is part of my Advancing Your Endgame series, designed to introduce mid-level raiders to achievements and challenge modes, as well as up their damage and support potential. Check out my Spirit Vale guides if you’re unfamiliar with the encounters.


Defeat the  Vale Guardian. That’s it.
Avoid getting hit by  Magic Storm and then defeat the Vale Guardian. This is the attack Vale Guardian starts using in Phase 3, after the first split phase.
The best way to ensure people get this achievement is to break Vale Guardian's defiance bar as soon as possible. The faster you break it, the fewer AoEs will be thrown around the arena. You’ll always see a few AoEs — I recommend sidestepping these since  Dodging might cause you to end up in another circle.
Attune to every pylon once. At the beginning of the split phase, you need to be in the arena sector corresponding to the pylon color you need. Red is south, blue is northeast, and green is northwest.
You don’t need to kill Vale Guardian to attain this achievement, but you do need to fight it at least twice since there are only two split phases per fight. It’s easiest to get blue and green in one go since they’re usually pulled together for the power DPS to fight in most groups. If you need red, the best thing to do is play condition DPS. Otherwise, tell your commander and healers that you intend to attune red if you’re playing boon support or power DPS since you’ll need extra healing to survive.
Kill all of the Vale Divisions within 10 seconds of each other and then defeat the Vale Guardian. You must break their defiance bars to kill them; bringing them to 1% health doesn’t count. You can accomplish this using any split strategy.
The first option is to pull all three guardians together, having the condition DPS focus on the  Red Guardian. The downsides to this are that there is a lot of incoming damage and you might accidentally break one’s bar when you weren’t prepared to do so.
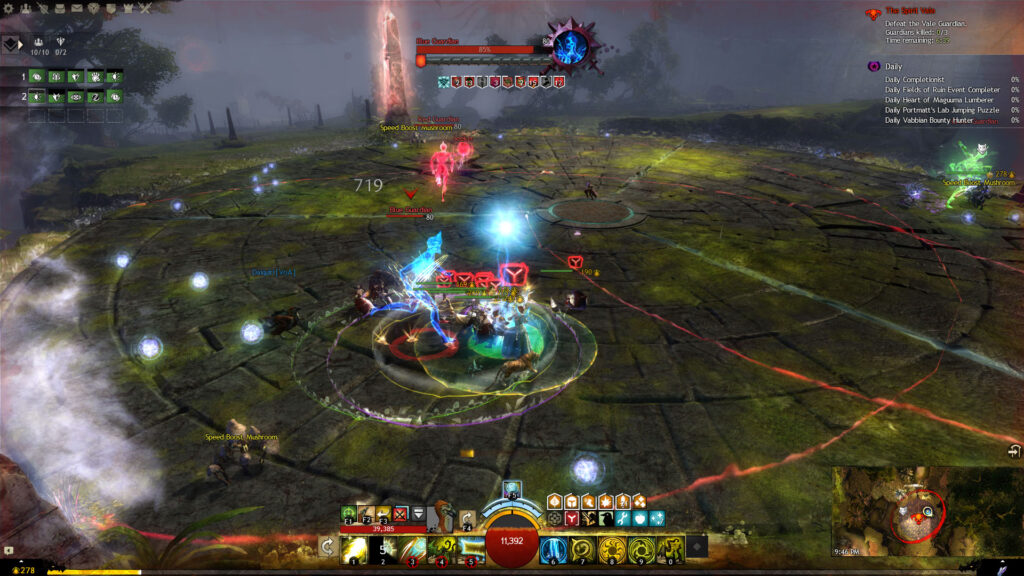
Another option is to do the ‘usual’ strategy of pulling the  Green Guardian over to the
  Blue Guardian and have your condition DPS go to the Red Guardian. For this you need to ensure your power DPS don’t burst the Blue Guardian too hard before the Green Guardian gets over to that sector. In addition, make sure your condi DPSers can kill the Red Guardian quickly; if they can’t, you can use a third condi DPS to balance things out better.
If you’re splitting three ways, you need to balance damage and CC, but if you can make that happen, this is the most promising strategy to get the achievement.
Complete the entire Spirit Woods encounter. That’s it.
Light the brazier at the far end of the Spirit Woods without dropping the spectral torch. There is a blue glowing torch on a wall at the far end of the Abandoned Outpost, the second section of the Spirit Woods. One player needs to pick it up and survive the journey through the Spirit Run and cemetery. If you head right when you exit the cemetery, you’ll see a brazier on the wall where you can deposit the torch.
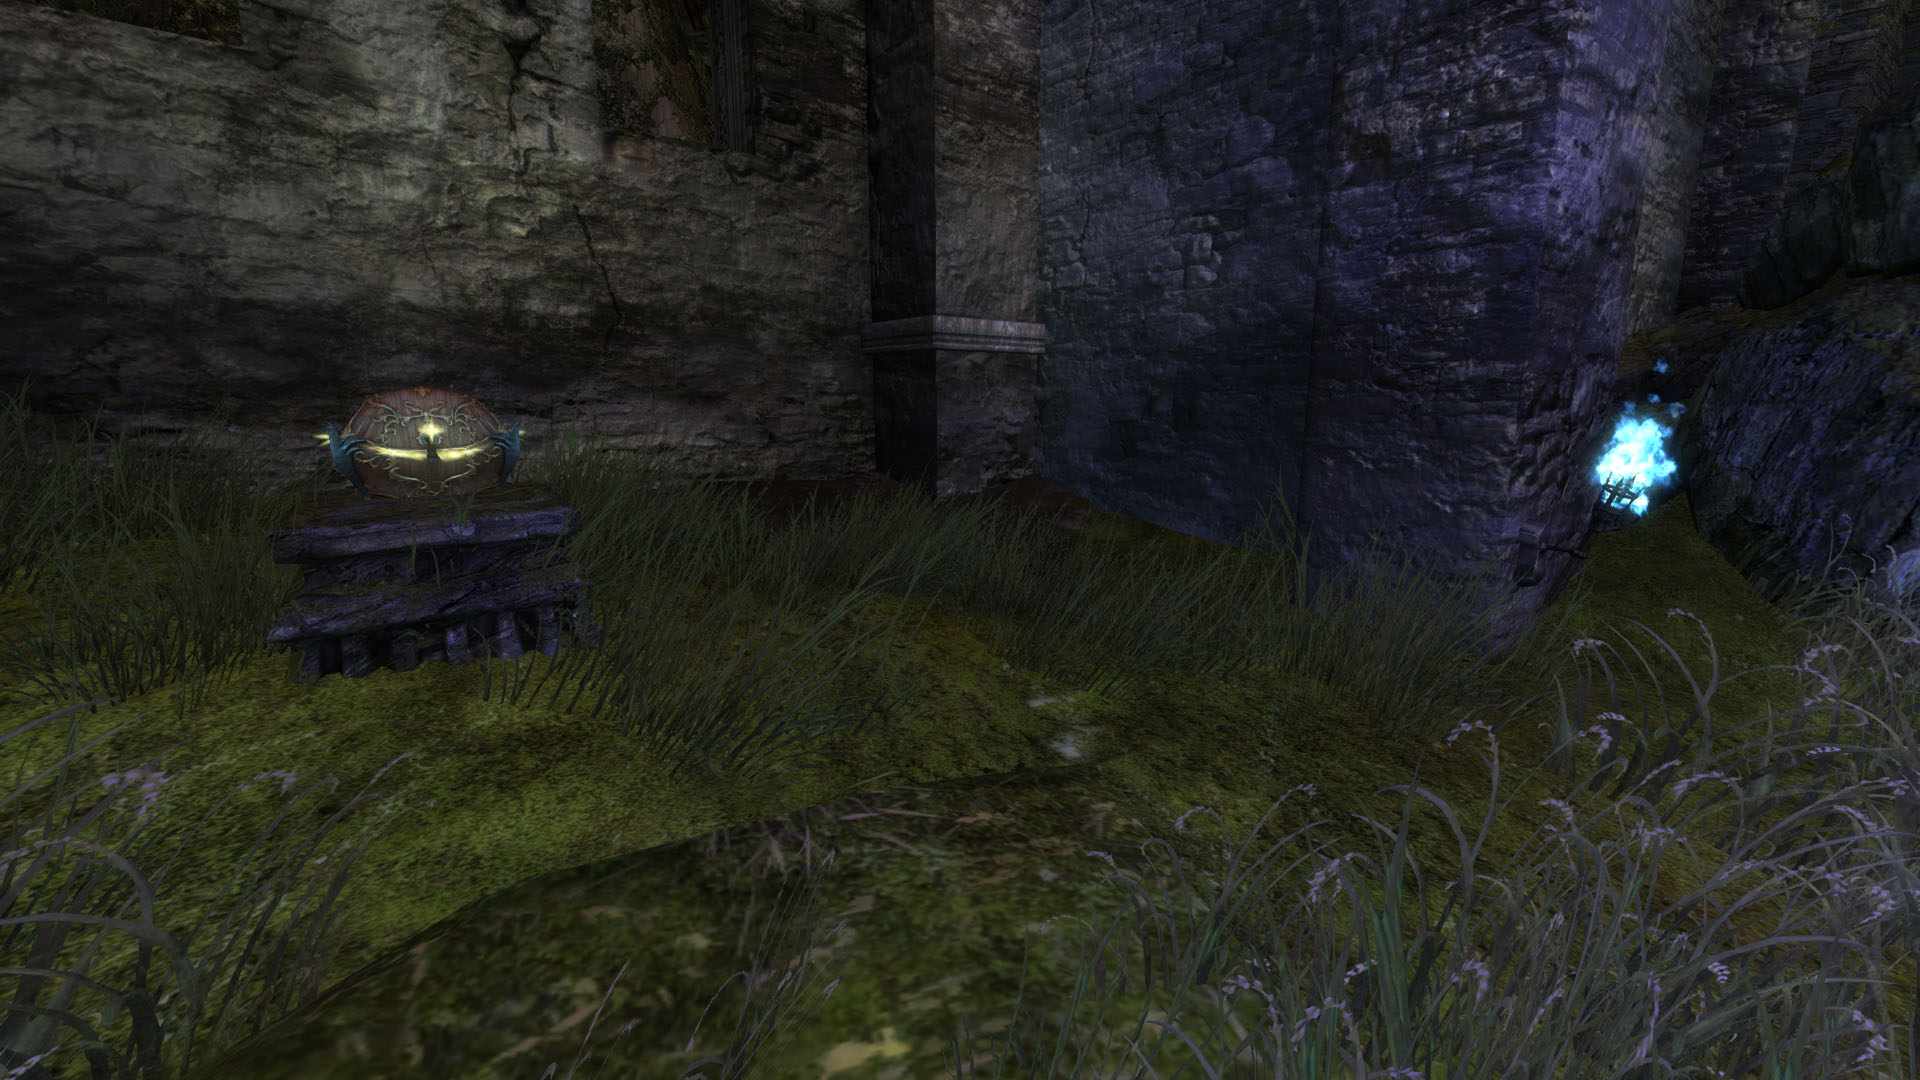
The torch will be lost if the player carrying it goes down or uses a bundle or transformation ability that replaces their weapon skills (e.g. , , , etc.). Consider having a player that does not need to use any of these abilities take the torch. The achievement text is redundant — there is no way to light the brazier if you drop the torch since it can’t be picked up again.
Players seeking legendary armor can interact with the lit brazier to acquire an  Infused Soul Mirror. Lighting the brazier also spawns an extra chest on the pedestal to the left, from which players can receive
  Ectoplasmic Residue.
Escape the Spirit Woods without getting  Crippled. You have to avoid all the large blue
  Ectoplasm AoEs created by the angered spirits. This achievement only applies to the Spirit Run section of the Spirit Woods.
You can easily cheese this achievement since you have to participate in the Spirit Run event, but you don’t have to be alive at the end of it. To do this, glide into the Spirit Run as usual. I recommend everyone in your squad use  Stealth Gliding when they reach the arch so the spirits don’t aggro and attack early.
All you have to do is stand in the first circle until it’s complete to gain capture point contribution and then you can resign (/gg, /qq, /concede, whatever you like). You do have to avoid being crippled while standing in the circle, so abuse  Blocks, Dodges, and
  Aegis. Ideally, only two players at a time should get the achievement using this method since you don’t want to take away too much DPS from the ethereal barriers, or have too few people to cap circles in time.
You can get this achievement the ‘intended’ way, it’s just more difficult and requires some fancy footwork.
Complete the Spirit Run in under 2 minutes.
This achievement is pretty easy. Here are some time-saving tips:
 Mesmer place a in the first capture circle. They can then and twice to the wall while everyone else caps the circle and waits. The Mesmer should open the at the barrier and everyone can come through and wail on the wall, ignoring the last two capture circles.
Defeat  Gorseval the Multifarious. That’s it.
Defeat Gorseval without being hit by its rampage attack. This refers to the black and blue goop explosions created by  Ghastly Rampage. You can freely attack Gorseval as the mechanic occurs, but don’t go overboard since going down in goop is a surefire way to lose the achievement.
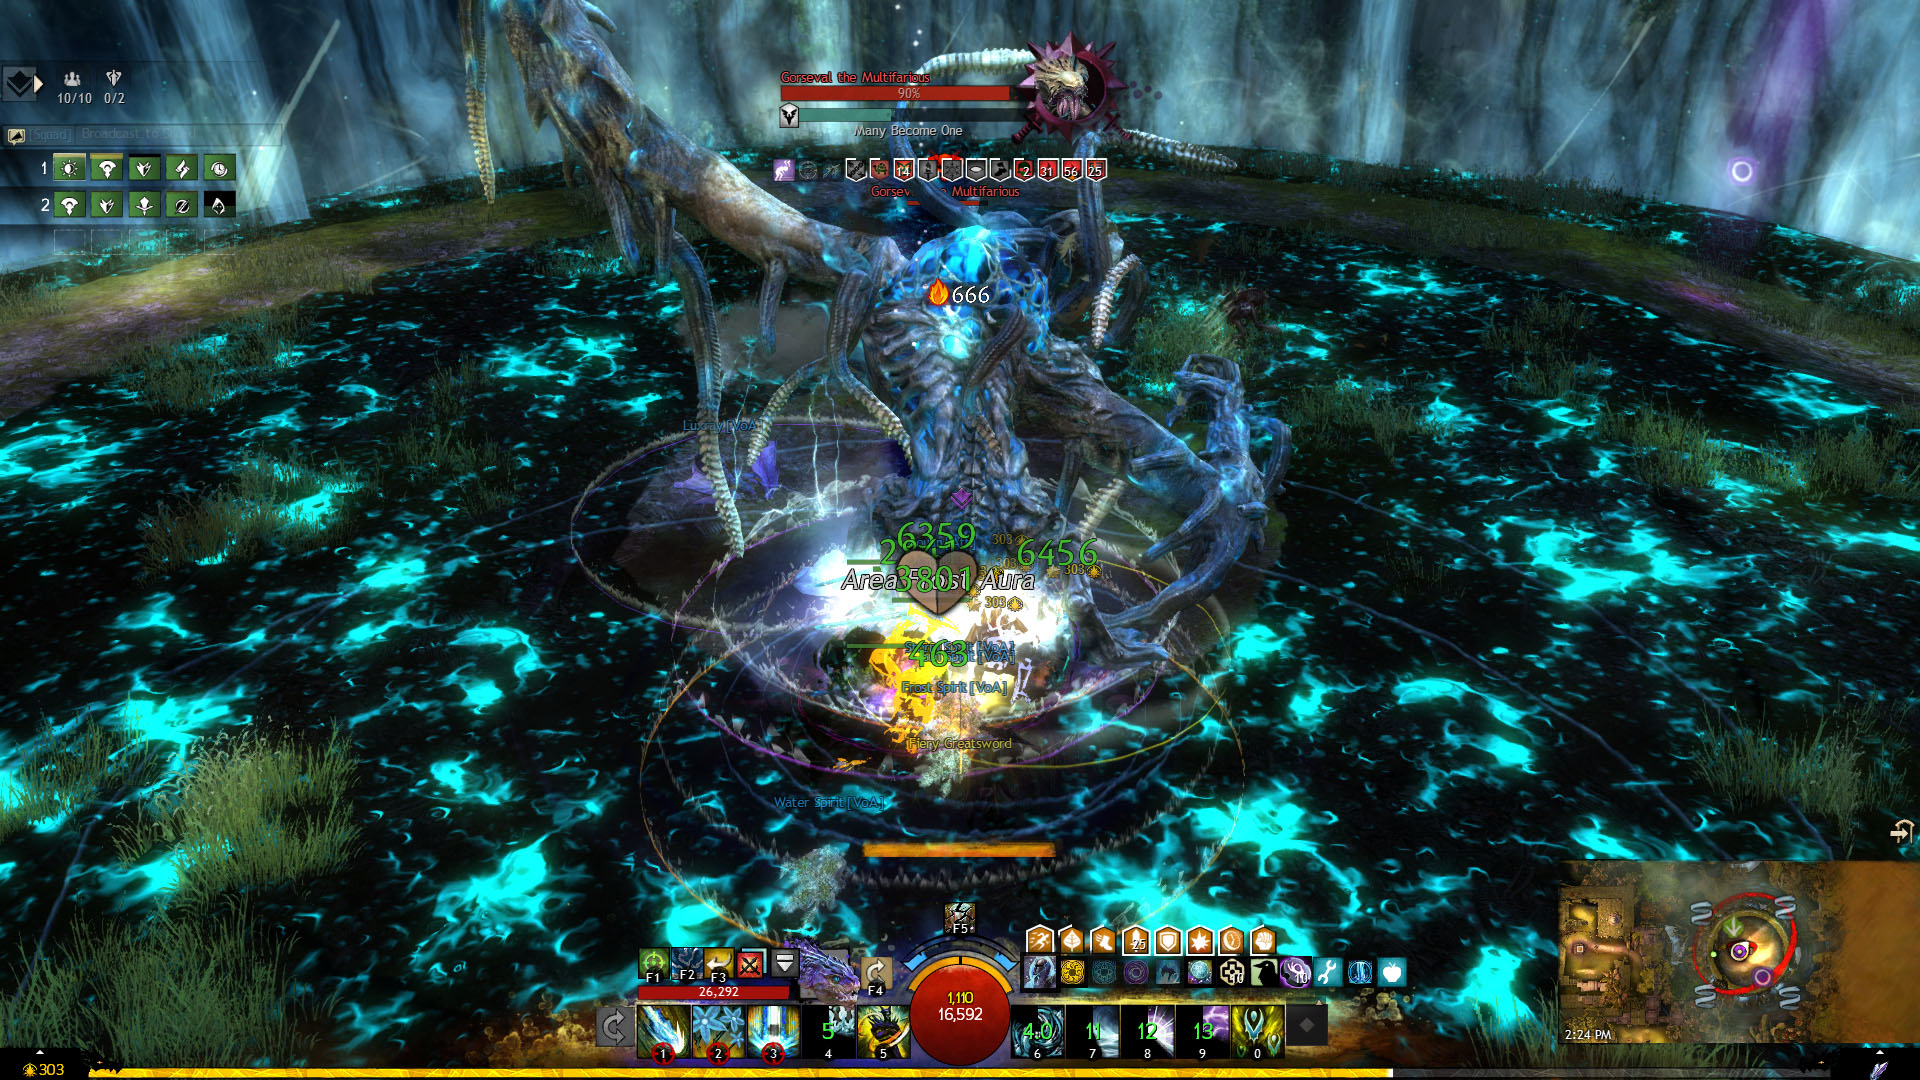
The easiest way to ensure you get this is to break Gorseval's defiance bar as fast as possible. If you’re ignoring Updrafts, you should ensure you have the DPS to perform a true fast break. You can also get this achievement using the slow break method, but you must break Gorseval's bar before the final goop pattern in each phase since it covers the entire platform.
Assuming you can break the bar before the third goop pattern, here’s what to watch out for:
Dodge backward again toward the outside of the platform for the second one.Deny Gorseval from consuming any spirits. You have to kill the four charged souls before they reach Gorseval during the intermediate phases and prevent him from consuming the four spirits that spawn after Ghastly Rampage. He absorbs them by killing them with  World Eater.
This achievement is easy. Simply have a Mesmer pull the four spirits into Gorseval's hitbox using → shortly after they spawn. They’ll be cleaved down with him. As for the charged souls, you’ll probably wipe if you allow one to reach him anyway.
Avoid the Spectral Darkness. Exactly what it says on the tin, you have to avoid stepping in the orbs’ expanding PBAoEs. If you see the ghost icon over your head ( ), you’ll know you’ve failed.

Since getting the Spectral Darkness debuff is a huge DPS loss, you shouldn’t be hit by one in 99% of your kills anyway. To make this less likely to happen, bring strong ranged weapons or skills to destroy the orbs before they become a problem.
Defeat  Sabetha the Saboteur. That’s it.
Avoid getting hit by  Firestorm. This is Sabetha's flame wall attack. You’ll die if you’re hit by it, forfeiting the achievement anyway.
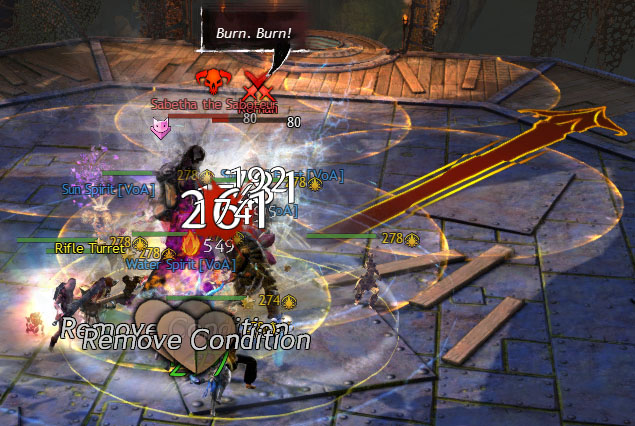
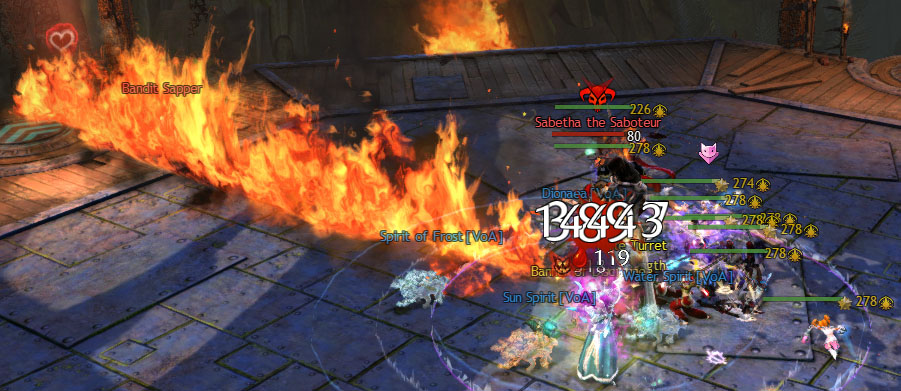
Just don’t get hit — it’s as simple as that. To make it less likely, try to avoid being on cannon duty and play a build without long animation locks or movement skills in its rotation. is not your friend.
Leave one cannon operational for the entire fight. You can choose any of the four cannons.
I recommend leaving the fourth cannon up, East/ Square. It spawns two minutes into the fight, giving you plenty of cannon-fire-free time at the beginning. With good DPS, you can kill Sabetha in four minutes or less, meaning you still won’t have to deal with the damage until halfway through. Avoid standing on that side of the platform after it spawns and it should be pretty easy to finish the fight.
Get launched up to a cannon. As the achievement says, you have to get launched up to a cannon during the Sabetha fight by standing on a launchpad and having a  Sapper Bomb thrown at your feet.
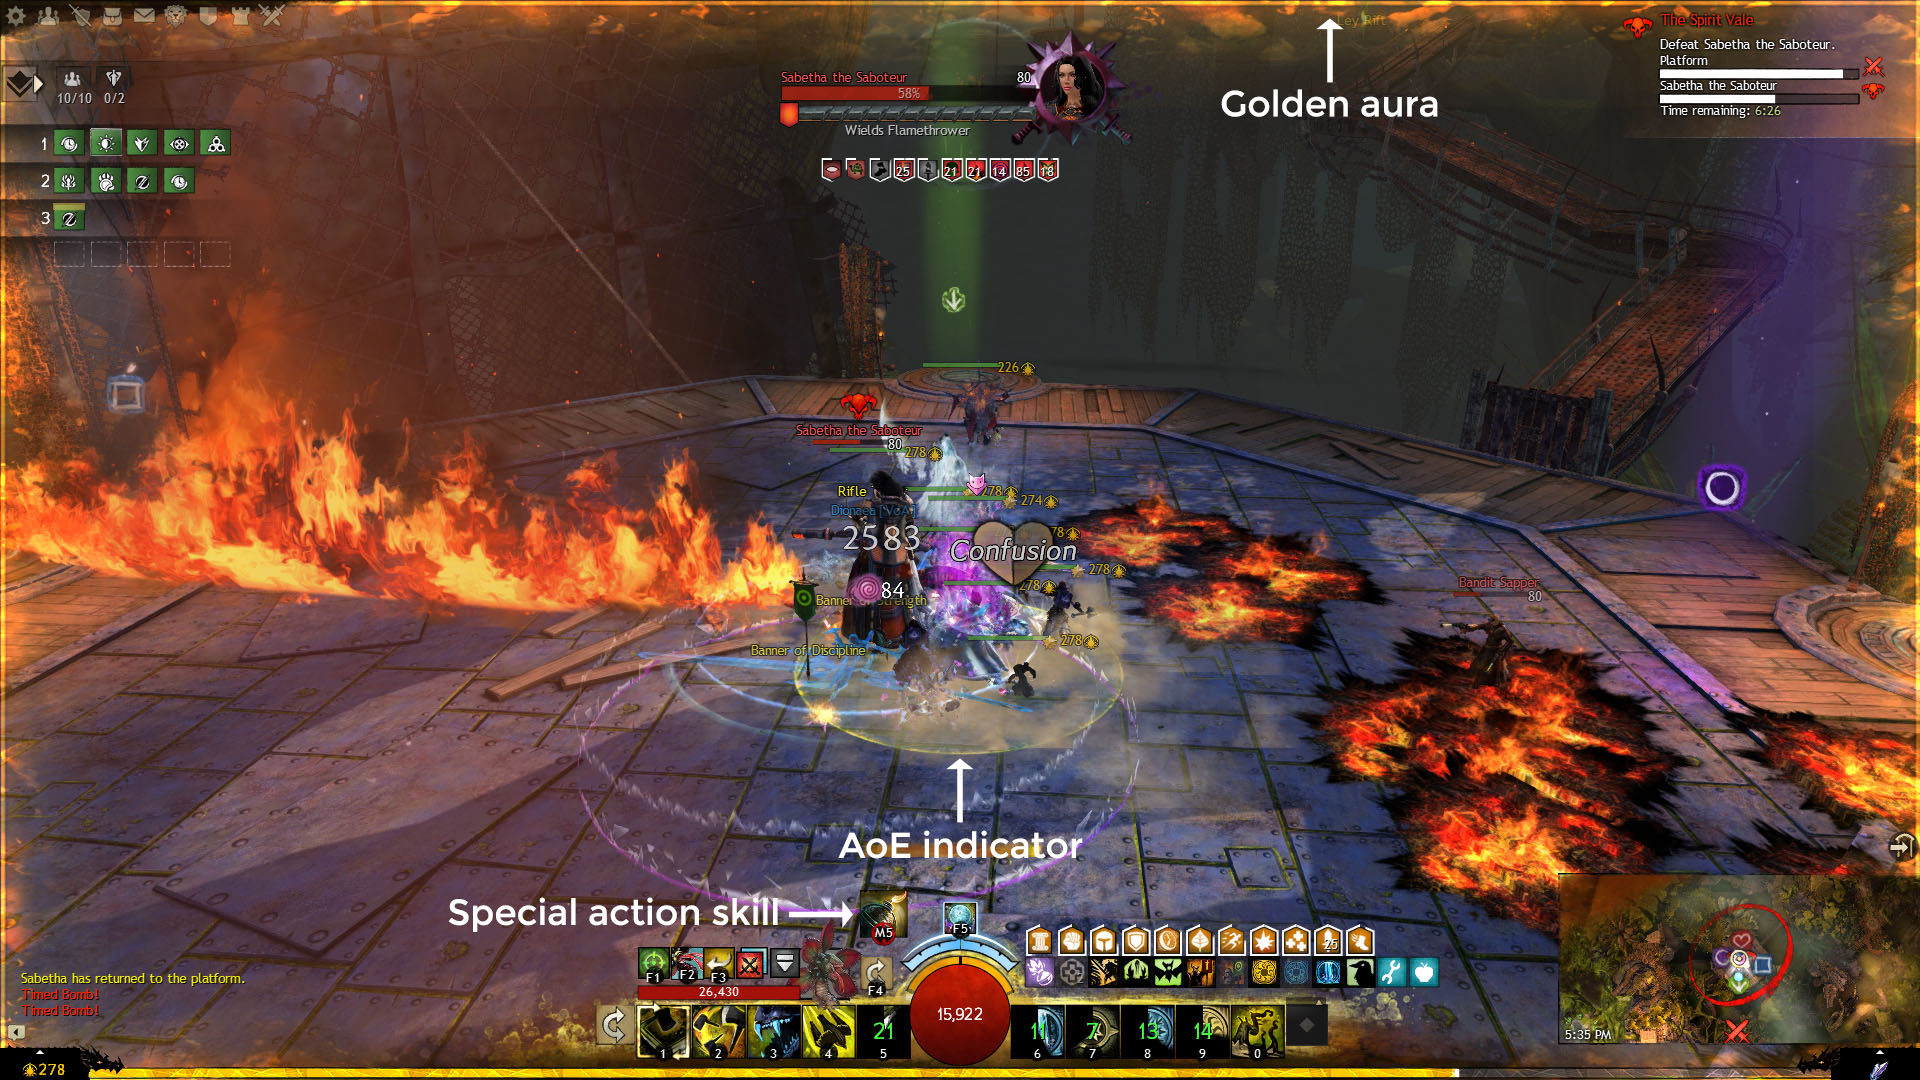
You can either volunteer for cannon duty or ask your squad commander to just do the first cannon or get launched up with someone else. You can immediately glide back down if you’re using the latter method. I recommend you have the  Explosive Launch mastery so you don’t take damage when launched.
The first four achievements in this section are all scavenger hunt achievements. The Guild Wars 2 Wiki already has visual guides for all of them, so instead of wasting pixels, I’ll link to them instead. You can also use a tactical overlay that marks the necessary interactable objects on your screen.
These achievements are easier to get in a fully cleared wing. If you want the achievements but don’t want to do the encounters, you can ask around in the Aerodrome or in LFG if someone will open a cleared instance for you. It’s usually free since you’re not asking for a specific boss instance.
Closure
Collect soldiers tags from the bodies of ten fallen Pact soldiers.
My Hero!
Free the ten caged Pact prisoners held in the Bandit Tree Fort after defeating Sabetha. They’re not difficult to find. Follow the ramp up beyond Sabetha's platform and interact with any cages you notice have prisoners in them.
You can do this in a cleared instance as long as no one freed any prisoners in it. If someone interacted with even one of the cages, you will not be able to free any prisoners for the achievement.
Loot Finder
Open the four hidden chests. You need to do the Keep the Lights On achievement to make one of the chests spawn. You cannot open this chest in a cleared instance; you must do it after your squad successfully carries the torch to the brazier.
Players have a chance to receive Ectoplasmic Residue from each of these chests for Envoy Armor I: Experimental Armor (legendary precursor armor collection).
Piecing it Together
Read the thirteen journal entries to learn more about the bandits.
Defeat all bosses in Spirit Vale without any squad member dying. Going down does not remove eligibility for this achievement.
You do not need to defeat every boss in a single attempt without a squad member dying. You can have multiple unsuccessful attempts on each boss as long as no one dies on the kill pull.
About Phoenix Uprising • Recurring Series • Support the Site • Contact • Editorial Guidelines • Privacy Policy
© 2022 Phoenix Uprising. All rights reserved.
About Phoenix Uprising • Recurring Series • Support the Site
Contact • Editorial Guidelines • Privacy Policy
© 2023 Phoenix Uprising.
All rights reserved.