

Final Fantasy XIV uses a lot of visual effects for mechanics. As the expansions have been released, they’ve been attempting to standardize and make important mechanics more obvious.
In my Final Fantasy XIV Mechanics Guides, I outline most of the mechanics that are repeated at least a few times. There are tips on how to handle them, if applicable, and examples of where you’ll see them. There are no examples listed of some types because they occur with enormous frequency. I include boss names, but any boss encounters with MSQ spoilers are grayed out and can be revealed by clicking on them.
There is overlap in the various types of mechanics but I've sorted them how I believe most players will come to identify and understand them. This guide is dedicated to areas of effect (AoEs) that have boss effects or ground-targeted tells.
The standard AoE has a simple transparent orange tell. The tricky aspect of these is that the game decides if you take damage and/or the effect(s) when the tell disappears, not when the skill’s animation goes off. This is a form of snapshotting — the moment the client decides when an action resolves. Usually, you’ll want to move out of these as soon as possible, but some skills have lengthy tells, especially at early levels, or in the late game if they’re accompanied by other mechanics.


The standard AoE comes in several flavors: circle, donut, column/line, cone, or the lesser-seen Pac-Man shape. Always take the shortest path from your location to the outside of the AoE. If you know an AoE is coming, it can be efficient to save an oGCD movement ability to avoid it. Be careful backstepping with actions like
This is a special type of line tell that ‘attaches’ to a player and changes direction and extends depending on how or where that player moves. Unfortunately, there is no consistency in what this tell means, so here are the duties it appears in:


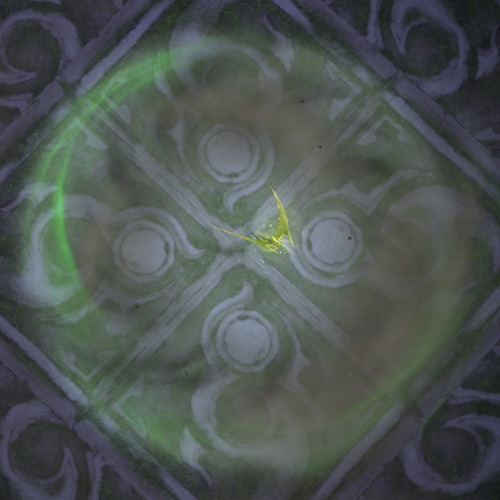
A fancy AoE is similar to a standard AoE except it has an arbitrary visual effect. The same rule applies: don’t stand in bad. Sometimes they’re difficult to see because they can blend in with the environment. They tend to come in the same shapes as standard AoEs, with the addition of things like crescents and checkerboards because they’re fancy.

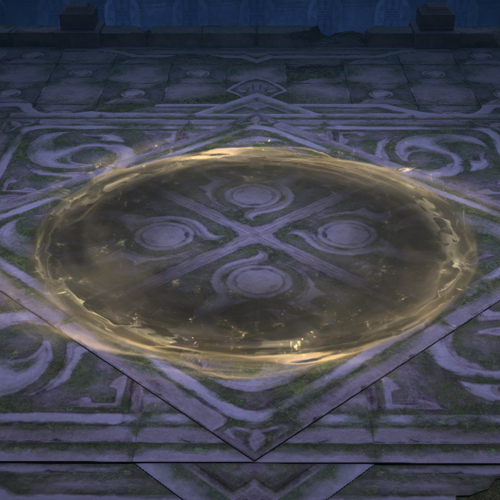
Radial or proximity AoEs have a small transparent yellow circle. These pulse out large waves that start out orange and then turn pink and finally purple the farther the wave gets from the center. As the name implies, they deal more damage the closer you are to the small center AoE.


If you’re standing outside of the area where the wave fades (this isn’t always possible depending on the size of the AoE/arena) or in the purple zone, you’ll generally take the least possible damage. Often there will be two or more proximity AoEs at a time, requiring you to find the safest space between them all.
Examples:
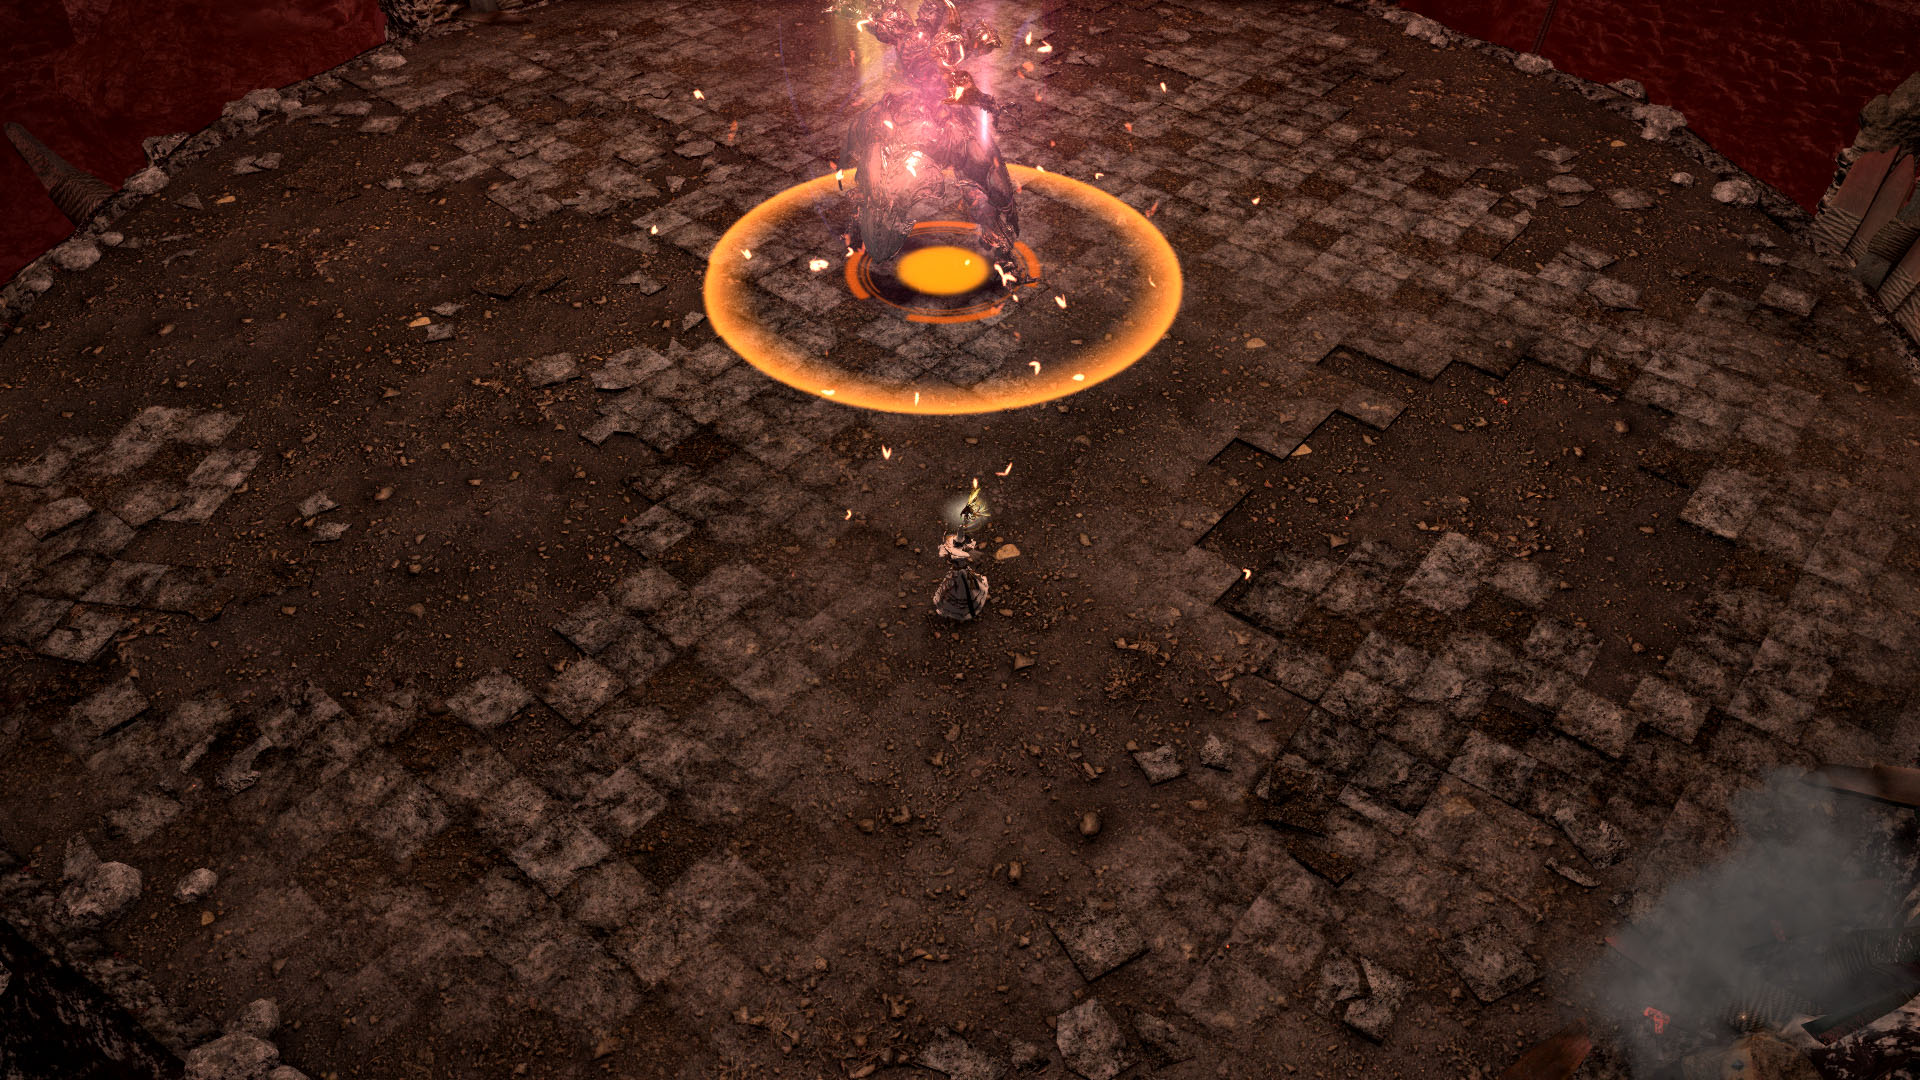
In a couple of encounters, one or more players will be targeted with a marker, which will drop a proximity AoE at their feet after a few seconds. These should always be taken to an edge or corner of the arena to make it easier for everyone else to avoid them. As soon as you notice the AoE has dropped and is pulsing, you need to hightail it out of there.

There are three duties this currently occurs in:
For the rotating AoE, you’ll see several arrows wrap around the boss in a clockwise or counterclockwise direction, accompanied by some sort of ground-targeted indicator. The arrows are also color-coded: orange for clockwise and blue for counterclockwise. After a few seconds, an AoE will impact the initial area and then rotate in the direction indicated by the arrows, typically going a full 360° before it ends.


You can try to get behind the initial AoE (e.g. if it’s going clockwise, stand to the right of the AoE and vice versa) so you only have to move at the end of the rotation. This is especially useful for casters. However, this might not be possible if there is an additional component to the attack, like striking from the front and behind at the same time.
Examples:
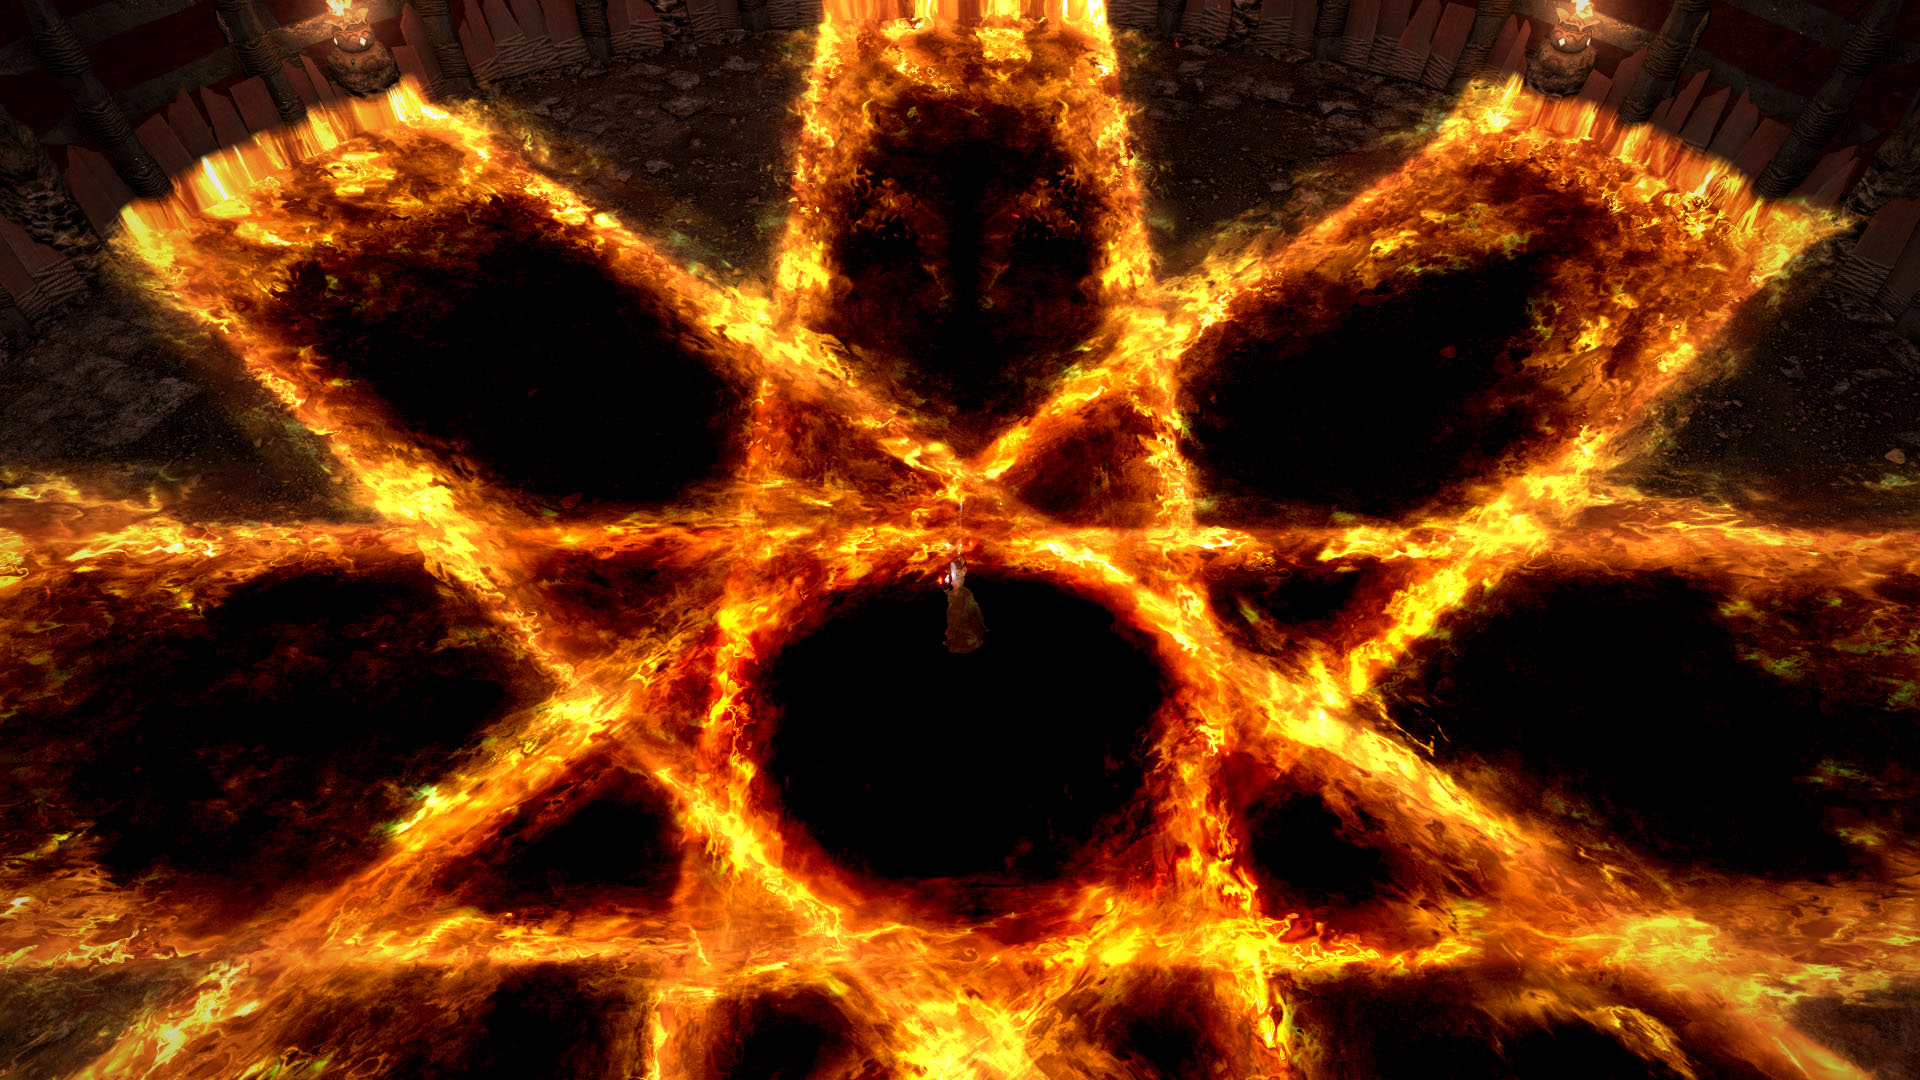
This is an octagram or eight-sided star AoE. The main points of the star are thicker, brighter, and will pulse chevrons outward. There are thin, static points between each main point, but do not be confused by these.


This indicator means that lines will be spreading from each of the main points, sometimes only after the AoE disappears. There may be an initial impact on the star, but you don’t want to be standing on it in either case, since you will find yourself on top of eight overlapping AoEs when it resolves. Position yourself between two points on the star to avoid damage and additional effects.
Examples:
Puddles are persistent AoEs that do damage or inflict you with a debuff (burn, poison, heavy, dropsy, etc.) while you’re standing in them. Most of the time you’ll want to avoid these, but there are some exceptions where you’ll want to stand inside one to avoid a different mechanic.

Examples of exceptions:
Do not confuse bad puddles with the beneficial ones placed by your allies. Here’s a list so you can position yourself and the enemies better to get the full benefit of these skills.


About Phoenix Uprising • Recurring Series • Support the Site • Contact • Editorial Guidelines • Privacy Policy
© 2022 Phoenix Uprising. All rights reserved.
About Phoenix Uprising • Recurring Series • Support the Site
Contact • Editorial Guidelines • Privacy Policy
© 2023 Phoenix Uprising.
All rights reserved.