



Welcome to my guide for the Guild Wars 2 raid boss,  Mursaat Overseer (MO), the second encounter in Bastion of the Penitent (Wing 4). This is a detailed guide on the mechanics of the fight including various strategies that cater to everyone from beginners to experienced raiders. If you’re brand new to raiding, I recommend reading my Path to Endgame guides first.


Mursaat Overseer is, in essence, a DPS golem. Unless you’re taking one of the special action skills, your job is to do your rotation and sometimes move a little. Things can go wrong with poor add management, but for the most part, Mursaat Overseer is seen as the easiest raid boss.
You can use two  Boon Thieves because Mursaat Overseer's stolen skill is
  Detonate Plasma, which provides five players with every boon except for
  Alacrity.
 Condition Cleanse: You’ll want cleanses when fighting the Jade Soldiers.
The fight takes place on a game board of 16 tiles. The Mursaat Overseer is a statue game piece situated in the center of the board. There are also three pillars of light corresponding to the special action skills described below. Once separate players interact with all these, the game begins.
In the beginning, the back two rows glow orange — these are enemy-controlled tiles that deal 3,500 DPS to players standing on them. The two rows closest to the entrance are plain brown — these are friendly tiles that are safe to stand on. The orange tiles can be (re)claimed using the  Claim skill.
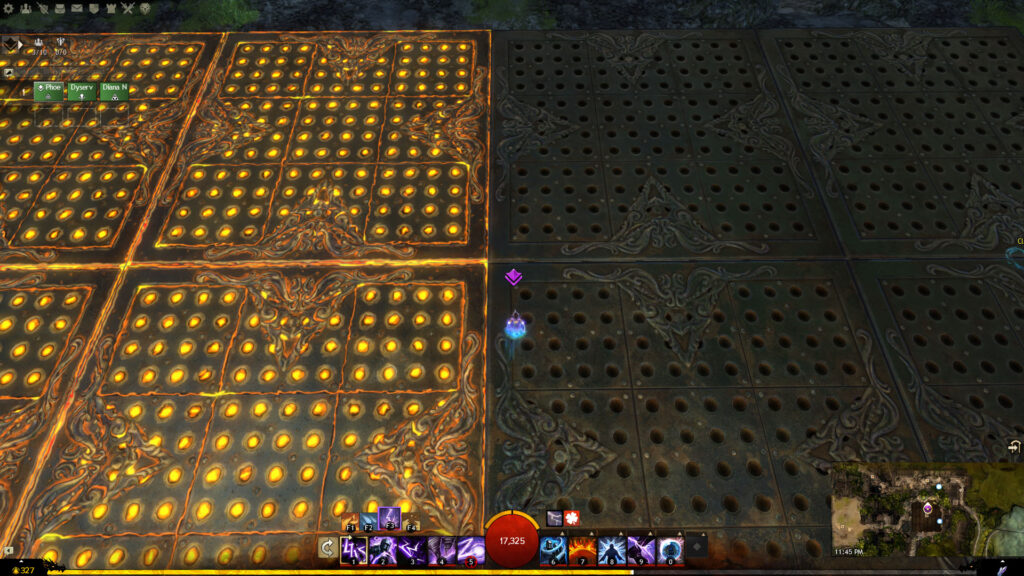
Every 10 seconds starting at 5:44, tiny spikes of green light will appear in the holes in some of the tiles. Five seconds later, spikes will erupt from these squares, instantly defeating any players standing on them. The only way to negate them is to use the  Protect skill.
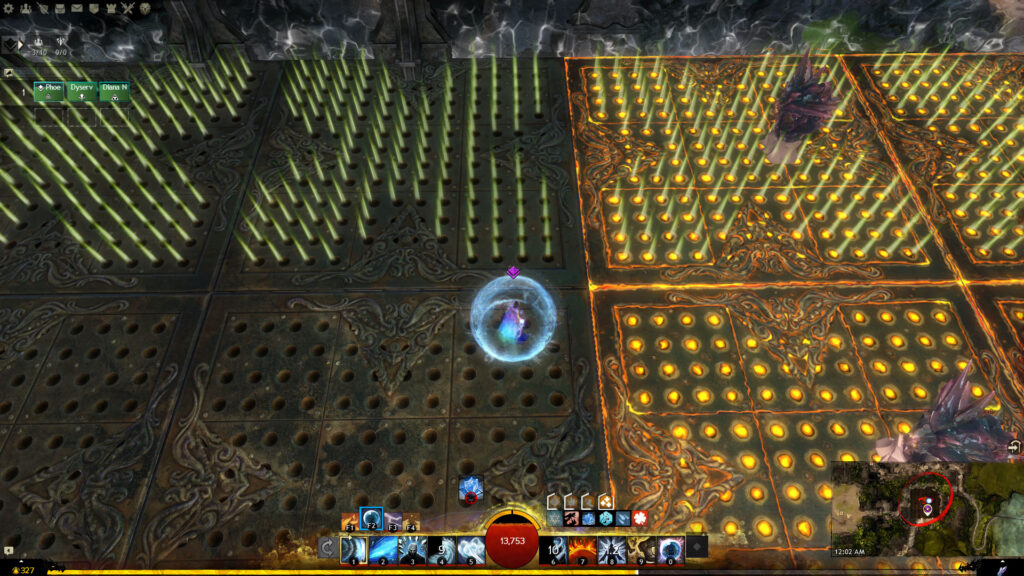
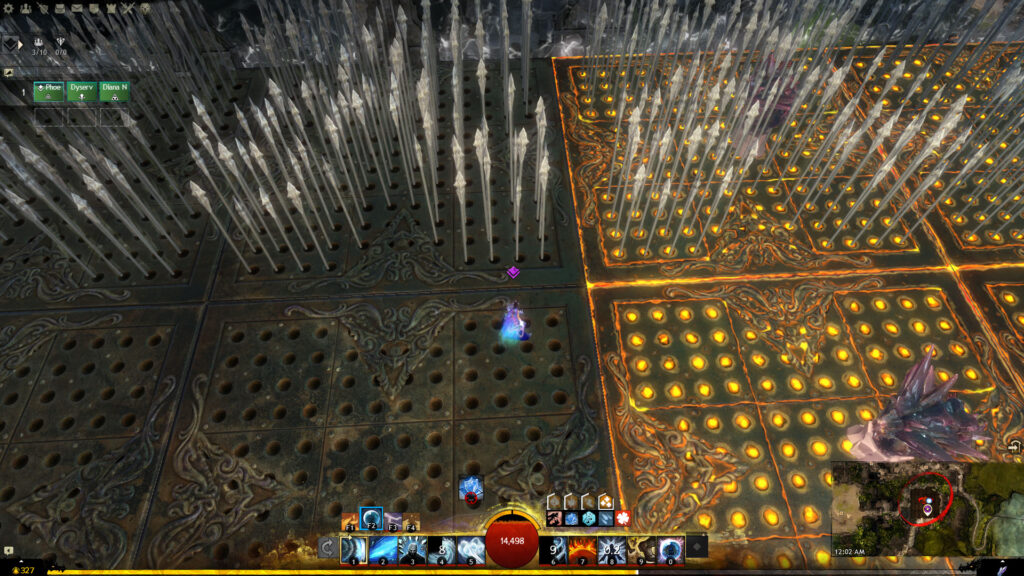
The spikes erupt in a pattern based on Mursaat Overseer's health threshold. At the start, they will appear along only a single row or column, covering an additional one each 25%. This means there will only be four safe tiles in the last 25%. They will erupt from both enemy and friendly tiles alike.
The tile borders can be a bit finicky, so make sure you are wholly in a safe square to avoid being hit, otherwise your toe amputation could be the death of you.
When the fight starts, four Jade Scout game pieces will spawn at the back of the board, one in each column. They will start advancing down the board at 5:44 (this is also when the first set of spike indicators appear). When they cross into a tile, it will turn orange and be claimed by the enemy.
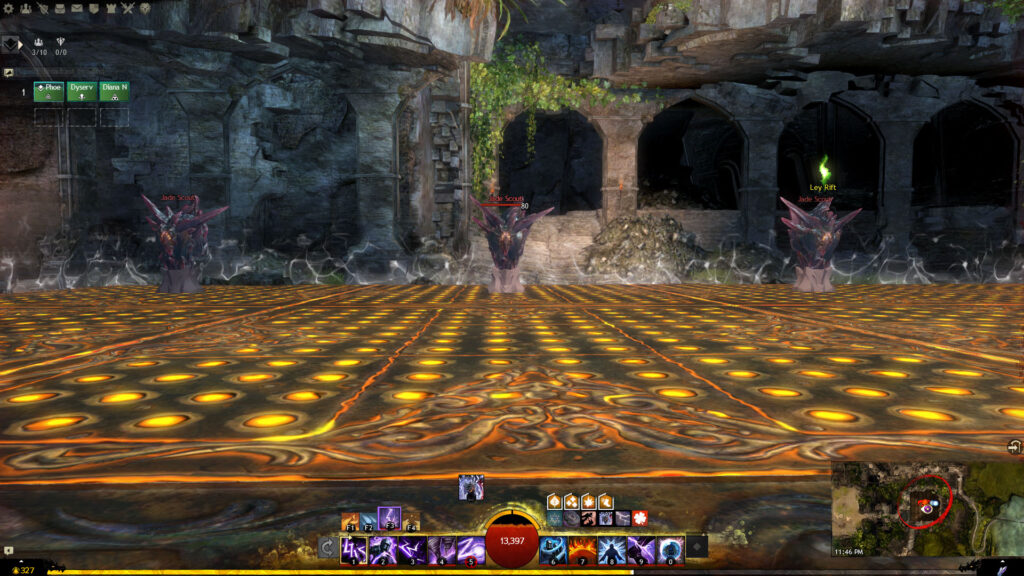
Jade Scouts are oblivious to players and single-minded in their determination to reach the other side of the board and be ‘kinged’. You can stop Scouts by damaging them to 0% health, at which point they will stand still, become  Invulnerability, and begin restoring health. Scouts will fully recover after 20 seconds and continue their trek. Sometimes a random Scout will gain an orange shield, preventing them from taking any damage. This shield can be removed using the
  Dispel skill. Uninhibited, Scouts will arrive on the opposite side of the board a minute into the fight.
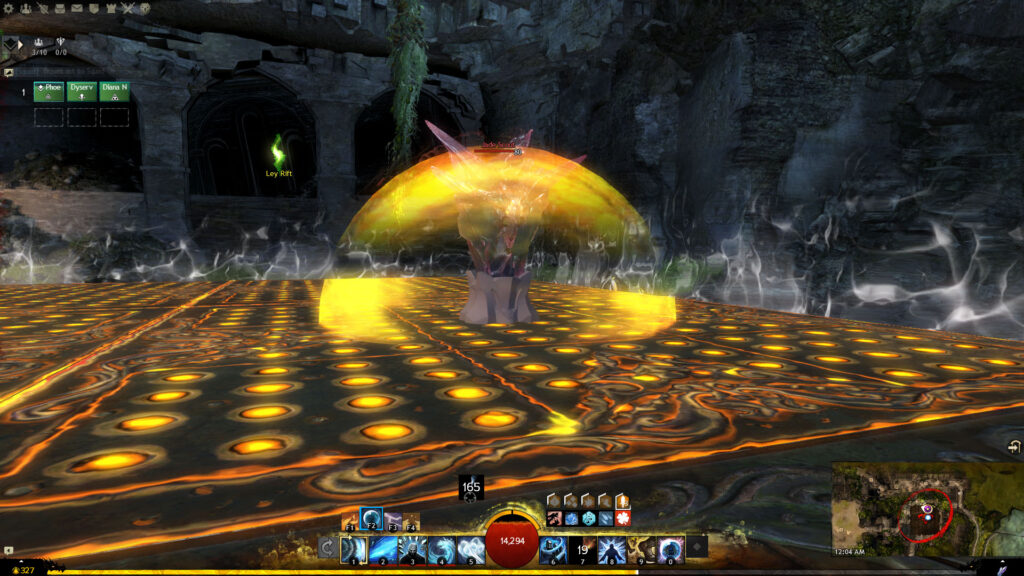
When they achieve their goal, they become mobile  Jade Soldiers. They will approach the group and attack players, but they also have a large red PBAoE. This ring inflicts constant damage and pulses
  Poison,
  Torment, and
  Slow (
 Resistance and
  Resolution come in handy here). Like Scouts, they will still claim any square they enter and can gain shields but Soldiers can be more permanently dispatched.
You should kill Jade Soldiers as soon as possible since they will wreak havoc on your group and make everyone’s jobs harder. is extremely useful here, both to stop Scouts and to destroy incoming Soldiers.
When a Soldier’s health reaches 0%, it will throw its arms back and explode in a violent red blast, dealing moderate damage to anyone caught in it. You can  Dodge or
  Block this, but the animation is rather short, so it may take practice to get the timing right. Thirty seconds later, another Jade Scout will spawn in the same column as the destroyed Soldier and begin the journey anew.
It’s impractical to prevent any Scouts from ever being kinged, so the best strategy is to repeatedly stop three and let one be kinged at a time. This will stagger the upgraded Jade Soldiers, allowing your group to more easily and efficiently take care of them. A coordinated group can take on two Soldiers at once, but try to avoid this. Three Soldiers will almost certainly cause some deaths if not a wipe.
There are three pillars of light on the board: Claim, Dispel, and Protect. A single player can interact with one of these pillars to gain a special action skill that will help during the fight. Alacrity affects the cooldown of these skills. If a player with one of these skills is  Defeated during the fight, the pillar of light will reappear after the skill's full cooldown time (listed below) has passed, allowing someone else to grab it.
Cooldown: 8 seconds
Targeting: Ground, 800 range
Claim allows the player to take an orange enemy tile, turning it brown and making it safe to stand in. Aiming the skill too close to the edge of a square might cause it to fail. If you are about to Claim a tile but a Jade is approaching, you should allow it to enter that square first so it isn’t reclaimed by the enemy shortly after you use the skill.
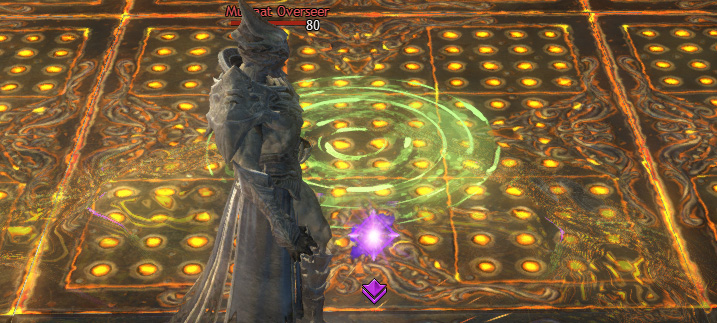
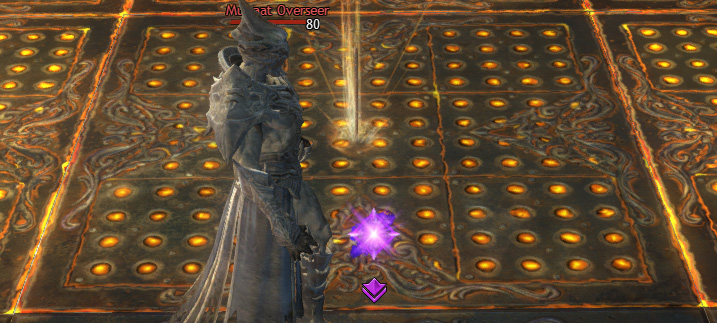
The Mursaat Overseer will also face and follow the player who takes Claim, making them the ‘tank’. As the boss does not attack, they simply have to guide it to cleared squares by walking into them.
Cooldown: 18 seconds
Targeting: Enemy, 1500 range
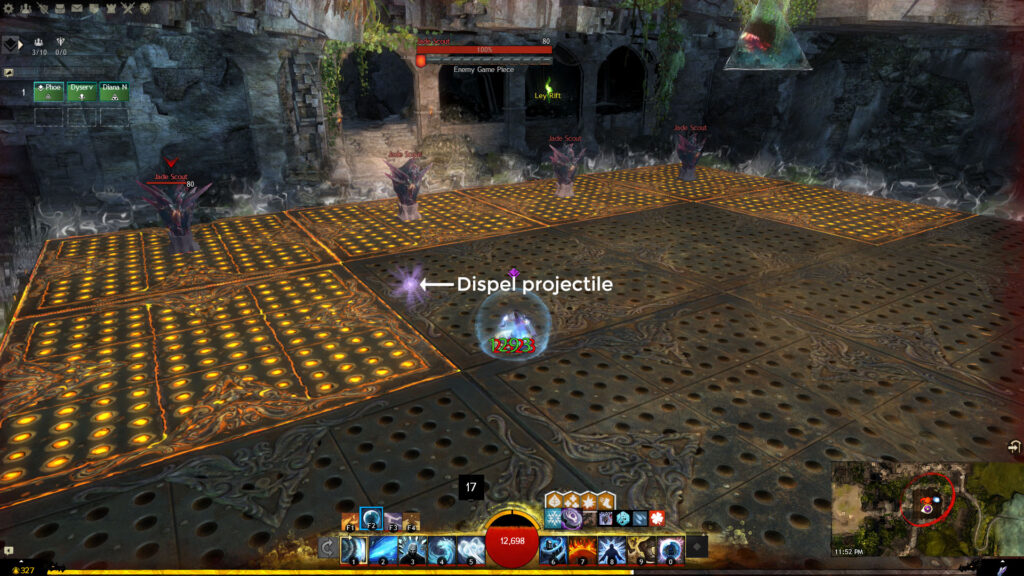
Dispel removes the protective bubble around Jade enemies. It has no effect on Mursaat Overseer. Although it appears as a light purple projectile, you do not need line of sight to hit an enemy — they lose the shield as soon as you use the skill, as long as you have them targeted. (You’ll notice in the image below, the Scout has already lost its shield despite the projectile not having struck it yet.) You can also use it while channeling another skill or  Downed. This player should take care to retarget the boss after dispelling a Jade for important abilities like or , otherwise, they will be wasted.
Cooldown: 180 seconds
Targeting: Ground, 800 range
Protect creates a blue bubble with a 180 radius similar in appearance to a  Guardian's . Anyone standing in the dome will be Invulnerable to all incoming damage. The bubble lasts five seconds, so if you wish to use it to protect against incoming spikes, you should postpone dropping it since the spikes similarly have a 5-second delay.
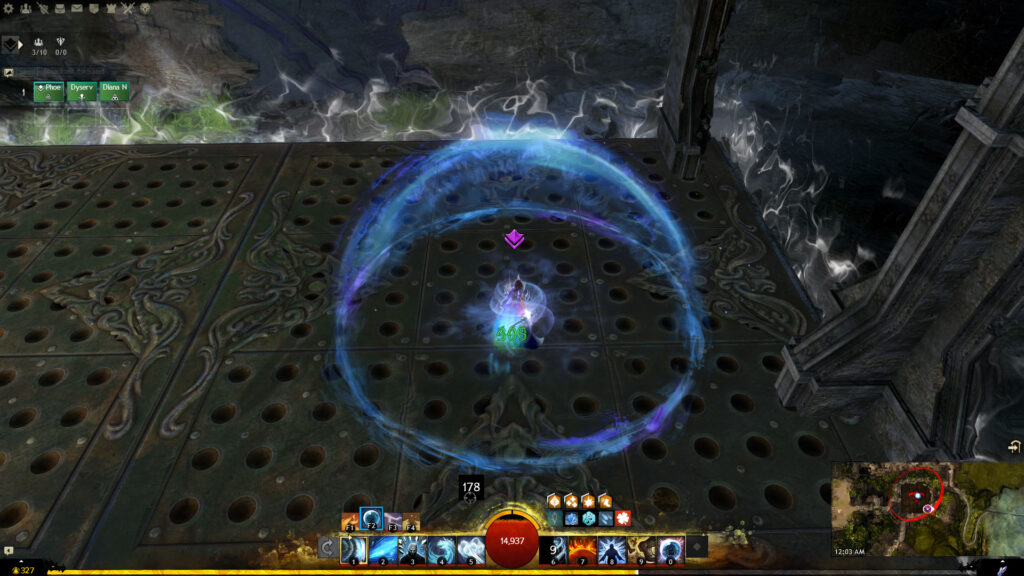
Because of the 3-minute cooldown, most groups will only get the chance to use Protect once. It’s recommended to save it for spikes, or in the unfortunate circumstance you have multiple Jade Soldiers attacking and potentially no safe tiles to stand on.
Jade Soldiers will also follow the player with Protect. You can use this to your advantage by standing on the edge of a tile to stall the Soldier from entering and claiming it. This is only temporary though, the Soldier will still enter after a couple of seconds to throw punches at your squadmates.
The typical strategy is to remain in the four squares in the center for the entire fight, decreasing the number of tiles you must Claim. If you start on the lower-right tile, you won’t have to move at all until a minute into the fight, at which point you can go to either upper tile. Where you end up at any given time depends on your squad’s DPS.
Groups with high DPS might not need to move at all, but this is unlikely for the vast majority of groups. Groups with good DPS will probably only move a few times, while groups with lower DPS might need to move upwards of eight times.
If your squad is comfortable with it, feel free to use Protect in the middle of the fight to reduce how often you must move. At around 5%, you can use it for the next set of spikes if you haven’t already to get some use out of it.
Using this strategy, you should allow the leftmost Scout to be kinged first, followed by either the middle left or rightmost Scout. The middle Scouts are the easiest to consistently stop since they’ll be walking headfirst into your group’s AoEs and cleave.
A coordinated group with high DPS can, alternatively, stop only one Scout, and allow the other three to come in all at once. They will arrive around when spikes are about to erupt, so the player with Protect can save it until the last second and use it. This will allow you to stand in the spikes and cleave the three Jade Soldiers. You might still want to Dodge their explosions depending on how much AoE damage you have versus when Protect wears off.
If you don't kill the Mursaat Overseer within 6 minutes, it becomes  Enraged and does 200% more damage. That is to say, the passive damage aura, enemy tiles, and Jade Soldiers do more damage.
About Phoenix Uprising • Recurring Series • Support the Site • Contact • Editorial Guidelines • Privacy Policy
© 2022 Phoenix Uprising. All rights reserved.

About Phoenix Uprising • Recurring Series • Support the Site
Contact • Editorial Guidelines • Privacy Policy
© 2023 Phoenix Uprising.
All rights reserved.