


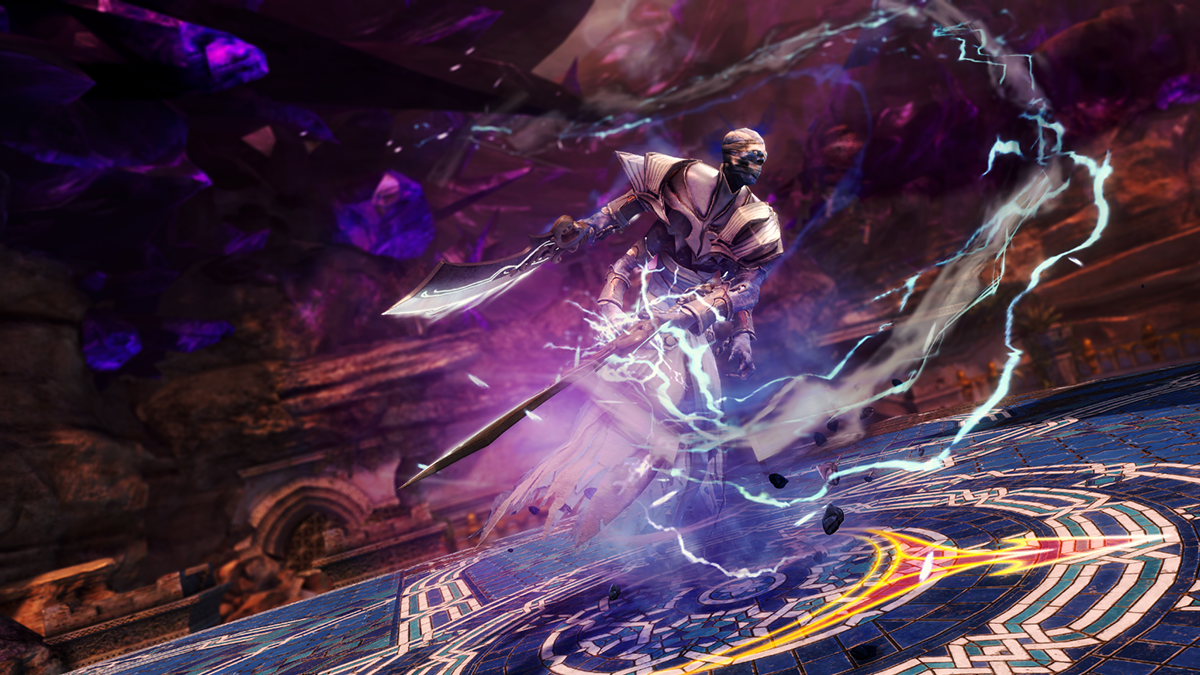
Welcome to my guide for the Guild Wars 2 raid boss,  Cardinal Sabir (Air djinn), one of the first encounters in The Key of Ahdashim (Wing 7). This is a detailed guide on the mechanics of the fight including various strategies that cater to everyone from beginners to experienced raiders. If you’re brand new to raiding, I recommend reading my Path to Endgame guides first.


Cardinal Sabir has easy-to-understand mechanics, but most of them will  Down you if you fail to perform them. He requires a little coordination and intuitive movement.
Gliding:  Updraft Use mastery. Every player should have this in case they need to recover from a fall.
Cardinal Sabir's defiance bar many times throughout the encounter, and while the special action skill will help, any CC you can muster is useful. Projectile Mitigation: With high DPS, this can be used to avoid a mechanic altogether, but is useful for all squads.
 Revival: This is useful to help mop up players who miss mechanics, but due to an important debuff during the encounter, it’s important to not be Downed in the first place.
Before you reach the series of platforms that lead to Sabir, you’ll encounter several unfriendly wisps and likely get a special action skill. Both of these mechanics are integral to the fight.
There are two types of wisps: paralyzing and voltaic. Paralyzing wisps are larger than their counterparts and they have a break bar. They attack with Venomous Voltage, which does damage and  Immobilizes for one second. With every attack, they also gain
 Momentum, which increases attack speed and damage dealt by 5% per stack, and stacks up to 20 times. It’s important you try to break their defiance bar as soon as possible to avoid them racking up outgoing damage.
Voltaic wisps are smaller than their counterparts, but they still have a break bar. They have  Electro-Repulsion which causes them to constantly push away nearby players and deals a flat 500 DPS while active. In addition, they use Electrospark, an attack that throws out small time-delayed AoEs which
 Cripple,
 Daze, and deal a little damage.
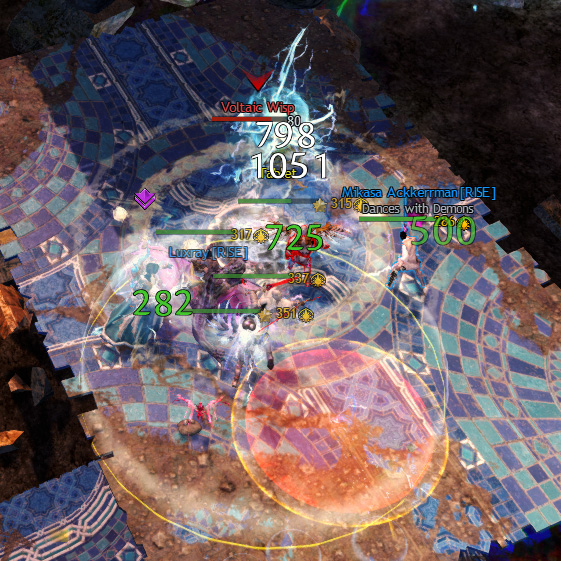
Both the paralyzing wisps’ and Sabir's attacks give players a stack of  Violent Currents. This two-sided buff increases outgoing and incoming damage by 5% per stack. At five stacks, players gain a special action skill,
 Flash Discharge. This is a ground-targeted teleport and
 Stun Break that does a little damage and
 Stuns enemies for five seconds. Going Down will remove all stacks of the buff and the special action skill. Like Celestial Dash on Cairn, this skill is very handy and you will use it frequently throughout the fight.
There are tornadoes roaming around before and during the fight. Getting caught in one will launch a player into the air, similar to an  Updraft, and allow them to glide. These tornadoes also strip stacks of Violent Currents, removing your SAK if you had access to it. If one or more stacks are removed, they will also apply
 Weakness. You should avoid being hit by tornadoes during the fight in order to keep your damage buff and special action skill, unless you need to enter one to escape a mechanic.
Cardinal Sabir is situated in the middle of a square platform. He will never move from the center, except to fly to a higher platform at certain health intervals. He will aggro on your tank, the player with the highest  Toughness. Unlike every other boss, the stack should stand in front of Sabir with the tank to get the damage buff and special action skill.
Sabir's auto-attack is  Storm's Edge, a sword slash that cleaves everyone in front of him. He will use this twice, once with his right hands and once with his left, and then follow it up with
 Chain Lightning. This attack jumps to everyone on the platform, no matter where they’re standing. Both of these attacks apply Violent Currents.
Also called: Free CC
At 90% health, Sabir's defiance bar will unlock and he will gain a persistent  Barrier. He also creates an
 Electrical Repulsion field that deals a flat 750 DPS, continuously pushes players back, and applies Violent Currents. Finally, he will use
 Dynamic Deterrent, drawing three orange line tells on the platform. Lightning will extend along these lines a second later, dealing moderate damage and
 Knocking Back players. These lines then rotate ~30°.
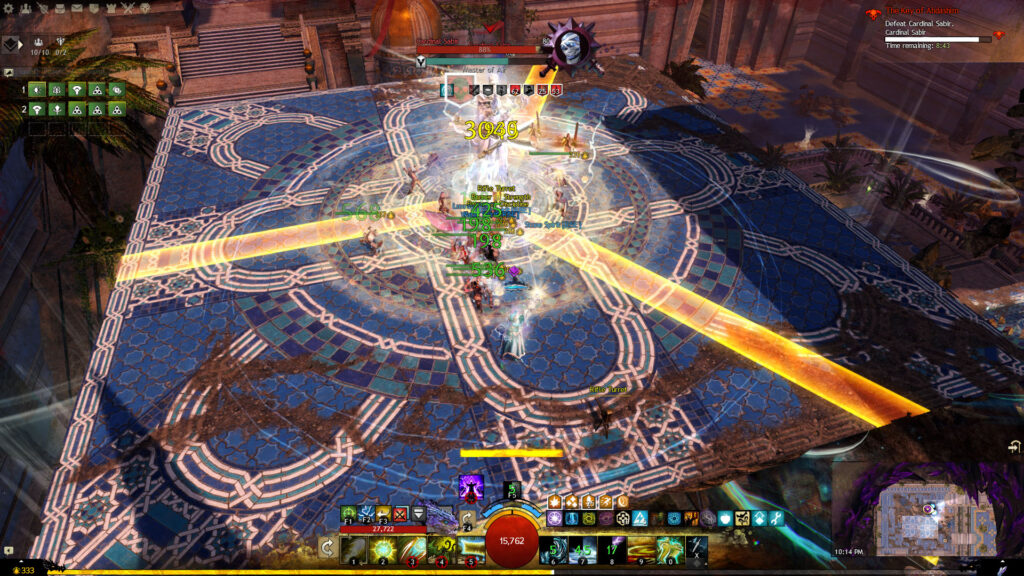
Sabir's break bar is technically the strongest of any boss at 15,000, but players are intended to abuse the SAK to break it as soon as possible. Each use of the skill does 500 break bar damage, and players can fill in the gaps with their own CC skills while they’re waiting to re-obtain it. A  Revenant's (Staff 5) is quite strong; since you can’t pass through Sabir's hitbox, all nine impacts will strike him, doing 1350 break bar damage.
You can’t do any damage through Sabir's barrier, so there’s no point performing your rotation. Just use Flash Discharge and your own CC skills as soon as they’re available.
When the bar is broken, Sabir will immediately use  Bolt Break, placing expanding AoEs under everyone’s feet. These explode after three seconds, dealing moderate damage. Players take damage for each AoE they’re standing in, so they should split up. The AoEs can overlap, but if a player is standing in one or more, they will likely go Down.
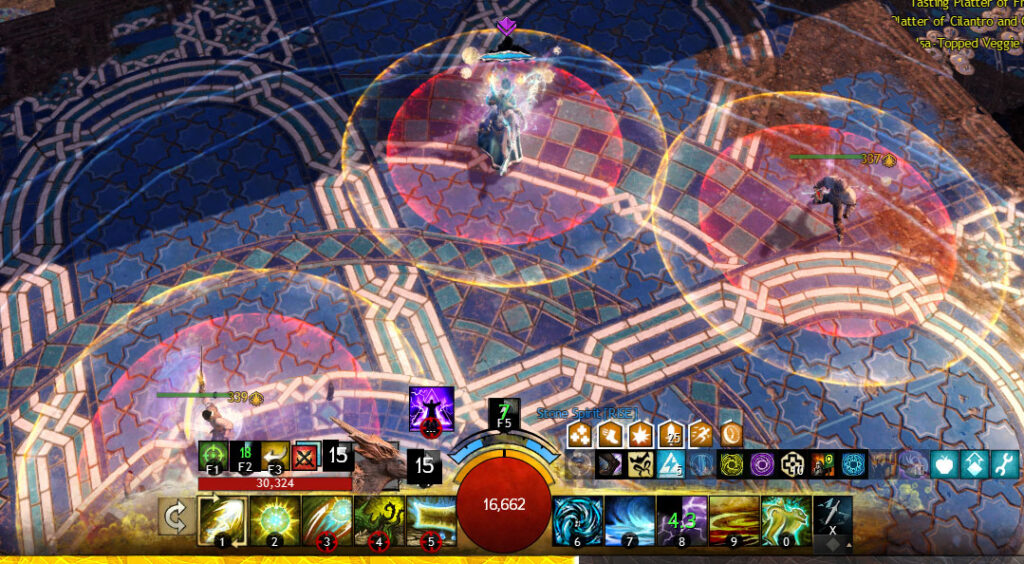
At 80% health, Sabir will use  Walloping Wind, a PBAoE that does a little damage and Knocks Back players. You can
 Block or
 Dodge this as usual, but it’s not entirely necessary since he’ll fly up to a new platform, beginning Phase 2.
Players will have to follow Sabir using a series of smaller platforms. A little air current on the main platform will launch players up to the first, but after that, you will have to kill a voltaic wisp on each platform to get more air currents to spawn.
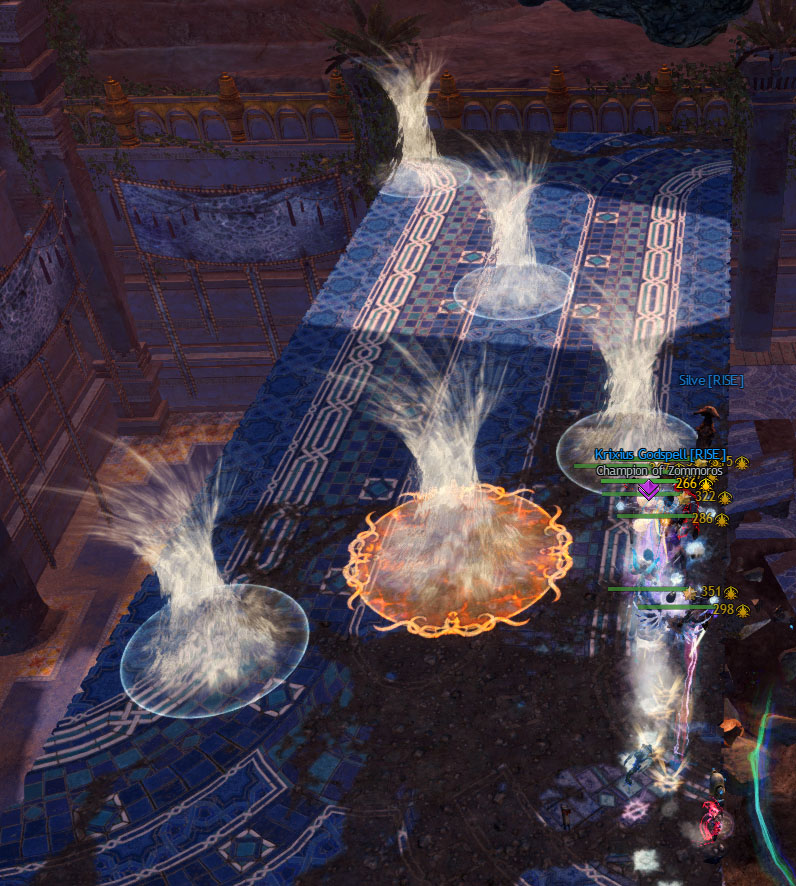
After four small platforms, players will find themselves on a longer rectangular platform with tornadoes. There is also a dire draft, a tornado with an orange AoE under it; this one  Defeats players instantly and should be avoided. Everyone needs to use a regular tornado’s Updraft to glide to the last small platform.
Alternatively, you can skip a bit of this phase using a  Mesmer's . They should drop down to the small platform below the first main platform right after you finish breaking Sabir's defiance bar in Phase 1. They’ll place the entry portal and rejoin the squad.
When the final wisp is dead, you can bounce up to the next main platform and continue killing Sabir.
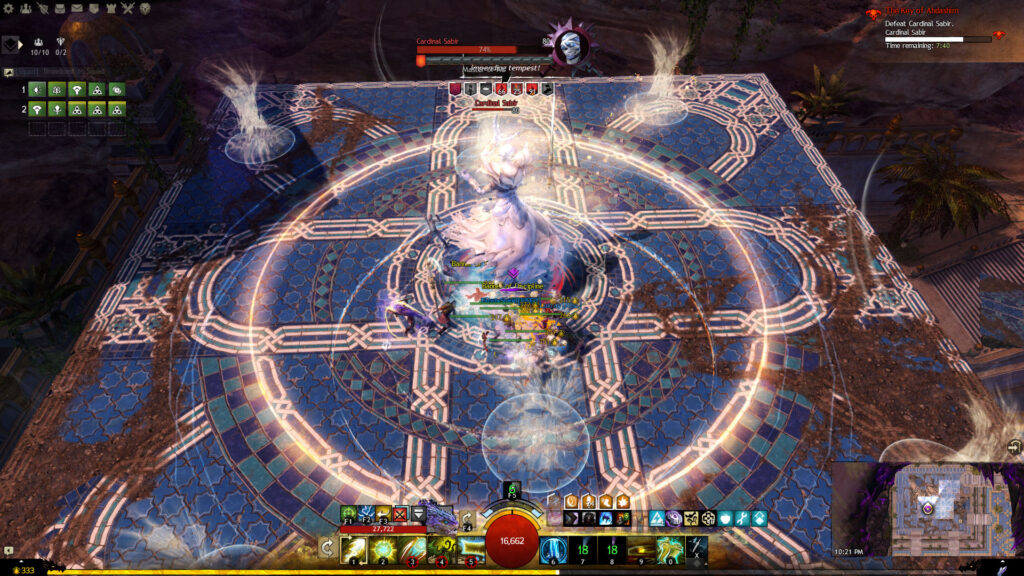
There are two additions to this phase. The first is a series of tornadoes that rotate counterclockwise along the white tiles on the platform. There are four on the outside and two on the inside. Players can avoid their pathing by standing beside Sabir in one of the four cardinal directions (inside the white U shapes).
At 75% health, Sabir will rotate twice, sending out a thin red ring each time. After that, he will unleash a shockwave, Downing anyone hit by it. The most obvious way to avoid this is to run or use Flash Discharge into a tornado, which will lift you into the air over the shockwave. If you entered a tornado almost immediately, you should glide back in toward Sabir, ensuring the wave has passed before landing.
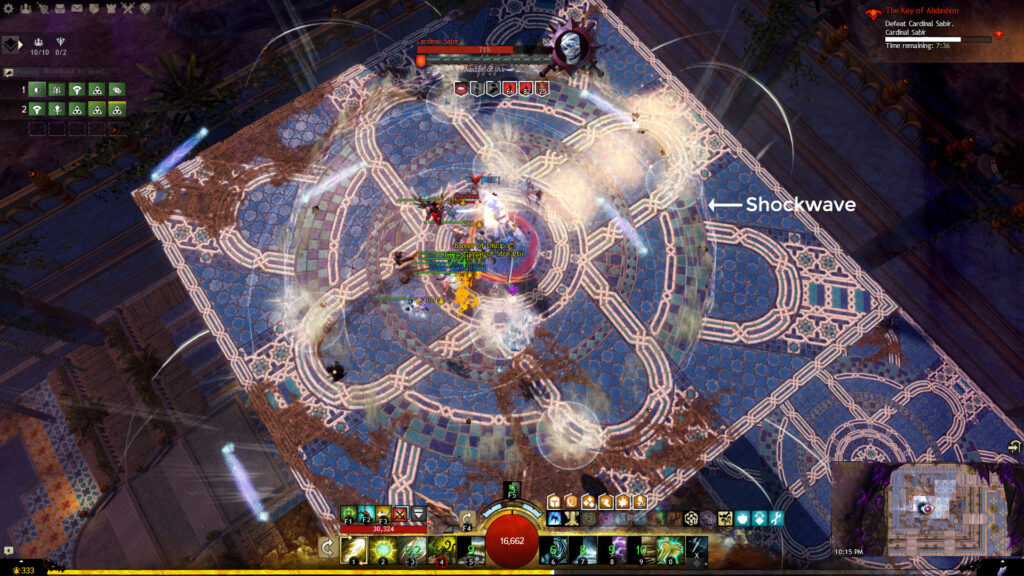
There are a few other ways to avoid going Down.  Invulnerability works, or you can use a skill that ignores or absorbs damage, like (
 Engineer Heal), (
 Warrior Heal), or (
 Tempest Elite).
You can also teleport through the wall with Flash Discharge or player skills such as ( Mesmer Sword 3) or a  Necromancer's . Functionally, using your special action skill is the same as using a tornado since you lose access to it either way, but you will avoid Weakness and might save a second or two if you can pull it off. To make a teleport skill work, make sure you back up near the edge of the platform and use it as you see the shockwave start to billow out.
At 70% health, Sabir will use Electrical Repulsion again, followed by another  Unbridled Tempest at 65% health. At 60% health, Sabir will use Walloping Wind again and fly up to the last main platform.
This phase is the same as Phase 2, except there are two dire drafts (death tornadoes) on the long platform instead of one.
There are several additions in this phase. Sabir will use two auto-attack chains followed by Unbridled Tempest.
Also called: Coordinated CC
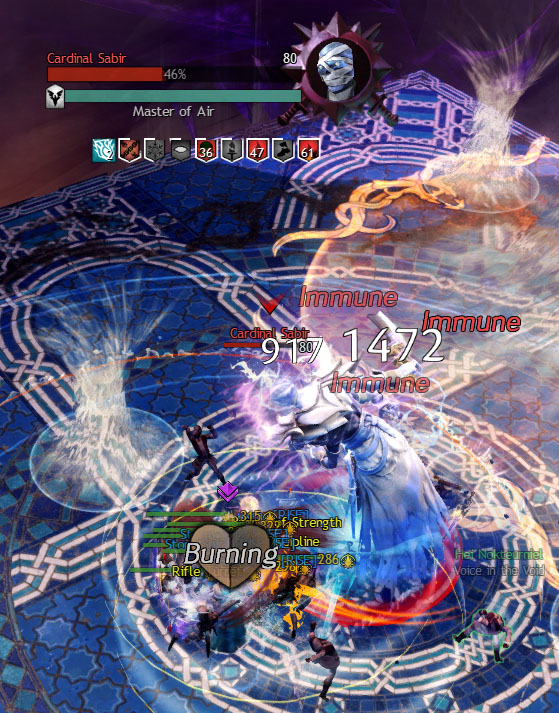
After the shockwave, Sabir's defiance bar will unlock, although the strength of this bar is only 2,500. He will also gain  Ion Shield. The buff increases outgoing damage by 3% per stack, reduces incoming damage by 5% per stack, and makes him immune to
 Vulnerability. He gets a new stack every three seconds he remains unbroken. He will continue to use auto-attack chains while the bar is active.
This break bar regenerates rapidly, so you need to coordinate the use of Flash Discharge to break it. Five players using the skill simultaneously is enough, but most squads wait until six have it to be on the safe side. A player’s icon in the squad UI will have a yellow border when they have the SAK, so the commander can use this to gauge when to give the signal to use the skill.
If you fail to break the bar by a small amount, try to use a CC skill or two to finish it off. If, however, you’re missing about 33% of the bar or more, do not keep rapidly using the skill as soon as you get it. Instead, wait for several players to have it, and try again.
Since this follows Unbridled Tempest, it’s useful to be able to avoid the shockwave without using a tornado, since players will retain their SAK and be able to break as soon as possible.
As with Electrical Repulsion, the free CC, Sabir will always follow up the coordinated CC with Bolt Break.
Also called: corners
Sabir will then use his two auto-attacks sans Chain Lightning, and a new skill,  Fury of the Storm. Sabir will spin once and create an expanding orange AoE. Protective bubbles with columns of white light in the center will appear on two corners of the platform, always diagonal from one another.
When the AoE reaches the edges of the platform, Sabir will bombard it with lightning bolts, Downing any unprotected players. Everyone must stand inside or be gliding over one of the bubbles to gain the  Eye of the Storm effect, which will protect them from the storm.
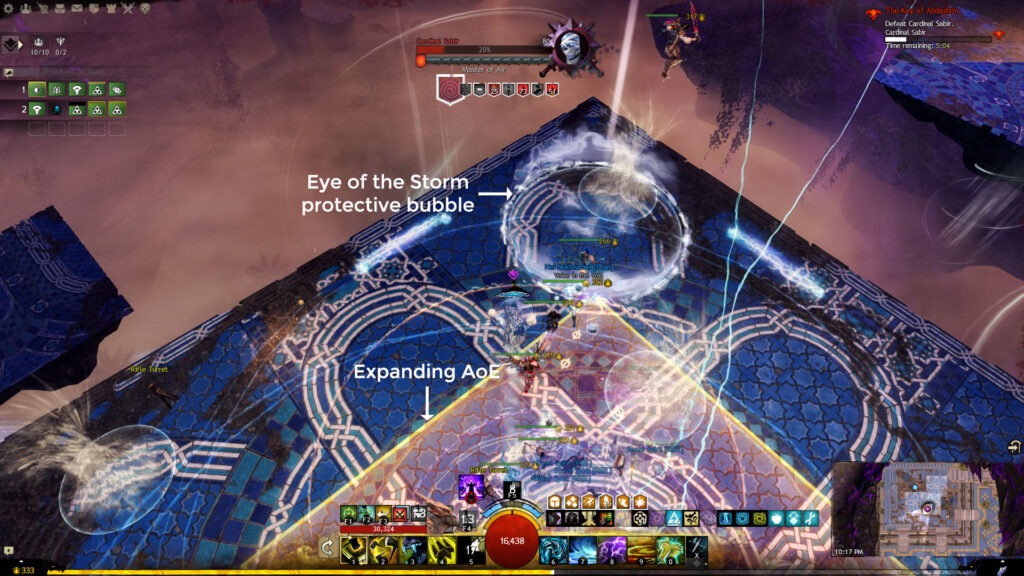
Sabir will repeat this entire attack pattern again (2x Storm's Edge → Chain Lightning → Unbridled Tempest → Ion Shield → Bolt Break → Fury of the Storm). The third time through, he will use Electrical Repulsion in place of Unbridled Tempest and Ion Shield. He cycles through these loops until he dies.
In addition to the new attacks, at 50% health, a Titanic Twister will spawn on the west side of the platform and slowly rotate clockwise. Like the dire drafts, it kills players instantly. Try to resurrect your squadmates as fast as possible if they go Down to ensure they don’t get caught. Depending on your DPS, the spawn could coincide with the first shockwave but usually happens during Ion Shield or later. After it spawns, your squad should rotate 90° when the next area is clear, remaining stacked so everyone maintains their Violent Currents buff.
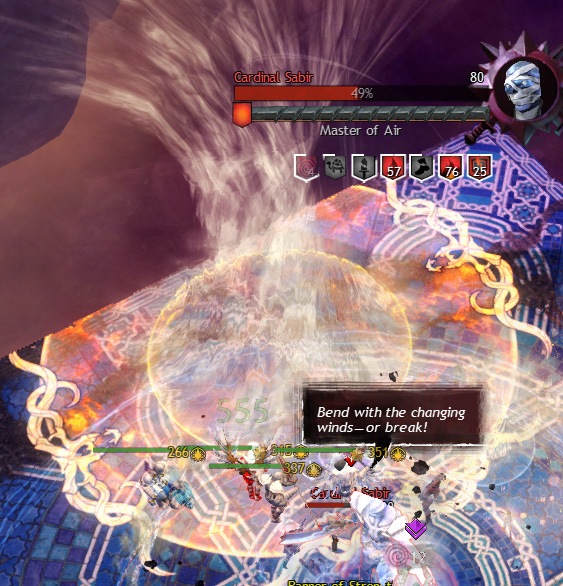
At 40% health and every 10% thereafter, Sabir will raise a platform alongside the main one and a paralyzing wisp will spawn on it. If the wisp is killed, a new one will spawn on the same platform 40 seconds later. If it’s left alive, it will spawn a voltaic wisp every 30 seconds.
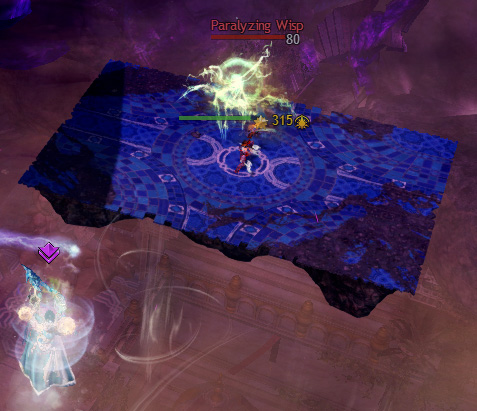
For the majority of groups, the best way to deal with this is to dedicate a single player to kill the wisps as they spawn. Power DPS builds with ample CC are ideal for this since they can break the bar easily and kill them afterward.
You can reach the platform by getting lifted in a tornado and gliding over or by gliding into an Updraft between the platforms. The latter method is best since it allows you to keep your special action skill. The only attack that reaches players on these adjacent platforms is Chain Lightning, so they don’t have to worry about any of the instant-down mechanics. After a paralyzing wisp is killed,  Brandstorm Lightning will repeatedly strike the platform, dealing heavy damage to anyone on it, so the player should glide back down as soon as they can. The lightning will dissipate when a new paralyzing wisp spawns.
With enough DPS and/or abundant Projectile Mitigation, it is possible to avoid killing any wisps. This is usually achieved using a combination of a Revenant's along with skills like a Mesmer's and  Guardian .
I will stress that this is a dangerous strategy with low to middling DPS or if anyone has died. The paralyzing wisps will do heavy damage as their buff builds up, while the combination of Cripple, Immobilize, and Daze can cause players to miss vital mechanics and go Down. This increases the likelihood they will die to the Titanic Twister, and the chance Sabir builds more stacks of Ion Shield before being broken, causing a deadly snowball effect.
If you don’t kill Sabir within 9 minutes, he becomes  Enraged and does 200% more damage.
About Phoenix Uprising • Recurring Series • Support the Site • Contact • Editorial Guidelines • Privacy Policy
© 2022 Phoenix Uprising. All rights reserved.
About Phoenix Uprising • Recurring Series • Support the Site
Contact • Editorial Guidelines • Privacy Policy
© 2023 Phoenix Uprising.
All rights reserved.