


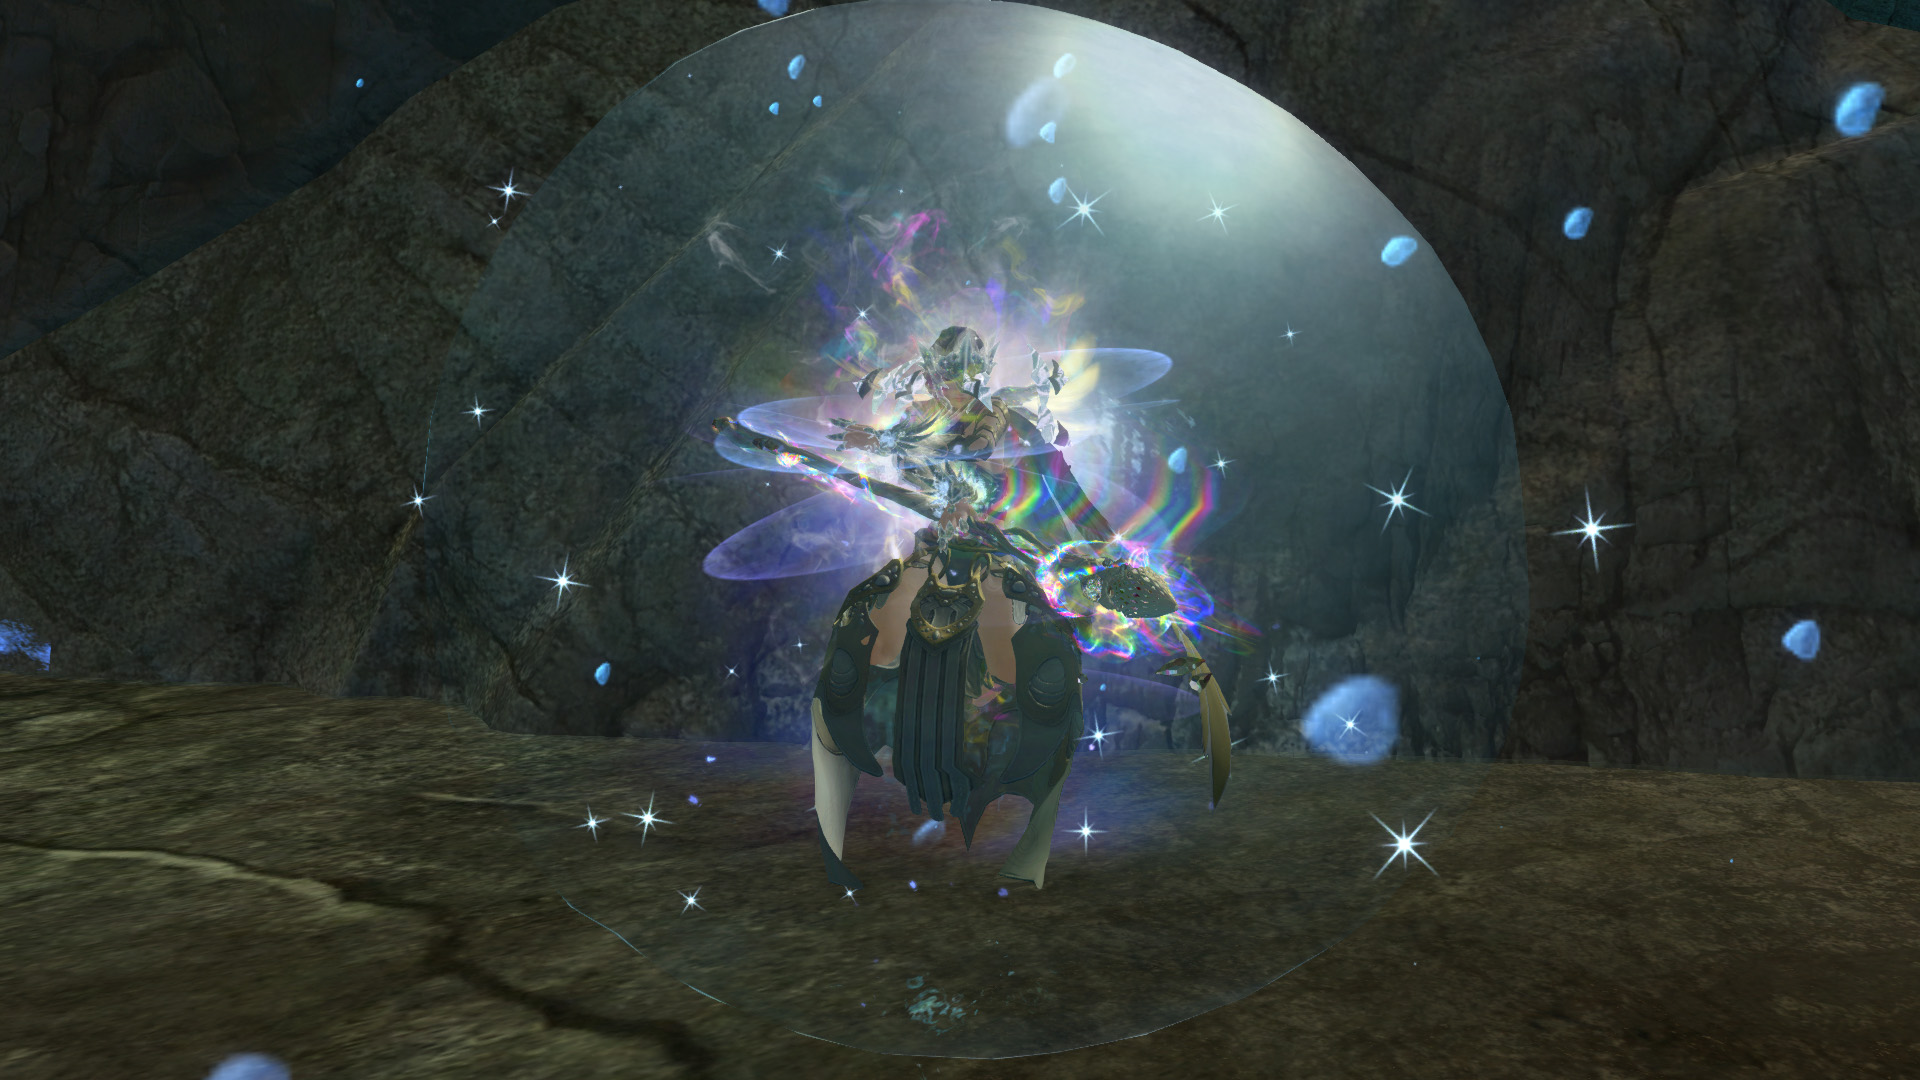
Having the appropriate boons, healing, and utility is the key to success in Guild Wars 2 raids and strike missions. If your squad can survive, you can take out a boss. If you feel you’re missing damage and not killing the boss fast enough, this is often a case of missing the essential offensive boons. This isn’t to say it’s always your boon support or healers’ fault if you wipe — practicing a DPS rotation and having good situational awareness is also crucial. Rather, a good healer or boon support, and a thorough awareness and understanding of how they work, can elevate a group to more and faster successful runs.
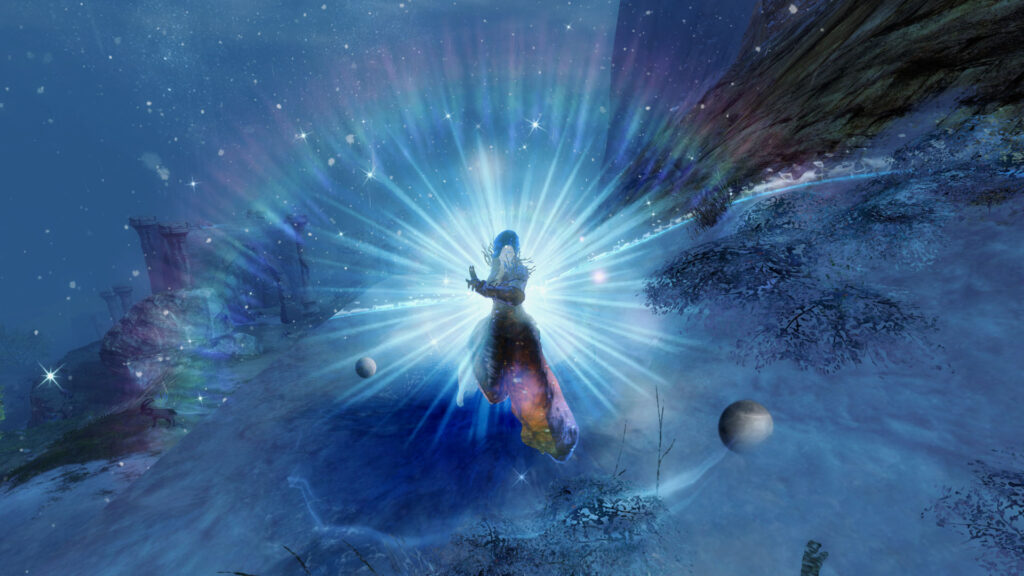
Boons are the lifeblood of a 10-player squad in Guild Wars 2. I cover the basics of squad composition and necessary boons in The Path to Endgame: Professions & Role Fundamentals, but here’s a quick refresher. You want everyone to have close to 100% uptime of these four boons:  Alacrity,
 Quickness,
 Fury, and 25
 Might.
 Protection and
 Regeneration, as defensive boons, aren’t strictly necessary, but you can maintain 100% uptime of them, and they make encounters much less painful.
Boons are distributed to others in the following order based on their proximity to the center of the AoE or the caster:
Healing and Barrier work the same, with some caveats:
 Barrier will attempt to cap (50% of max health) on everyone in a category before overflowing to the next.
Utility broadly refers to skills and traits that interact with some of the core combat mechanics in Guild Wars 2. While it’s seldom essential to have utility, it’s beneficial in almost every encounter. Having the correct utility and executing it at the right times will make even the rockiest encounters much smoother. This section covers all the utilities you’ll want or need for raids and strike missions.
 Aegis and
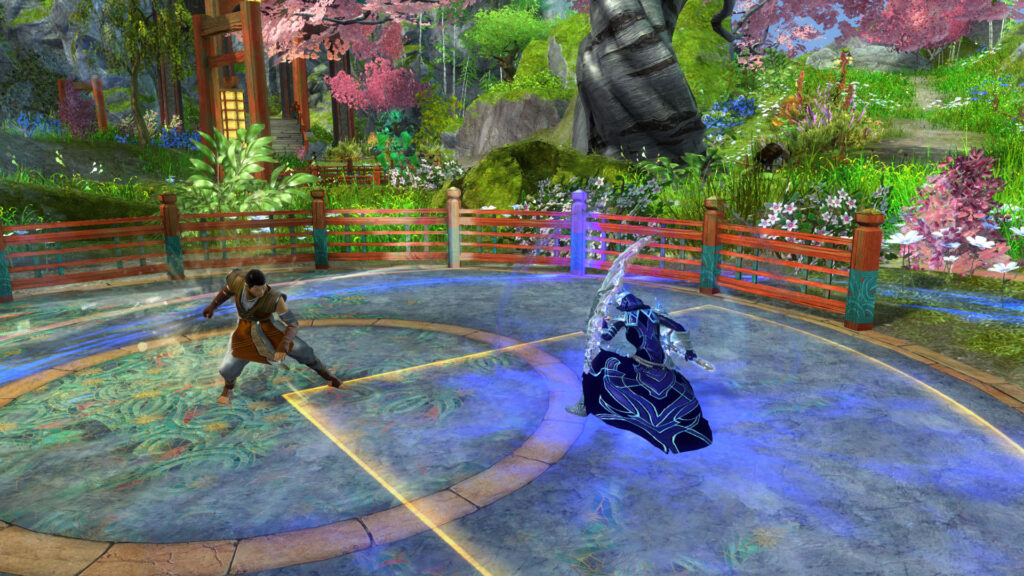
 Stability are both boons — Aegis blocks an attack, while Stability prevents you from being inflicted with hard crowd control that would cause a complete loss of control of your character. A
 Stun Break will release you from that control.
It’s usually better to prevent the CC rather than free yourself from it since, in order to break a  Stun, you obviously have to be stunned in the first place. Stability tends to be more reliable than Aegis since you can have multiple stacks of Stability, whereas Aegis might be accidentally stripped by taking damage.
Boon removal, as the name implies, removes a boon. Boon conversion or corruption converts a boon into its corresponding condition. Boon steal removes the boon from an enemy and grants it to yourself. These terms are usually used interchangeably since they accomplish the same goal, and are broadly referred to as  Boon Strip.
Sometimes enemies have beneficial effects that act like boons but can’t be granted to a player even if they steal the effect.
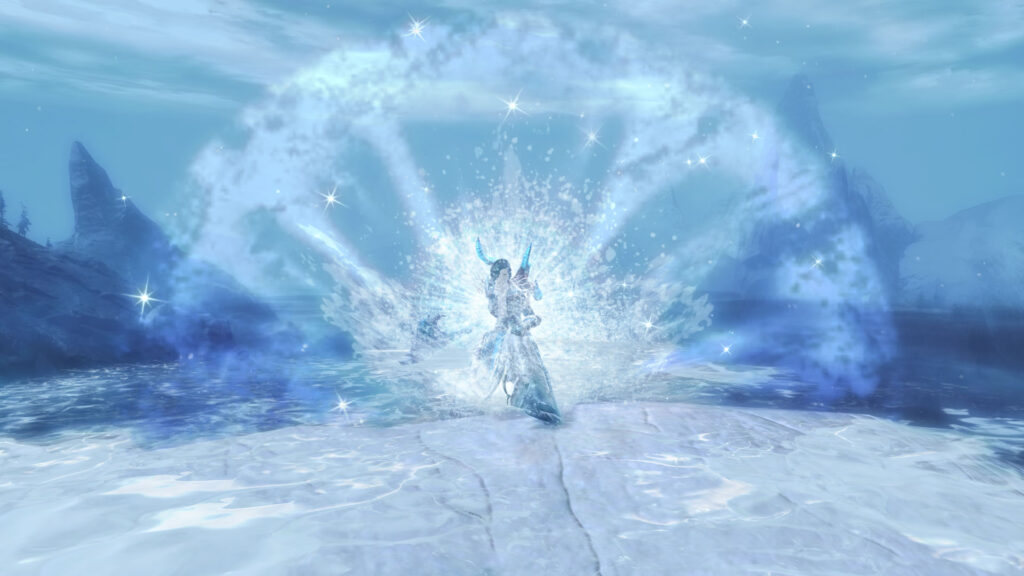
A simple but important utility, condition-cleansing skills and traits are vital when bosses constantly dish out conditions.  Condition Cleanse can also remove
 Fear and
 Taunt, so it can act like a Stun Break with a caveat. If you can cleanse conditions on an ally and only they are afflicted by Fear or Taunt, you can break them out easily. However, if you are afflicted by either condition, you would need a trait that’s triggered or an instant-activation skill to free yourself.
 Knockback knocks an enemy back a short distance.
 Launch tosses them up slightly, so they can clear low obstacles, and usually a greater distance than Knockback. Both of these are useful when you need to move something away from you or its intended destination.
 Immobilization stops an enemy in its tracks. It stacks in duration up to 10 seconds, so it’s an effective way to give yourself some breathing room. Immobilization can be very effective when combined with Knockback, Launch, or
 Pull, but in some encounters, using hard CC on enemies causes them to run faster, so Immobilization might be the best option.
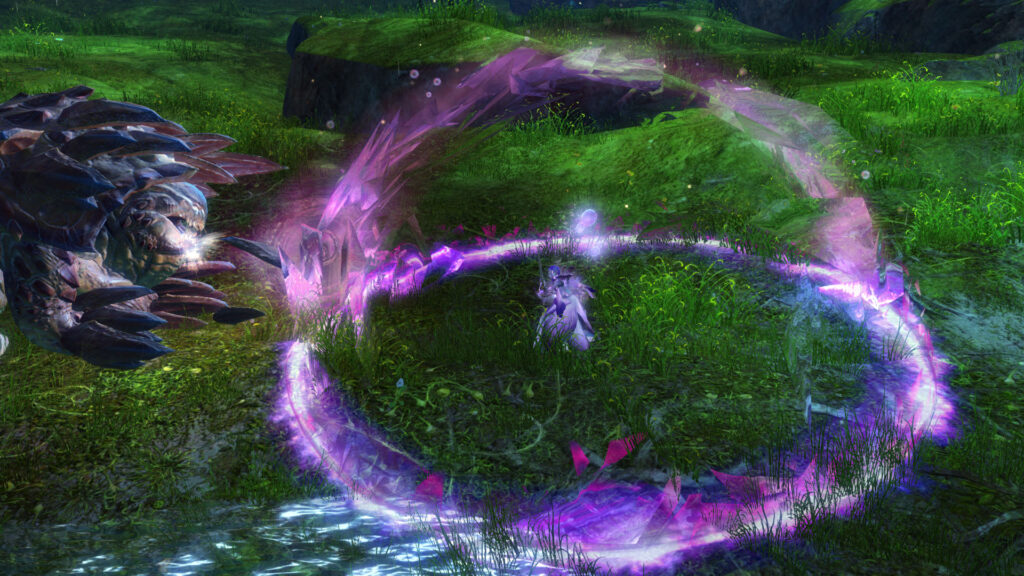
Projectile destruction destroys or blocks a projectile, while  Reflection redirects the projectile back to its source. While they can often be used interchangeably, some encounters specifically call for one or the other. In these cases, it could make matters worse to use the wrong option, so check your skills carefully.
Pull pulls one or more enemies toward you. It is generally used when you want to gather up several adds and cleave or AoE them down at the same time, either to speed up an encounter or prevent your squad from being overwhelmed. Be mindful when using Pull to break a defiance bar, as you could potentially move a hazard on top of your allies.
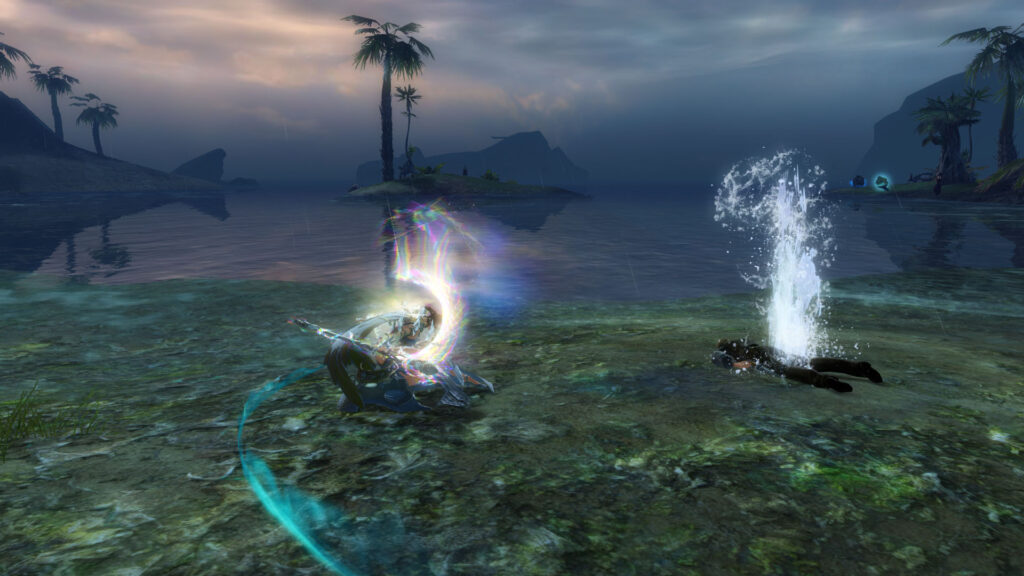
Anyone can help  Revive an ally by interacting with their
 Downed body, but there are several skills and traits that interact with the revival mechanic. You can speed up the process (even do it instantly!) with something like , revive from a distance with something like , or even revive multiple allies at a time with something like . In my encounter guides, if I recommend you have Revival, I’m specifically referring to skills or traits like these that amp up your revivability.
This guide is part of my Path to Endgame series to help Guild Wars 2 beginners take the next steps toward raids and strike missions.
About Phoenix Uprising • Recurring Series • Support the Site • Contact • Editorial Guidelines • Privacy Policy
© 2022 Phoenix Uprising. All rights reserved.
About Phoenix Uprising • Recurring Series • Support the Site
Contact • Editorial Guidelines • Privacy Policy
© 2023 Phoenix Uprising.
All rights reserved.