


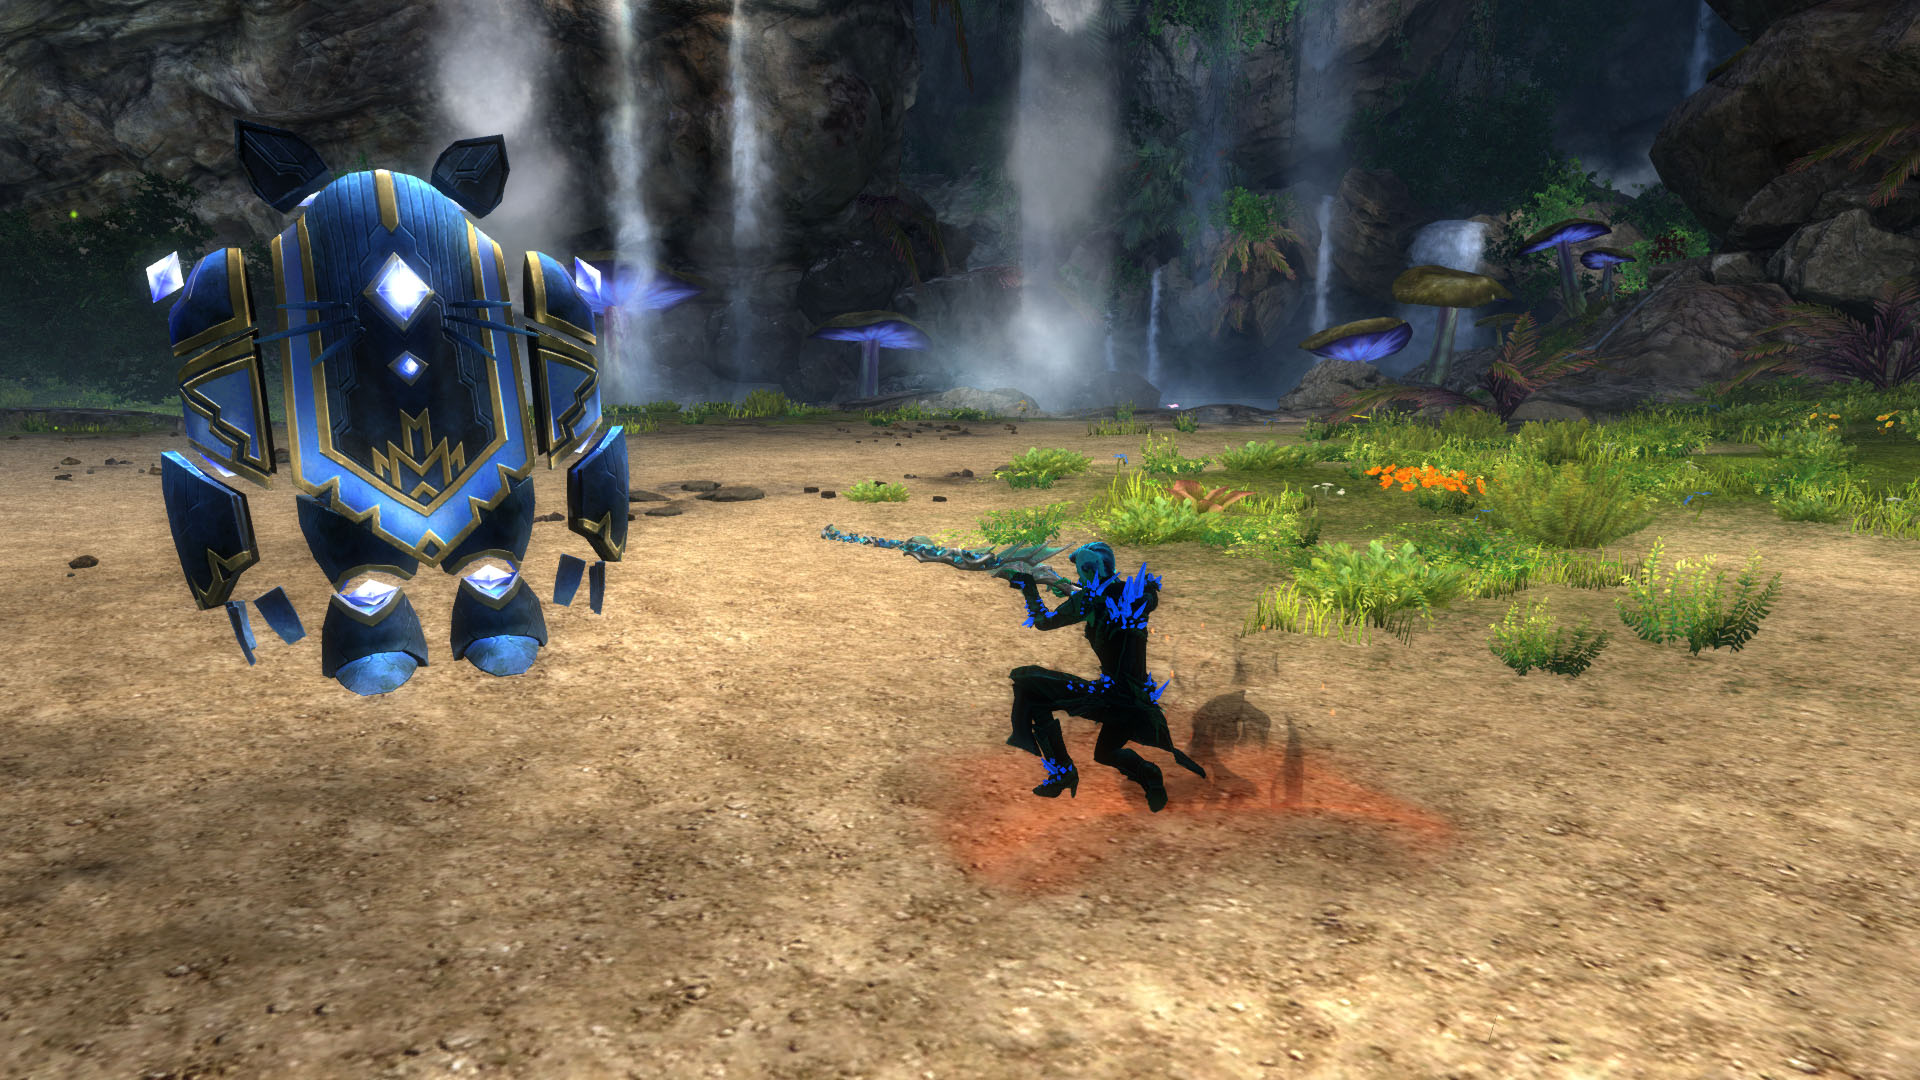
You’re looking into endgame content in Guild Wars 2 and you’ve taken the first step: choosing a build to play. But you’ve wandered into the Lion’s Arch Aerodrome, the Eye of the North, or Arborstone and you’re overwhelmed. How do you find a training group? How do you know when you’re pulling your weight? What are some indicators that you’re improving?
The good news is that endgame content is accessible to everyone in the game as long as you have a little curiosity, some time, and a lot of determination. To practice your chosen build, you’ll use the Special Forces Training Area (SFTA), an instance where you can lay the smackdown on a friendly kitty golem who’s willing to take a hit in your pursuit of skills. This guide will show you how to set up the training golem to practice your skill rotation and help you zero in on areas where you can improve.
A rotation simply means using your skills in a specific order. There are a few reasons to do this: to take advantage of certain traits and interactions; to eliminate the usage of skills that don’t benefit your DPS or boon output; or to line up skill cooldowns, resulting in smoother, more intuitive play.
Rotations for DPS builds have benchmarks. A benchmark is the average and/or top DPS you can expect in an optimal environment. When you toss in boss mechanics, you throw off the perfect circumstances, meaning your DPS on a boss will almost always be lower than on the golem.
Hopefully, now you understand why the order you use your skills in is important. You have to adjust in a realistic scenario, but that’s easier when you know your rotation by rote and can break it down into smaller parts.
The SFTA is located in the Lion’s Arch Aerodrome. The portal is on the platform with the banker.
First, bring up the build page on Snow Crows (SC).
Second, gold-permitting, consider buying or crafting the correct food and utility consumables for your build. They should also be listed on the build page.
Finally, ensure your build is up-to-date. Check your stat combinations, runes, sigils, and, if you really want to be a try-hard, stat infusions. Compare your utility skills and traits with those listed. When in doubt, copy the build template and swap back to the game. In your hero panel, you can open the Build tab, right-click on one of the numbered builds at the top, and choose Paste Build Template. You can also paste it into one of your empty account build storage slots if you don’t want to overwrite your current build.
Upon entering the portal, you’ll find yourself in an underground cavern. Head down the path to find a Jam-r-Tron golem, asura technician, arena console, and golem spawner. You can speak to the Jam-r-Tron to play some sweet tunes or set up your favorite music in the background. Take a moment to dance, err, stretch, and then let’s get you set up to practice.
You’ll also notice an additional skill,  Mushroom King's Blessing, has appeared over your skill 5. This resets all your skill cooldowns so you have less downtime between attempts.
The point of the SFTA is to create a more realistic environment than the open world and a more optimal environment than real encounters to train. SC benchmarks are created in this environment, so we need to practice under the same circumstances.
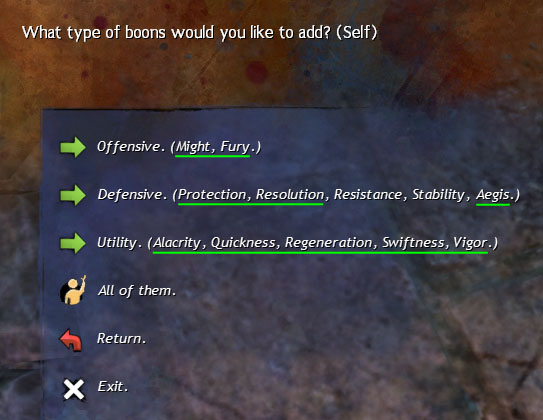
Like I said in my Professions & Role Fundamentals guide, one goal of squad composition is to have close to 100% uptime of all the important boons. Interact with the arena console, choose “Adjust self” and then “Add boons.” SC benchmarks with ten boons:
 Might (25 stacks) and
 Fury
 Protection,
 Resolution, and
 Aegis
 Alacrity,
 Quickness,
 Regeneration,
 Swiftness, and
 Vigor (all of them)
Move over to the golem spawner now. Choose “Spawn a golem.”
For the hitbox size, you can select “Average.” There are some builds that perform better or more consistently on bosses with a large hitbox because they have skills with large AoEs that impact randomly inside the area. However, Snow Crows uses the Standard Kitty Golem for all benchmarking purposes.
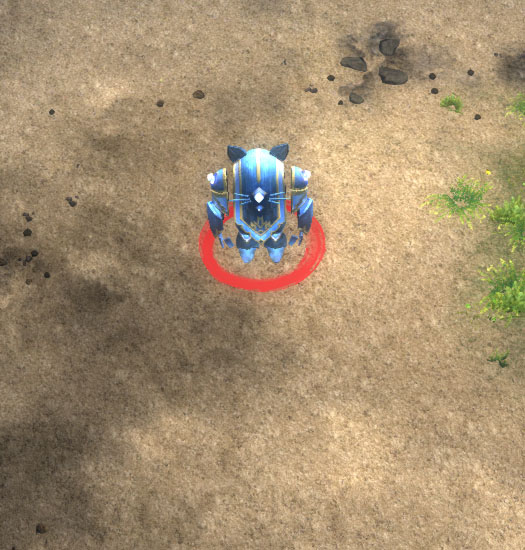
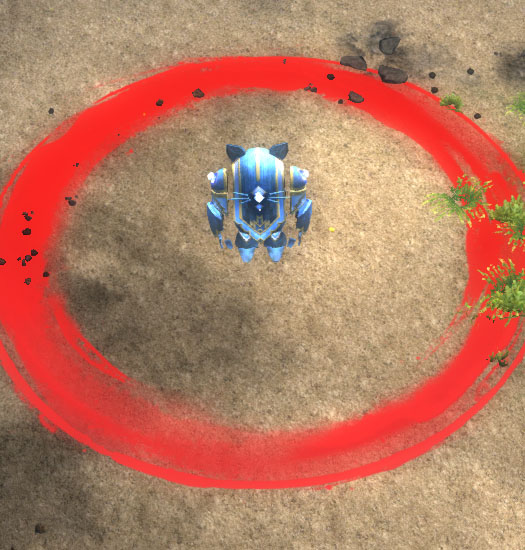
Next, select “Average enemy (4,000,000 health).” If it’s stronger, the fight will take too long and some builds might find it difficult to maintain consistent DPS. If it’s weaker, you’ll kill it too fast, which won’t allow you to go through your rotation enough to get an accurate read.
Before you spawn it, select “Additional options” and then “Add conditions.” Many builds have traits that rely on certain conditions to proc effects or increase DPS. Strictly speaking, you only need to add Vulnerability and any realistic conditions that affect your build’s DPS. A realistic condition is one that you can maintain constant uptime of, or one that’s so frequently applied by professions in general, that it will likely be on a boss at any given time. These are the ten realistic conditions you can apply for most builds:
 Bleeding,
 Burning,
 Confusion,
 Poison,
 Torment (all of them)
 Chill and
 Cripple
 Slow,
 Vulnerability (25 stacks),
 Weakness
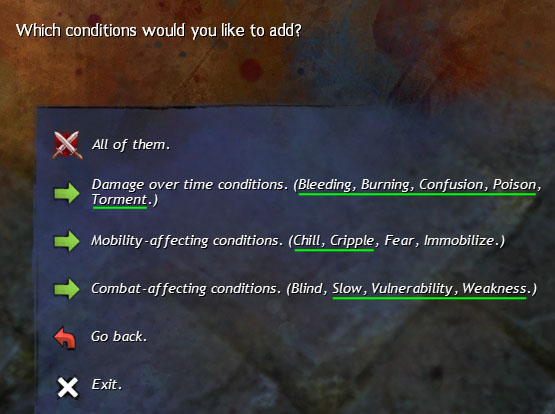
Damaging conditions tick very slowly on the golem, so if you choose to or need to add them, make sure you start soon after so they don’t steal your DPS spotlight.
On a  Thief, you’ll have an additional option to “spawn golems to practice stealing skills.” This spawns four golems on the side of the arena that have all the possible stolen skills from raid bosses and prominent adds. Try it out to discover what they do and get comfortable using them, as they’re specially chosen on a case-by-case basis to be useful for each boss.
After all this, you can finally click “Please spawn my golem.” If you ever need to reset or readjust the settings, you can go back to the console and choose “Remove current golem.” To respawn the same one without going through the golem menus again, select “Respawn my previous golem incarnation.”
Okay, your golem’s all set up annnd now you’re staring awkwardly at it because how the heck do you train anyway? What happens if you mess up? What if your DPS is too low and you don’t know what’s wrong?
You’ll know what your DPS is because the game will post updates in your chat box. This is the most accurate measure of your DPS, but a DPS meter will be able to give you a lot more information. I have a basic guide on how to set up and read the only currently ArenaNet-approved damage meter and metrics add-on, ArcDPS.
There are three different types of skill usage within a rotation. Most builds will incorporate more than one.
The opening of a rotation, or opener, is a one-time skill sequence that you use to set up your skill cooldowns and front load your damage into a ‘burst’. If your rotation has an opening, you should spend the majority of your time, at least initially, perfecting it. It’s important both to allow the rest of your rotation to go smoothly, and to pile on damage at the beginning of a fight when there are fewer mechanics to worry about.
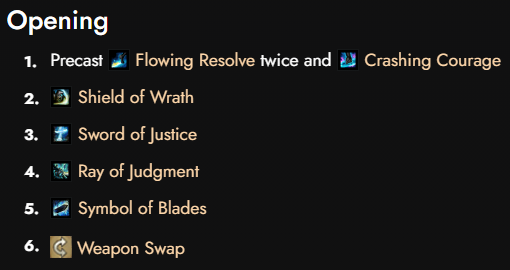
The number of skills in an opening varies, but if it’s long, break it into as many steps as you’re comfortable learning at one time. Keep respawning the golem until you’re able to glide through your opener.
A loop is a sequence of skills you’ll keep repeating throughout the fight when you’re done with the opener. It usually consists of ‘mini-bursts’ with a few auto-attack chains in between. On most builds, it’s important not to interrupt your auto-attack chains, since the final skill is usually the hardest hitting and/or has an additional effect, e.g. removing a boon with a  Mesmer's (Sword 1).
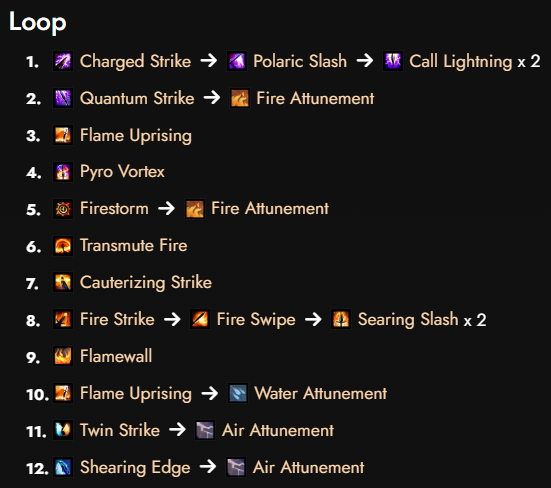
Builds may have more than one loop depending on the weapon they’re using at the time or having a profession mechanic that gives you a different skill bar, like a  Revenant's legends, or
 Necromancer's shroud.
Priority places importance on a single skill or sequence of skills that you use as soon as they’re off cooldown or at certain times when you’re ready to perform a burst. Priority skills tend to be instant cast so they don’t interfere with your rotation or high-damage skills that will be a DPS increase no matter when you use them.
In most rotations on SC, these are placed under the rotation in the notes section. For example,  Power Willbender uses and whenever they’re available.
Some builds won’t have an opening or a loop and the entire ‘rotation’ is based on priority.  Condition Scourge is one example; it doesn’t weapon swap and simply relies on triggering traits like .
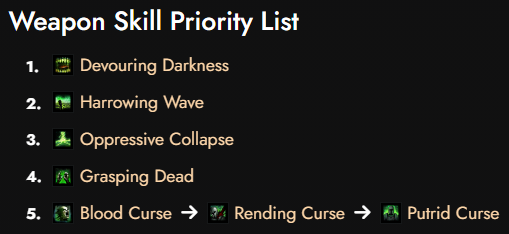
Knowing your priority skills is important because it will enable you to fit in extra damage and pick up on your rotation if you go out of order or have to perform a mechanic.
You’ve done all the work, adjusted yourself and the golem, read through the rotation, and practiced until you seriously started wondering whether the carpal tunnel was worth it. But your damage just isn’t there. Don’t give up! Time and troubleshooting will solve all issues.
You know the phrase “Shoot for the moon. Even if you miss, you'll land among the stars.” Where benchmarks are concerned, it’s true. The high benchmark is the moon, and while the average benchmark is a star, the star you really want is 90% of the high benchmark. Let’s talk about why.
Snow Crows is an elite guild, and elite guilds will flex. Their high benchmarks are the ultimate damage potential that can generally only be beaten with good RNG. They didn’t figure out a rotation, hop on the golem, and post the first video they captured. They often spent hours in there grinding out the rotation to see what a high benchmark could be. This is why they also post average benchmarks, which should be the ultimate goal of the majority of raiders.
I’m not saying you can’t hit their high benchmark; you absolutely can, and it’s not a bad goal to have. But your proximity to their high benchmark shouldn’t be your sole personal measure of improvement.
When you’re starting to learn raids, you might not have any or full ascended gear, and even veteran players don’t always bother with stat infusions. However, SC benchmarks are done with both of these, so you need to take that into account.
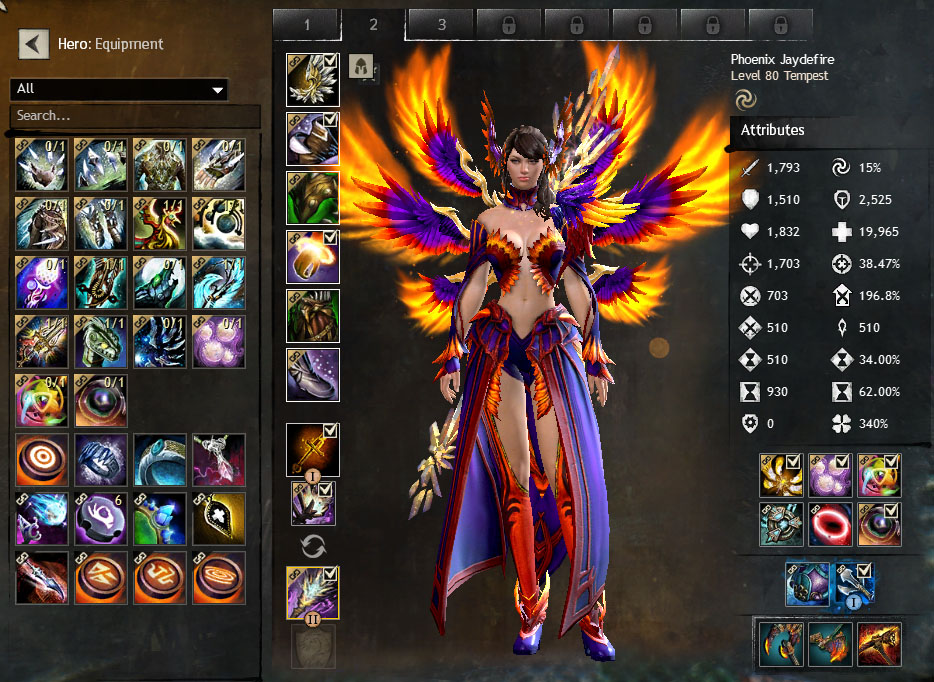
Here's a handy spreadsheet illustrating the percentage differences between exotic and ascended armor and stat infusions for power builds. You can use it to adjust the benchmark based on what you have. The quick and dirty TL;DR damage differences are as follows:
Weapons make the biggest difference, so always work on them and your trinkets first!
If you’re not using food and utility, your damage will obviously be lower. There is variation in how much lower it will be depending on your build. For power builds, food and utility will be roughly a 9–11% increase, while condition builds are a higher 15–20% increase.
If you’re concerned about gold, don’t use any consumables when you’re learning your skill order. After that, you can use cheaper alternatives, if they exist. You will always want to use meta consumables when you get more comfortable and are aiming to test yourself. If someone is helping you, they might ask you to use consumables so they can get a more accurate read on your DPS and offer appropriate tips to help you improve.
If your damage still isn’t where you want it to be, I’m obligated to tell you to recheck the information above and make sure you’re operating under as close to SC’s circumstances as you can get. Once you’ve done that, here are some more things you can look into:
Since the golem is the perfect environment, you never have to use a skill that isn’t in your rotation. Not so in a raid or strike mission, where you’ll find yourself using a lot more skills in your kit.
Precasting means you use some skills before you begin a fight to increase your initial damage. Be aware that you cannot precast boons in raids or strikes as you can in the open world. Some skills and effects do persist though:
Mesmers can precast illusions using skills that summon them upon blocking on bosses that have damaging ground. These skills include (Scepter 2), (Sword 4), and (Shield 4). The benefit is that you can shatter them immediately and resummon more when the fight begins. Ranger's and
 Engineer's .
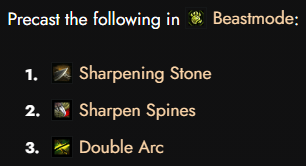
These are some scenarios in which you can go out of order or use skills that aren’t in your rotation at all.
The most famous case is probably leaps and other movement abilities. You can use these to engage a boss quickly when you have to start from farther away, or to go back and forth while performing mechanics. They are somewhat rare in rotations since they usually contribute more to survivability than damage.
Another kind of skill you’ll use that isn’t in your rotation is crowd control (CC) abilities. There are a few cases:
 Renegade's (Shortbow 5).
 Dragonhunter's . Thief replacing with .
 Immobilize or Chill adds in certain fights to delay or prevent a mechanic from occurring.
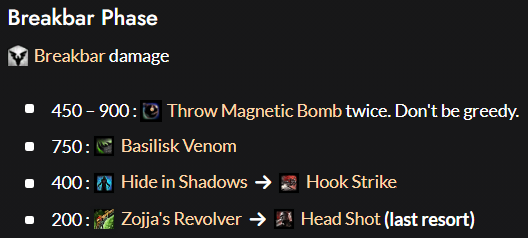
The final scenario involves saving or using skills in your rotation out of order. You’d want to do this on bosses with dedicated burst phases when the boss is taking extra damage and/or there are no or fewer mechanics happening. Most of the time this applies to elite skills, which have naturally long cooldowns, or longer and more complex rotations in which the biggest burst might be hard to line up.
We’ve arrived at the elephant in the room: support builds. The main reason for a support player to practice their rotation is to ensure they’re maintaining boons on their allies.
Healing is not easily measurable on the golem or in encounters, but chances are if you’re doing what you’re supposed to, you’re pumping out as much healing as you can. Healing is also a reactive art in realistic situations, meaning experience is the best teacher.
Boon output is sometimes difficult to measure because your personal uptime is often different than that of your allies. For instance,  Druids grant themselves Might when they use their axe auto-attack, . Therefore their personal uptime or number of stacks can be higher than the Might they generate for the squad. With that in mind, while you can practice a support rotation alone on the golem to memorize it, you should bring someone else to measure boon uptime.
Considering these factors, it’s harder to offer advice on practicing support builds, and also why I’m keeping this section short.
I know this has been a lot of information, but soon enough you’ll be able to set up your golem in less than a minute and devote more time to actually practicing. This guide is part of my Path to Endgame series to help Guild Wars 2 beginners take the next steps toward raids and strike missions. I recommend you read Configuring and Using ArcDPS next.
About Phoenix Uprising • Recurring Series • Support the Site • Contact • Editorial Guidelines • Privacy Policy
© 2022 Phoenix Uprising. All rights reserved.

About Phoenix Uprising • Recurring Series • Support the Site
Contact • Editorial Guidelines • Privacy Policy
© 2023 Phoenix Uprising.
All rights reserved.