


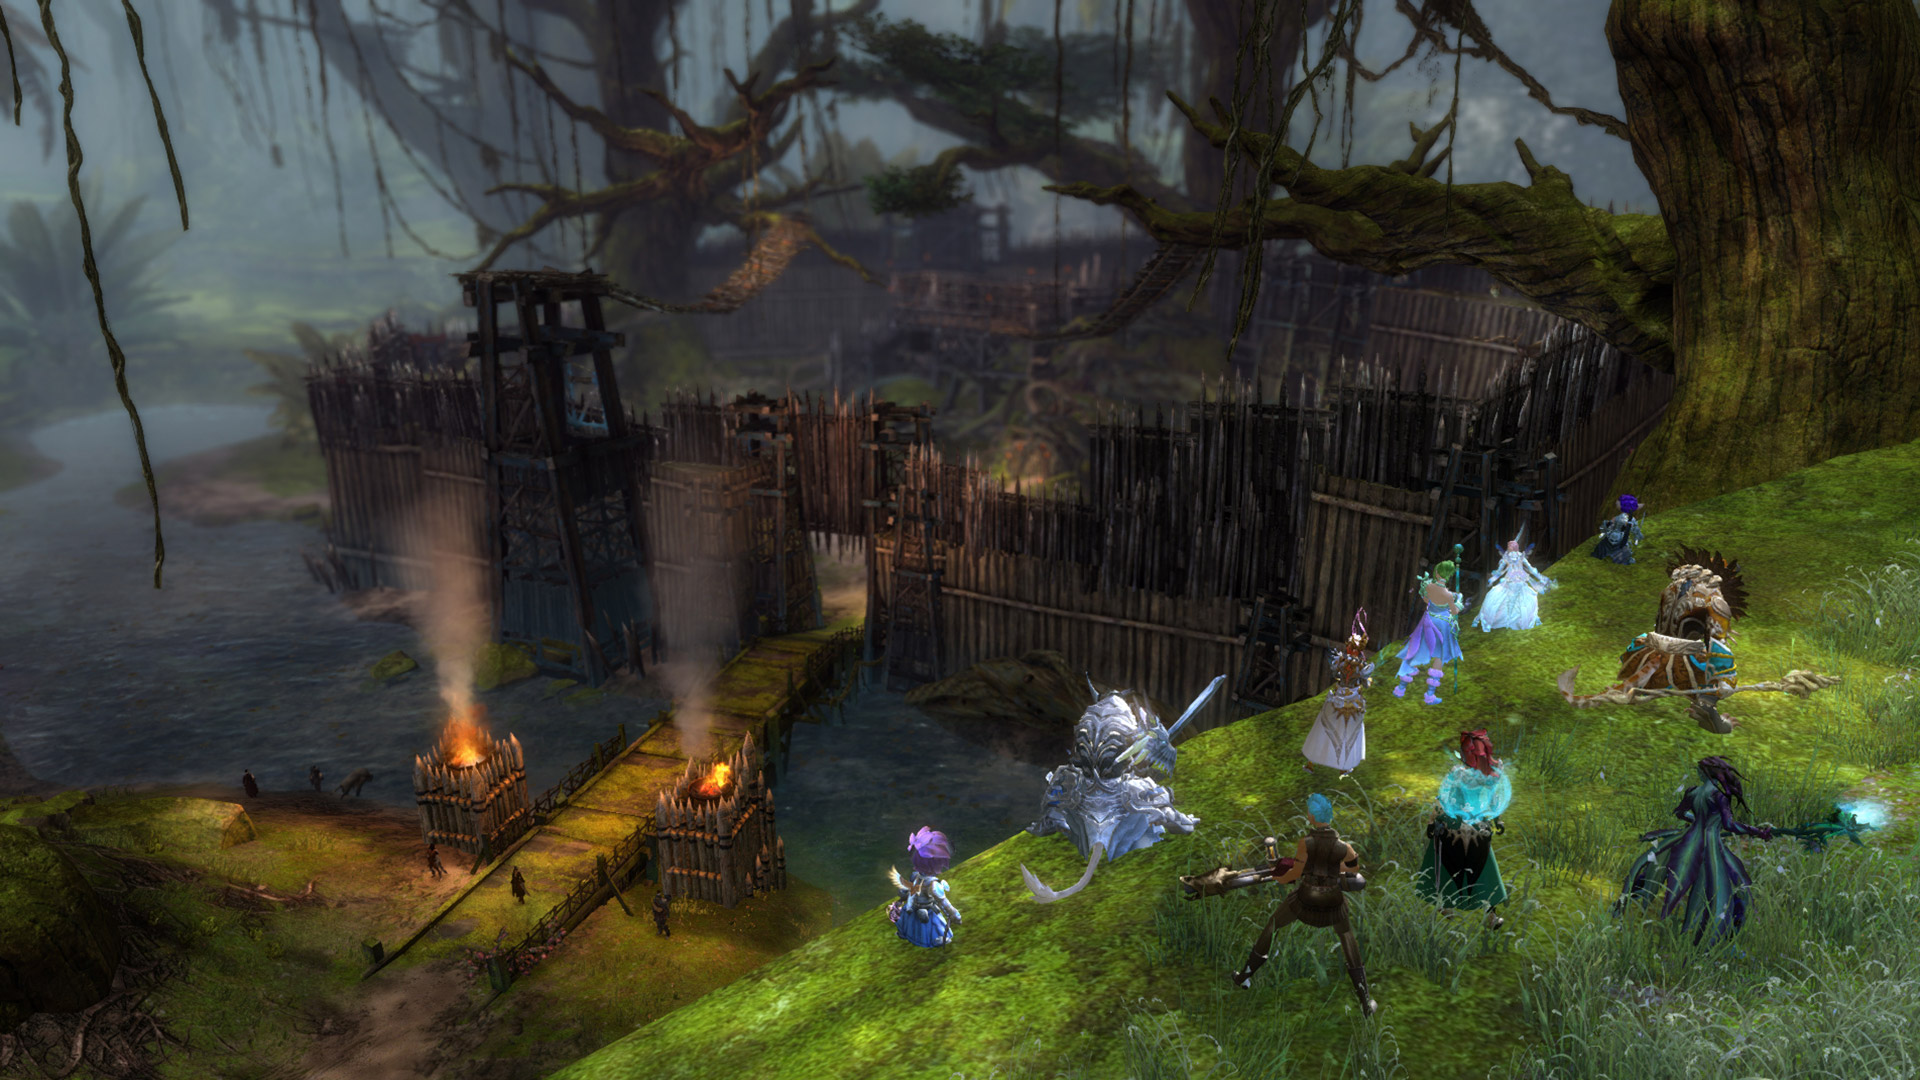
In Guild Wars 2, the Path to Endgame leads to raids and strike missions. Before you venture into one of those brightly-colored portals though, you need to choose a profession to play. As opposed to the traditional MMO holy trinity, there’s a soft trinity that fits into Guild Wars 2’s faster-paced combat system. This can make picking your favorite build tricky. This guide will help you choose a profession to prepare for endgame content and explain the basics of squad composition so you know what’s expected of you.
To access and be useful in endgame content, you need the Guild Wars 2 expansions. They add elite specializations, which are stronger than core specializations.
Although not explicitly required, you’ll want ascended gear eventually. You should pursue ascended weapons and trinkets first since they grant a higher stat increase than ascended armor. You can do most endgame content in exotic armor — ascended gear just allows you to complete content faster or gives you more margin for error.
You’ll likely use a meta build to take part in raids and strikes, which standardizes the weapons, stat set, utility skills, traits, and skill rotation you’ll be using. The community creates and tests these builds to capitalize on their purpose. They allow you to do damage, support your allies, or tank while also providing benefits to your group. Meta builds, and to some extent, meta team compositions, help you complete content quickly and efficiently.
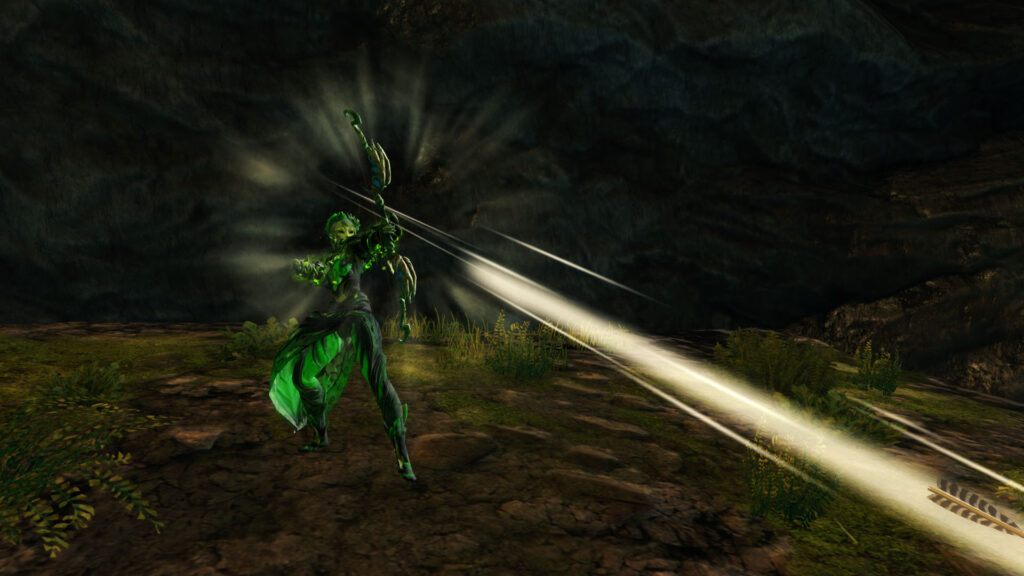
You can switch out a skill or trait on a meta build to make your job easier on certain bosses, increase your personal survivability, or compensate for something lacking in your group without ruining your damage or skill rotation. Meta means recommended; it’s only necessary when you’re trying to speed clear or complete content with fewer than ten group members.
There are three main types of builds: damage/DPS, healing, and hybrid. Damage builds can be divided into power DPS and condition DPS, based on which type of damage the build excels in. Power DPS is direct damage that excels in short bursts. Condition DPS requires time to build up and continues doing smaller amounts of damage over long periods of time. Since some encounters can last up to ten minutes, condition damage can be the better option, but on bosses that clear conditions and go  Invulnerable or those with specific burst phases, power DPS might be better.
Healing builds do exactly that. Healing in Guild Wars 2 doesn’t work the same as in other MMOs; it relies more on positioning, proximity to allies, and skill placement. There are few skills that simply heal all allies or cure conditions without additional effects or special circumstances being met.
If a tank is needed in an encounter, it will often fall to a healer since they don’t have to worry about their damage potential. Tanking is different as well though. It’s less about having the highest health and  Toughness, although that’s certainly part of it, and more about being able to evade, block, or mitigate damage. Who has aggro during an encounter is based on one of several possibilities: the player with the highest Toughness, the player farthest away, or a randomly or conditionally selected player who gains the
 Fixated effect.
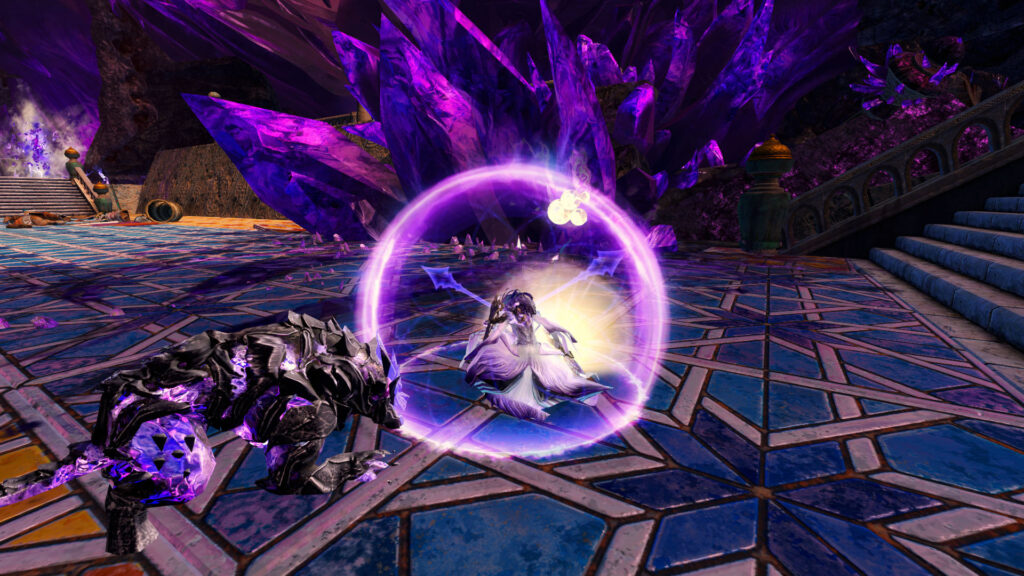
Hybrid builds, also known as boon support, provide boons and often have unique capabilities like grouping mobs together or reflecting projectiles. They still do decent DPS, but not nearly as much as a dedicated DPS build.
The best current resource for raid builds is Snow Crows (SC). SC has DPS benchmarks and profession-specific tips for bosses. They also list the last time each build was updated, which is useful for balance patches. Be sure to explore the different tabs at the top of the builds page:
When you decide on a build, you can go to the Special Forces Training Arena to get to know your skills and practice your rotation. You can apply boons that you would have in a realistic scenario, turn on pulsing arena damage, and experiment with how your build performs against bosses with bigger hitboxes or more health. Unfortunately, for some healing and boon builds, you won’t be able to accurately test yourself without friends or venturing into a real encounter.
Squad composition aims to include as few support professions as necessary to tank (if needed), heal, and provide close to 100% uptime of all the important boons. These include  Alacrity,
 Quickness,
 Fury, and 25
 Might.
 Protection and
 Regeneration are also important on some bosses and nice to have regardless.
Squad composition has evolved a lot during Guild Wars 2’s lifetime. Originally, boons were much scarcer and relegated to specific elite specializations. Additionally, there used to be unique buffs that provided raw stat boosts and shared effects, but both of these have been removed.
Nowadays, there are many great options for healers and boon providers. This has paved the way for more creative and flexible compositions. All squad compositions aim to have:
Alacrity or Quickness but may provide other boons permanently or intermittently.As suggested above, you should try to avoid having more than four healers and hybrid boon supports combined to ensure you have enough damage. Exceptions can be made for some encounters that require a special role: in some cases, a healer or boon support can perform that role and do their job, but for inexperienced players, or a wider safety net, designating an additional support player can be beneficial.
So what are you waiting for? Get your gear and get on that training golem! The encounters await. This guide is part of my Path to Endgame series to help Guild Wars 2 beginners take the next steps toward raids and strike missions. I recommend you read Skill Rotations & Benchmarks next.
About Phoenix Uprising • Recurring Series • Support the Site • Contact • Editorial Guidelines • Privacy Policy
© 2022 Phoenix Uprising. All rights reserved.
About Phoenix Uprising • Recurring Series • Support the Site
Contact • Editorial Guidelines • Privacy Policy
© 2023 Phoenix Uprising.
All rights reserved.
Love this guide, I was having trouble understanding why certain raid comps were being chosen but this guide lays it all out clearly.